Showing posts with label brakes. Show all posts

Saturday, September 3, 2022

I've Met Another Crazy Kohki KR4 Owner

Recently, a fellow R33 GT-R owner messaged me on this blog about how he had successfully used a BNR34 part on his car. Murray (Follow him on IG: kaizen.r33) currently lives in Okinawa, Japan, so when I found myself there for a couple weeks of special work, it was natural that we would meet up in person just so I could check out his car (his daily!).

Beautiful! Love the quasi 400R look, reminds me of my car. And the Nismo intercooler
venting is awesome!

Once we met up, of course I had to check out in person what he had tried to explain to me via email and photos about his mod using the BNR34 rear strut tower board, which being two layered (vice the single layer BCNR33 piece) provides more rigidity to the rear of the car.


So I could tell immediately that this looked different from the usual 33 part.  First, the Nismo Performance Damper appears (and is) shorter, but that is because its mounting points are different - you can see in the next photo (kindly provided by Murray) that compares the 33 and 34 rear boards - the 33 is one piece so the rear strut bar (and thus the Nismo Damper) connects on top, while the mounting for the 34 strut bar (and thus Nismo Damper) is a separate piece that lies on top of and bolted underneath the rear board.  Murray told me that because of the different lengths he had to buy a new Nismo Damper for the rear. Because Nismo only sells in front/rear pairs, he sold his new 34 front one on Yahoo Auctions.  


Additionally, Murray informed me that, compared to the 33 board, the 34 board has 4 extra recessed holes, probably M10x50mm in the standard 1.25 pitch. He says the Series 3/Kohki cars already have these holes drilled at the factory so he had no problems adding and tightening these extra bolts down. Otherwise, as I reported in the GT-R magazine article post, this part is a direct easy fit requiring no mods to either the car or the 34 board.

Murray reports he could immediately feel the difference - an increase in rear stability - and this makes sense as the 33 is longer than the 34 and thus I would suspect that an increase in rigidity here in this area would do wonders in how the car feels.  Certainly makes sense given how this 33 was used as the basis for improvements that would end up in the 34. Incidentally, I forgot to take photos, but Murray also has the S15 trunk bar installed as well, so the improvement I think might be noticeable in my car as well.

I am very, very tempted to do this mod! I will have to research the Damper issue- whether the change in structure is effective, etc. Ideally I want not to have to buy a new Nismo Damper...

But of course I had to check out the rest of the car.  I had already noticed that this car was running those beautiful Nismo semi-gloss LMGT4 wheels, and I could already spot some brake mods.

And yes we agreed on tire choice too - PS4S

These are ACRE Dustless-Real pads and Dixcel FS 6 slot rotors. He has the 400R fender flares but told me that Nismo no longer offered the ones for the front. I will have to look into this, but meanwhile we discussed how the Nismo R35 brake package does wonders for the braking ability of the car.  I think if Murray ever takes his car to Fuji Speedway, he will realize that the OEM brakes are the weak point of the car. I did advise him to stay away from adaptor brackets made elsewhere, unless he can overcome the shortcomings I found with the set I sourced from the UK. 

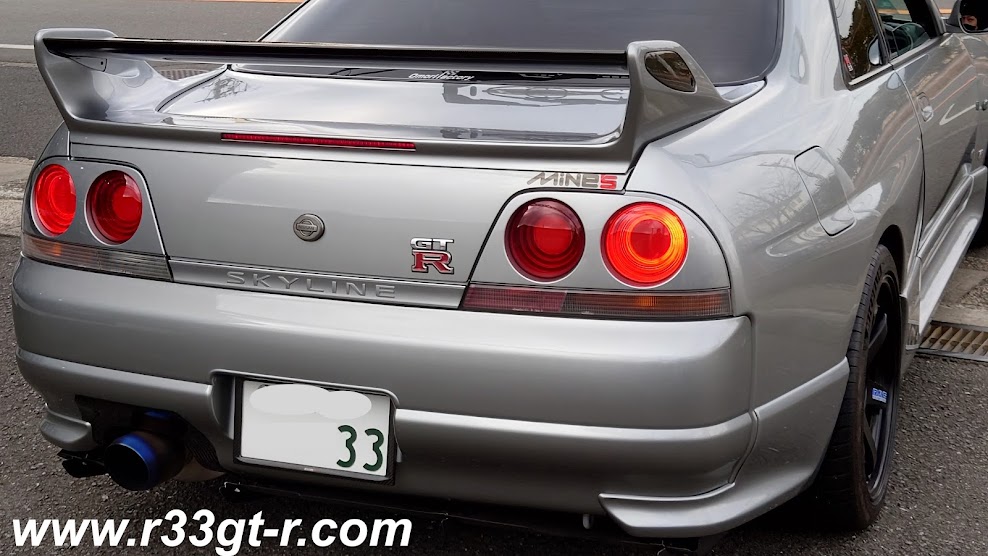
While still at the rear of the car, I noticed that Murray had also installed a BNR34 rear diffuser. But it looked different than mine. And it's not just the 400R rear bumper.

I forgot to ask if the red taping is reflective. If so, nice touch!

Turns out that Murray had the rear diffuser custom-made by CW-collective.  No photos from me as my knees were not cooperating that day (but check out Murray's IG), but I did notice how clean the exhaust cut-out was.  Murray did remark that compared to the OEM 34 version, he did not have a jack up point (so he has to use the arms), but otherwise the install was very clean.  And he even used the OEM 34 plastic fins, which is a smart move because they can get damaged when backing up (although I did not see any damage to the fins on his car).

One more interesting piece in the trunk area was this old-style Nismo badge that is no longer available.  I suspect that Murray and I may have been competing on Yahoo Auctions for the last few years over the same parts...


I also spotted this side turn signal that Murray says came with the car. Yes I have advised him to get it changed out for a more inconspicuous part.


Anyway a well put together and a very clean look that works! (despite the shaved off trunk lock - done by the prior owner of the car).

And the car has a replica carbon 400R double blade rear wing

Ok so let's check what's under the hood(bonnet!).


Hard to tell at this angle, but Murray reports the new HKS GTIII-2530s work really well. I also spotted the carbon fiber Nismo Omori Factory original air intake - great minds think alike?  Also hard to tell at this angle is the deletion of the OEM CAS for a more modern trigger kit, with the engine now controlled by a Haltech Elite 2500.  And yes that is a MASSIVE front strut tower bar! 

I also noted that he was running a non-standard front lip. Murray reminded me that this was also a Nismo piece, I guess my focus has been on other Nismo parts as it didn't register with me when he told me!
A better view of that massive Midori Seibi tower bar

From what else I can recall, Murray told me that he had gotten his Xenons redone with a much brighter bulb set-up, retrofitted with G5-BRT projectors from Lightwerkz Global. Additionally, he told me he is running a very interesting cam set-up - 290 on both intake and exhaust with 10.8mm clearance.  Sounds awesome, but he admits that the decrease in engine pressure was causing him some brake pressure issues; hopefully the Auto Select Large Capacity Brake Master Cylinder he is getting installed soon will mitigate the issue.

But wait - what about the interior? Hold on as this was, to me, the highlight of the tour.

First, I noticed the real carbon treatment on the dash surround. Not my taste as I like matte and not gloss but it worked well here actually. Then I noticed the Garage Yoshida sourced HVAC relocation kit, and the 2DIN screen.  Yep, been there, done that, except of course not Garage Yoshida. 

But of course, I then saw that the instrument cluster is the old Nismo option that has the center screen. Murray told me he sadly does not have the Epson EJ1 computer module that came with it - he is on the hunt for it. 

I would argue however that he does NOT need it. Yeah I know not OEM, but his current execution is WAY better:

And if that wasn't impressive enough, once past the welcome screen:

Here is a close up:


Murray says he was inspired by the R35's graphics when he configured this set up! I am very, very impressed with this!

I really think this is way better than the original:

I mean if you are going to Resto-mod... let's make it modern, right!?

But this wasn't his only interior mod. Check out his camera mount.

We were joking that maybe this gave some more body rigidity as well. Looking forward to whatever video Murray takes from this!

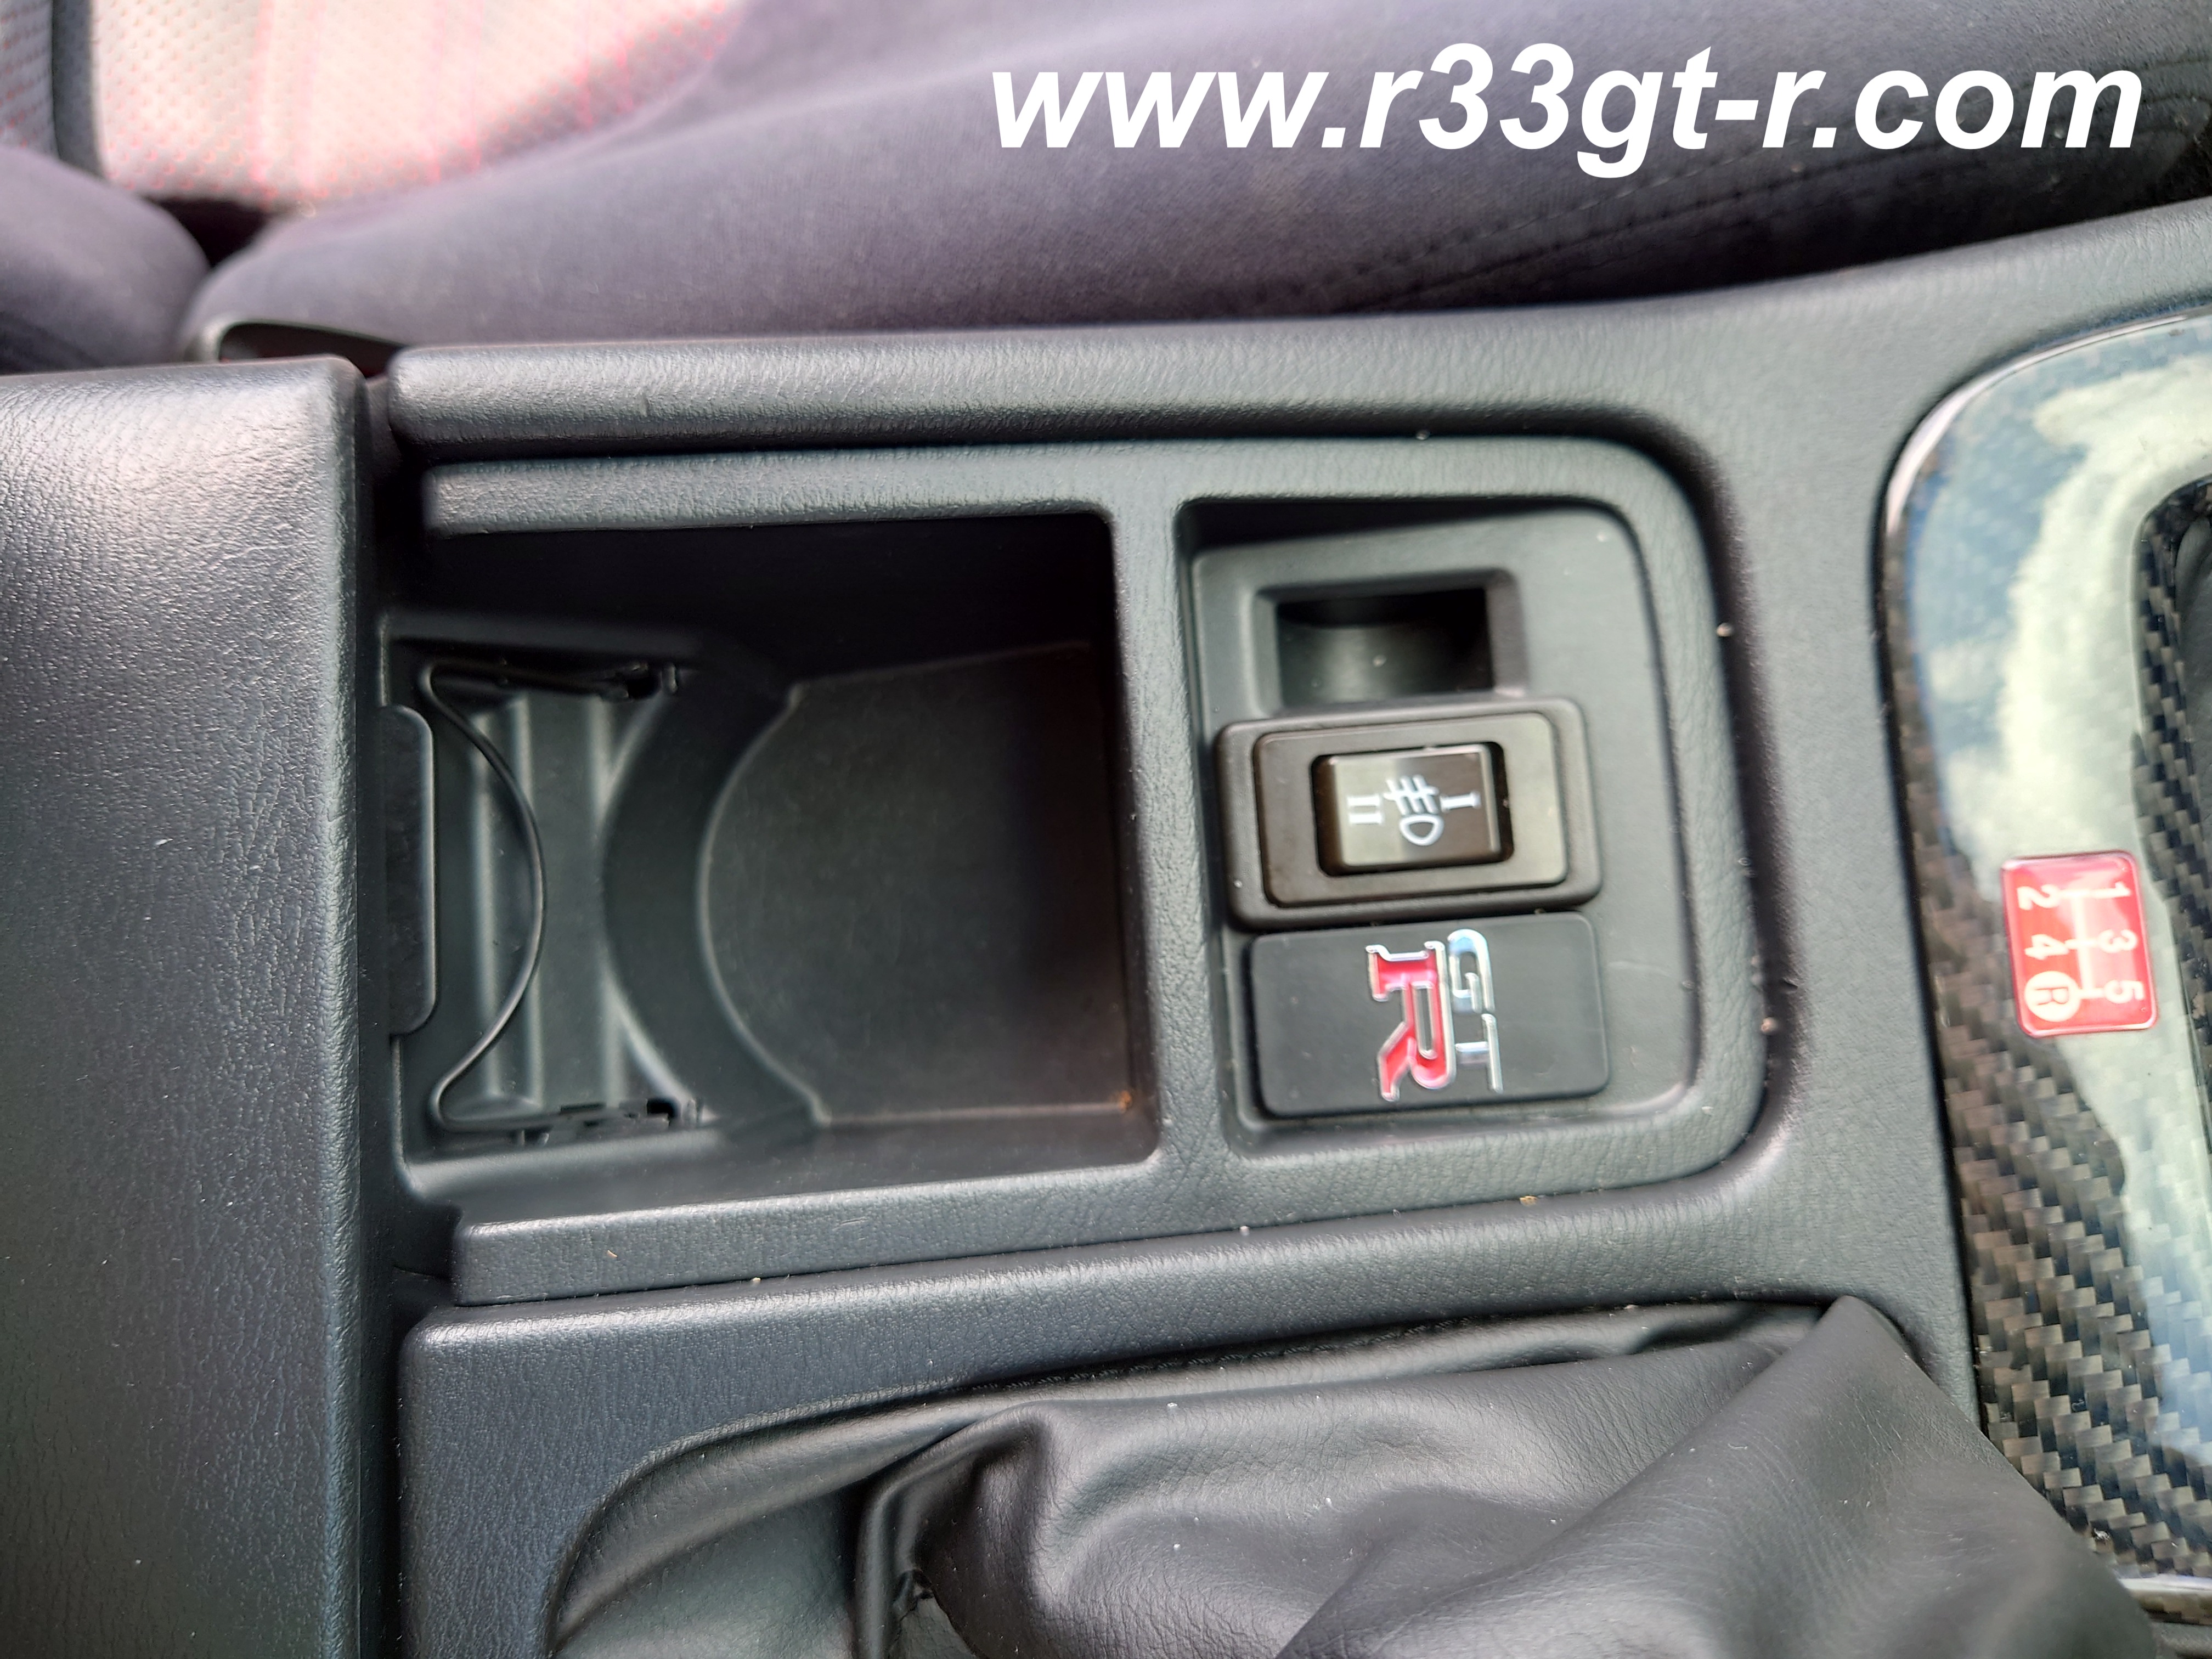
Lastly - and this is something new for me - as I learned something - is this OEM R33 cup holder.
No OEM foglights yet, but Murray is on the hunt for a set!

Ok here is a better shot of the cupholder, without the carbon fiber insert:


So it turns out that the R33 GTST had these cupholders.  Unfortunately for the GT-R, the G-sensor needed for the ATTESA system that is mounted underneath this space prevents this part from fitting, but if you have already replaced the old analog G-sensor for a digital one from Do-Luck or Midori Seibi, then this mod is possible.

So this is another Murray mod that I may have to try out! Not that I EVER drink or eat in my car, but maybe if I get this part I will allow a water bottle in the car... lol.

Anyway, my thanks to Murray for taking time out of his day to swing by and let me check out his car.  I'll close this post with a fantastic photo he took... and I do hope we will be able to meet up again soon!

Saturday, January 8, 2022

Another World's First! (Mine's Visit, Part 3)

 So take a close look at this. 

Specifically, the brake rotor.

Yes my friends, it is a carbon ceramic rotor! As you saw from the Speedhunters post (note, I wrote this article and the SH post at about the same time, hence a lot of repetition between the articles), I just got these installed at Mine's during my visit there, and let me tell you - they are absolutely fantastic! A game changer.  Basically, all of my mods I think have been evolutionary in nature - one dimensional. So improve engine breathability or exhaust for more power; or increase body rigidity to make handling better; or improve the interior to modernize.

But this is the first mod I can recall, that improves handling, acceleration, AND braking. So perhaps a revolutionary mod?

So here is the background - it took over a year from inception to delivery, but it was well worth it.  A fellow R33 GT-R owner (Matt J) - crazy machine, more modded than mine - in the UK told me he was running carbon ceramic disks (his sizes are 343 and 330, I think). Naturally, I had been toying with grabbing some R35 Spec V carbon ceramic rotors I had seen on Yahoo Auctions, but everyone I talked to - Nismo guys included - recommended against it.  Apparently the Spec V rotors were not as good as they could be? Apparently they are noisy and require warming up before they start biting well. 

It was at this time that Matt let me know that he had gotten carbon ceramic rotors for his R33 from Simon at Midland Brakes, and was kind enough to e-introduce me to Simon.  Simon claimed his company could produce a bespoke set of carbon ceramic rotors in any size up to 420mm, so naturally it meant I could keep the R35 calipers on my car, and simply have him reproduce the steel rotors in carbon ceramic.  Truth be told, I was not confident that the rotors would arrive and would bolt right up to my existing R35 rotor hats, so I also asked him to make me a custom set of rotor hats as well, and to have them all assembled together so I wouldn't have to bother doing so.

Anyway, here are some photos Simon sent me during the build. First, he showed me what was happening with the rotor hats:


Then he sent me photos of the carbon ceramic rotors being made:


Once complete, he wanted to show me how light these rotors were, so Simon sent me the following as well:

Weight of rotors on scale, in kg. Front:


Rear:

And then of course with the rotor hats fitted. Front:


Rear:

Front on top of rear, showing the backside of the rear rotor which works with the R33 parking brake! (It's not a steel ring like that I had Ninomiya-san insert when I first got the R35 brakes fitted. Can't believe it's been 10 years since I got the R35 brakes...) 


Flash forward and just a few weeks before I was set to go to Mine's for the new Silence-VX Titan III exhaust install, the rotors arrived in the mail. Perfect timing!  I was planning on doing the install myself, but figured I'd take them down to Mine's to see what Nakayama-san thought.

When I dropped the car off and showed him the rotors, he was a bit skeptical.  He had dealt with UK companies before and apparently the quality was hit and miss (and unfortunately that has been my experience as well - even with parts from so called well known Skyline shops...who I will not name here).  Nevertheless he agreed to see if he could install the carbon ceramics.  I was half expecting a call with bad news - "sorry they don't fit" - but that call never came.

Rather, when I picked up the car after the install of the exhaust, R35 injectors and R35 AFMs, the first words out of Nakayama-san's mouth were - "where did you get these rotors again? Can you introduce us to him?" 

In other words, the guys at Mine's were very impressed.  Indeed, Niikura-san magically appeared and also started asking me who made them, where the company was located, how much, etc. And that after Nakayama-san had fitted them and broken them in, given Nakayama-san's rave reviews, he had also driven my car to see how they were - and pronounced them spectacular (although now, he could feel that my car was having some torque steer! Nakayama-san told me later this is a common issue on 33s)!  Nakayama-san agreed, saying these were the best they had ever come across, as they were always testing carbon ceramic rotors but had never found a set they liked.  He told me he had weighed the stock R35 rotors and hats, which came in at about 13kgs, but these carbon ceramics with hats were only 6kgs, resulting in unsprung weight loss of about 7kg per corner! 6kgs is lighter than the steel OEM R33 GTR Brembo rotors, which I think weighed about 9kgs each!

As I described in the Speedhunters post, I initially thought that I would have to lower the spring rates for the Ohlins coilovers, but Nakayama-san assured me they were fine as is. And after having now gotten used to how the car is, I have to agree. However the benefits of the reduced unsprung weight continue to impress me - the handling is light, yet communicative; with reduced rolling resistance the car accelerates now with a new fury, making it easy to get wheelspin in second and third gears, in addition to quicker starts from stop. As for braking, if there was any small complaint, it would be that these don't have the quick initial bite that I recall the old steel rotors having, but it is still very close.  And this is something I will work on improving, hopefully with some assistance from Simon and Mine's.

Incidentally, the guys at Mine's weren't the only pros who were impressed. When I dropped off my car Nismo Omori Factory right before year end, I had Ochiai-san drive my car and he was similarly impressed, although he said he could feel a slight judder - but nothing that further breaking in would not fix.  Otherwise, he said he was surprised at how natural the brakes felt, and how stopping power seemed to be without issue. 

So next steps... honestly not much more I can do with the brakes (except maybe experiment with different brake fluids) but Nakayama-san did hint he had a few more tricks up his sleeve that he promised would make my car even more responsive than it is currently.  Even though he told me my car is now "scary fast" and I have to agree with that assessment.

There is also the issue of having enough mods to do that are Speedhunters worthy, but I will worry about that when the time comes. 

Tuesday, August 11, 2020

Minor DIY Repair - Brake Light Switch Stopper

So as soon as I got my car back home and parked from the alarm shop where I had the Worx alarm removed, I noticed something strange as I parked the car...

The car's brake lamps refused to turn off!
Just the outsides? Wait this is a Kohki (Series 3) car so this is correct...
Yep, the brake lamp circuit then.
Yep, basically a deja vu moment (but in reverse) to this episode a few years ago when the lamps would not turn on! Back then, it was a faulty switch, so while I initially thought it was the switch again, I decided to take a closer look. But first, I had to pull the fuse to turn it all off!
I still have to figure out a more permanent solution to the control unit for the DeFi Heads Up display
As I did, I contacted Ochiai-san at Nismo Omori, not to complain of course (Me? Complain? Never), but possibly needing to book more service time at Nismo (even though I am doing my best to never have to go back there!) in order to fix this.  Ochiai-san immediately swung into action, checking to see if the brake lamp switch part was in stock... to our mutual horror, he discovered that the parts manufacturer was out of stock... and that there are 143 back orders having been placed!

Just then I discovered this:
Two pieces of broken round black plastic piece?
and friends this is where it pays to have a clean car - anything that shouldn't be there... is new.  So I took a closer look at the brake switch and discovered:
AHA!!! Broken plastic stopper
that the stopper that keeps the switch engaged (so when the switch is closed, the brake lamps are OFF, and when you stop on the pedal, the switch opens and activates the brake lamps - so long as the switch doesn't fail I guess a fail safe arrangement? Better to have your brake lights on than off I guess.)

I guess Ochiai-san doesn't want me dropping the car off for a 600 yen part because he found that the stopper part was in stock and two days later I got this in the mail:
At first I thought it was another bill - I think I am done paying Nismo...unlike some people I am so broke now...
Not looking good but at least from Ochiai-san (see red stamp)
Whew! Just the part I needed.
Part number is 46584-5P010 just in case for those of you who like to stock up on extra parts...
Now as I've recently been collecting the service manuals for the R33 Skyline, I made sure to use them to check before doing the work to verify which way the new piece went in.
So the piece is inserted from the brake switch side, with the larger side facing the switch
As I crawled under the car I found more pieces of the broken old part.
With the new part on the left
Now, this area is VERY difficult to access.  Even though I initially tried to hold the brake switch open with a flathead screwdriver, quickly realized there simply isn't enough room there to then slide in the new piece. And I have relatively small hands, if you are a big guy good luck - both squeezing under there as well being able to getting your hands in there in a position where you can actually move. I was barely able to...

I did a quick internet search and found some guys in Australia had the same problem.  I did briefly consider their idea of super gluing a coin into the space, but since I had already bought the part, decided that would be a last resort move.

So, I decided that removing the switch to gain some space was the next logical move.
Just use a wrench (14mm I think)  to undo the top nut everyone. That bottom nut is actually part of the brace!
 And once removed, there STILL isn't that much space. Maybe about 10mm?
I could barely get the part in that space... but then didn't have the leverage to force it into the hole
Anyway I tried various ways to get the rubber part into that hole. Sometimes I would be able to get the piece partially inserted, but then I didn't have enough leverage to push it all way in. I tried using some dishwashing soap on the hole, but that just made everything more slippery.
I eventually recovered all the broken pieces
Finally, in a moment of inspiration I used a long flathead screwdriver, attached some double stick tape to the end, and put the piece on it.


SUCCESS!! Couldn't believe how easily it went in! Should have done this from the beginning.

Arrows points to nice clean new part.
So then it was just a matter of reinstalling the switch.  I tried to get the switch into its former position, but I may be a few millimeters off because the lights come on IMMEDIATELY as I start to apply pressure to the brake pedal. I'm pretty sure that in the past it took a bit more for the brake lights to activate, so I may have to adjust the switch a bit.  But the good news is that now my brake lights work properly, so if I have to take the car somewhere I can simply drive it.

So one more issue solved, without paying $$$$ at the dealership or Nismo. But a few more problems of the DIY type before I can send the car along to bigger and better things.  More posts coming soon!

Sunday, June 9, 2019

Real Life History: The Nurburgring Car in the Flesh!!

So anyone who's an R33 GT-R fan knows that the 33 was the first production car to lap the infamous Nurburgring in under 8 minutes - 7'59" to be precise. (FYI, the BNR32 did so in 8'20" but it was a struggle with the car understeering heavily and the brakes not up to par...)

As a result of the 7'59" lap time, Nissan engaged in a media campaign which highlighted this 21 second difference, starting with this TV commercial:


And here is the promotional video that was shown at Nissan dealerships all around the country when the car went on sale:


I've never been interested in any of the pre-production GT-Rs, 33 or otherwise, until now.  That's because this week at the Nissan Gallery at Nissan's Global Headquarters, I spotted this being displayed (cars that are stored in the Nissan Heritage Collection at Zama are rotated on a 2-3 week basis):

Initially, I have to admit I was more interested in the Z31 - haven't seen one since I was a teenager back in the USA.
 I thought the 33 was just another AL0 silver R33 GT-R...
But wait a minute - what's up with the red brake lamp in the bumper??
That's when I decided to read the plaque up front and...
HOLY TOLEDO!

So this is the ACTUAL CAR that did the 7'59"!! Factory test car, chassis number 000055!

I posted these photos to my Facebook account, and I think some of my R33 Facebook friends were just as excited - some of them were asking for more close up photos... so I went back down later and took the following. (Note, I did NOT open any doors or step over the barriers - hey I follow the rules!)

You can make out the padded rollcage showing in the left A pillar and front of the roof lining.
Better view of the rollcage - and barely used seats. Note the degradation of the door rubber though.

Best view of the rollcage set-up
Ok but I also heard rumors of other mods other than just body rigidity improvements (plus a cage would be needed presumably if they crashed on the track so it makes sense from that perspective too). So I walked around to see what I could find. Obviously not allowed to pop the hood, but I have an idea for that in the future...

Brakes look like the OEM 4 pot Brembo calipers

Note how the caliper paint looks messed up, as if they spilled too much brake fluid when bleeding the brakes. However the Brembo logo is still white, which means the caliper didn't get as hot as I had on my car - better driving by the pros probably lol.
Underneath the car - I did look under the FRONT side as well, but it looked very OEM. The rear underside, however, was interesting:

Note the oil cooler on the right

And this exhaust. Looks OEM - 2 pipe muffler, but from the down pipe to the muffler itself that looks like about 90mm...!

And what about mileage? How much has this car run?
Oh, the 300km Speedometer is interesting...

10,416 kms!
And if you look closely, looks like they installed extra padding for the driver's left knee and right knees. Check out this post and you will see it.

Anyway, I'm still curious about what other mods this car had. From what I could see, looked pretty stock except the exhaust pipe suggests not all is stock in the powertrain. Maybe a personal visit to the Heritage Collection is in order soon.

Meanwhile - here are a few more photos for Z31 fans. Pretty cool car, considering at the time it was sold I thought it was a bloated, tech loaded and slow car.
That turbo scoop and pop up lights are pure awesome!

T-Roof, leather seats... and auto transmission. Yeah, rich housewife's car
Please, someone tell me what this "Bodysonic Amplifier" is!!!

Actually, thanks to Mr. Google I know what this is. Very cool feature! Ah, the 80s....

PS - I found an article about Gan-san and his trip around the Nurburgring in a 33...enjoy!