Showing posts with label mancave. Show all posts

Sunday, June 9, 2024

One Bucket List Item Accomplished - a Bendpak Lift in My Garage!


Yep, my very own Bendpak lift!

And here is the final result!

Yeah, yeah, I need to clean up but for now...

So this is a BendPak HD-9 model, designed for vehicles up to 9000 lbs (or 4082kg).  Interestingly, the Japanese importer worked with Bendpak to make the usual precision improvements, including replacement of failure-prone rubber O-rings with those of a superior design.

Install took only one day - the crew arrived at a bit before 1000 and got to work immediately.

I found out later why a crane was needed

I appreciated how they took time to measure several times to ensure proper placement of the GT-R. This is going to be a tight fit!
I like how they wanted to get as close to the outer wall as possible.

A few moments later they had moved their tools inside and laid out a thin blue sheet to prevent scratches.

Massive! No way I could have done this with a friend. And later, I appreciated their experience (they say they do about 200 of these in Japan per year, mostly businesses though).

So here is what I was talking about - this technician is replacing the brass hydraulic fittings with ones improved with better O-rings, as otherwise the OEM ones tend to leak relatively easily.

Brass out, plastic in - but it's what is on the inside that counts!

As you can see, they stored their tools behind the garage, making for a quicker and more efficient install.


Getting the crane ready to haul those really heavy platforms that support the car.

And once in, they still kept measuring.


Finally, they tested this going up and down. But then asked if they could test with the GT-R on it, before bolting it down.

That main reason was to lift up to the max allowed height with the GT-R on, and make sure the Bendpak was sufficiently centered so that the car is centered into the cut-out in the roof.


Finally, it was time to bolt down into the concrete using these guys
These replace the OEMs, and yes they are made in Japan.

Two guys to drill. One guy drilling, the other one with the industrial vacuum to catch all the concrete dust.

And finally... amazing how large the GT-R looks. Also amazing how scratched up the car is on the bottom - before I made sure that the more visible areas were pristine, but now I am seeing all sorts of scratches on the lip and side skirts.  Sounds like more projects for me!!

Thankfully the IS-F fits.  If it hadn't, I was prepared to grind away some of the concrete floor to create extra breathing space between the car roof and the bottom of the Bendpak tray.

So... what next!  I don't think I will ever be done with the GT-R...

Saturday, December 3, 2022

Mods to the Garage - LED Lighting for the Win!

 So even though this blog is about my R33 GT-R, for me ownership of this car means I have a responsibility to make sure this car looks good all the time.  That means keeping it clean, and that means that when I'm not driving it or making mods to it, I want to do what I can to keep it clean.

Up until now, most of my detailing work has been the result of trial and error, and by no means is the result perfect, but I recently decided that as I am lucky enough to have a decent sized garage, why not create an environment that would allow me to go full blow OCD when polishing my car?

You may have seen glimpses of my garage in this blog, or on Speedhunters here in detailing Dino's yellow 911 and here doing some interior work on the same car, but I always felt like while a good working space what we could do was limited by the amount of light - sunlight for paintwork and interior lighting for everything else.

So after doing some research, I found a set of 20 LED lamps with a claimed output of 2300 lumens each with 5000K coloring.

Yep, made in China but the price was right. Quality not bad actually!

I think there is more cardboard here than the LEDs themselves

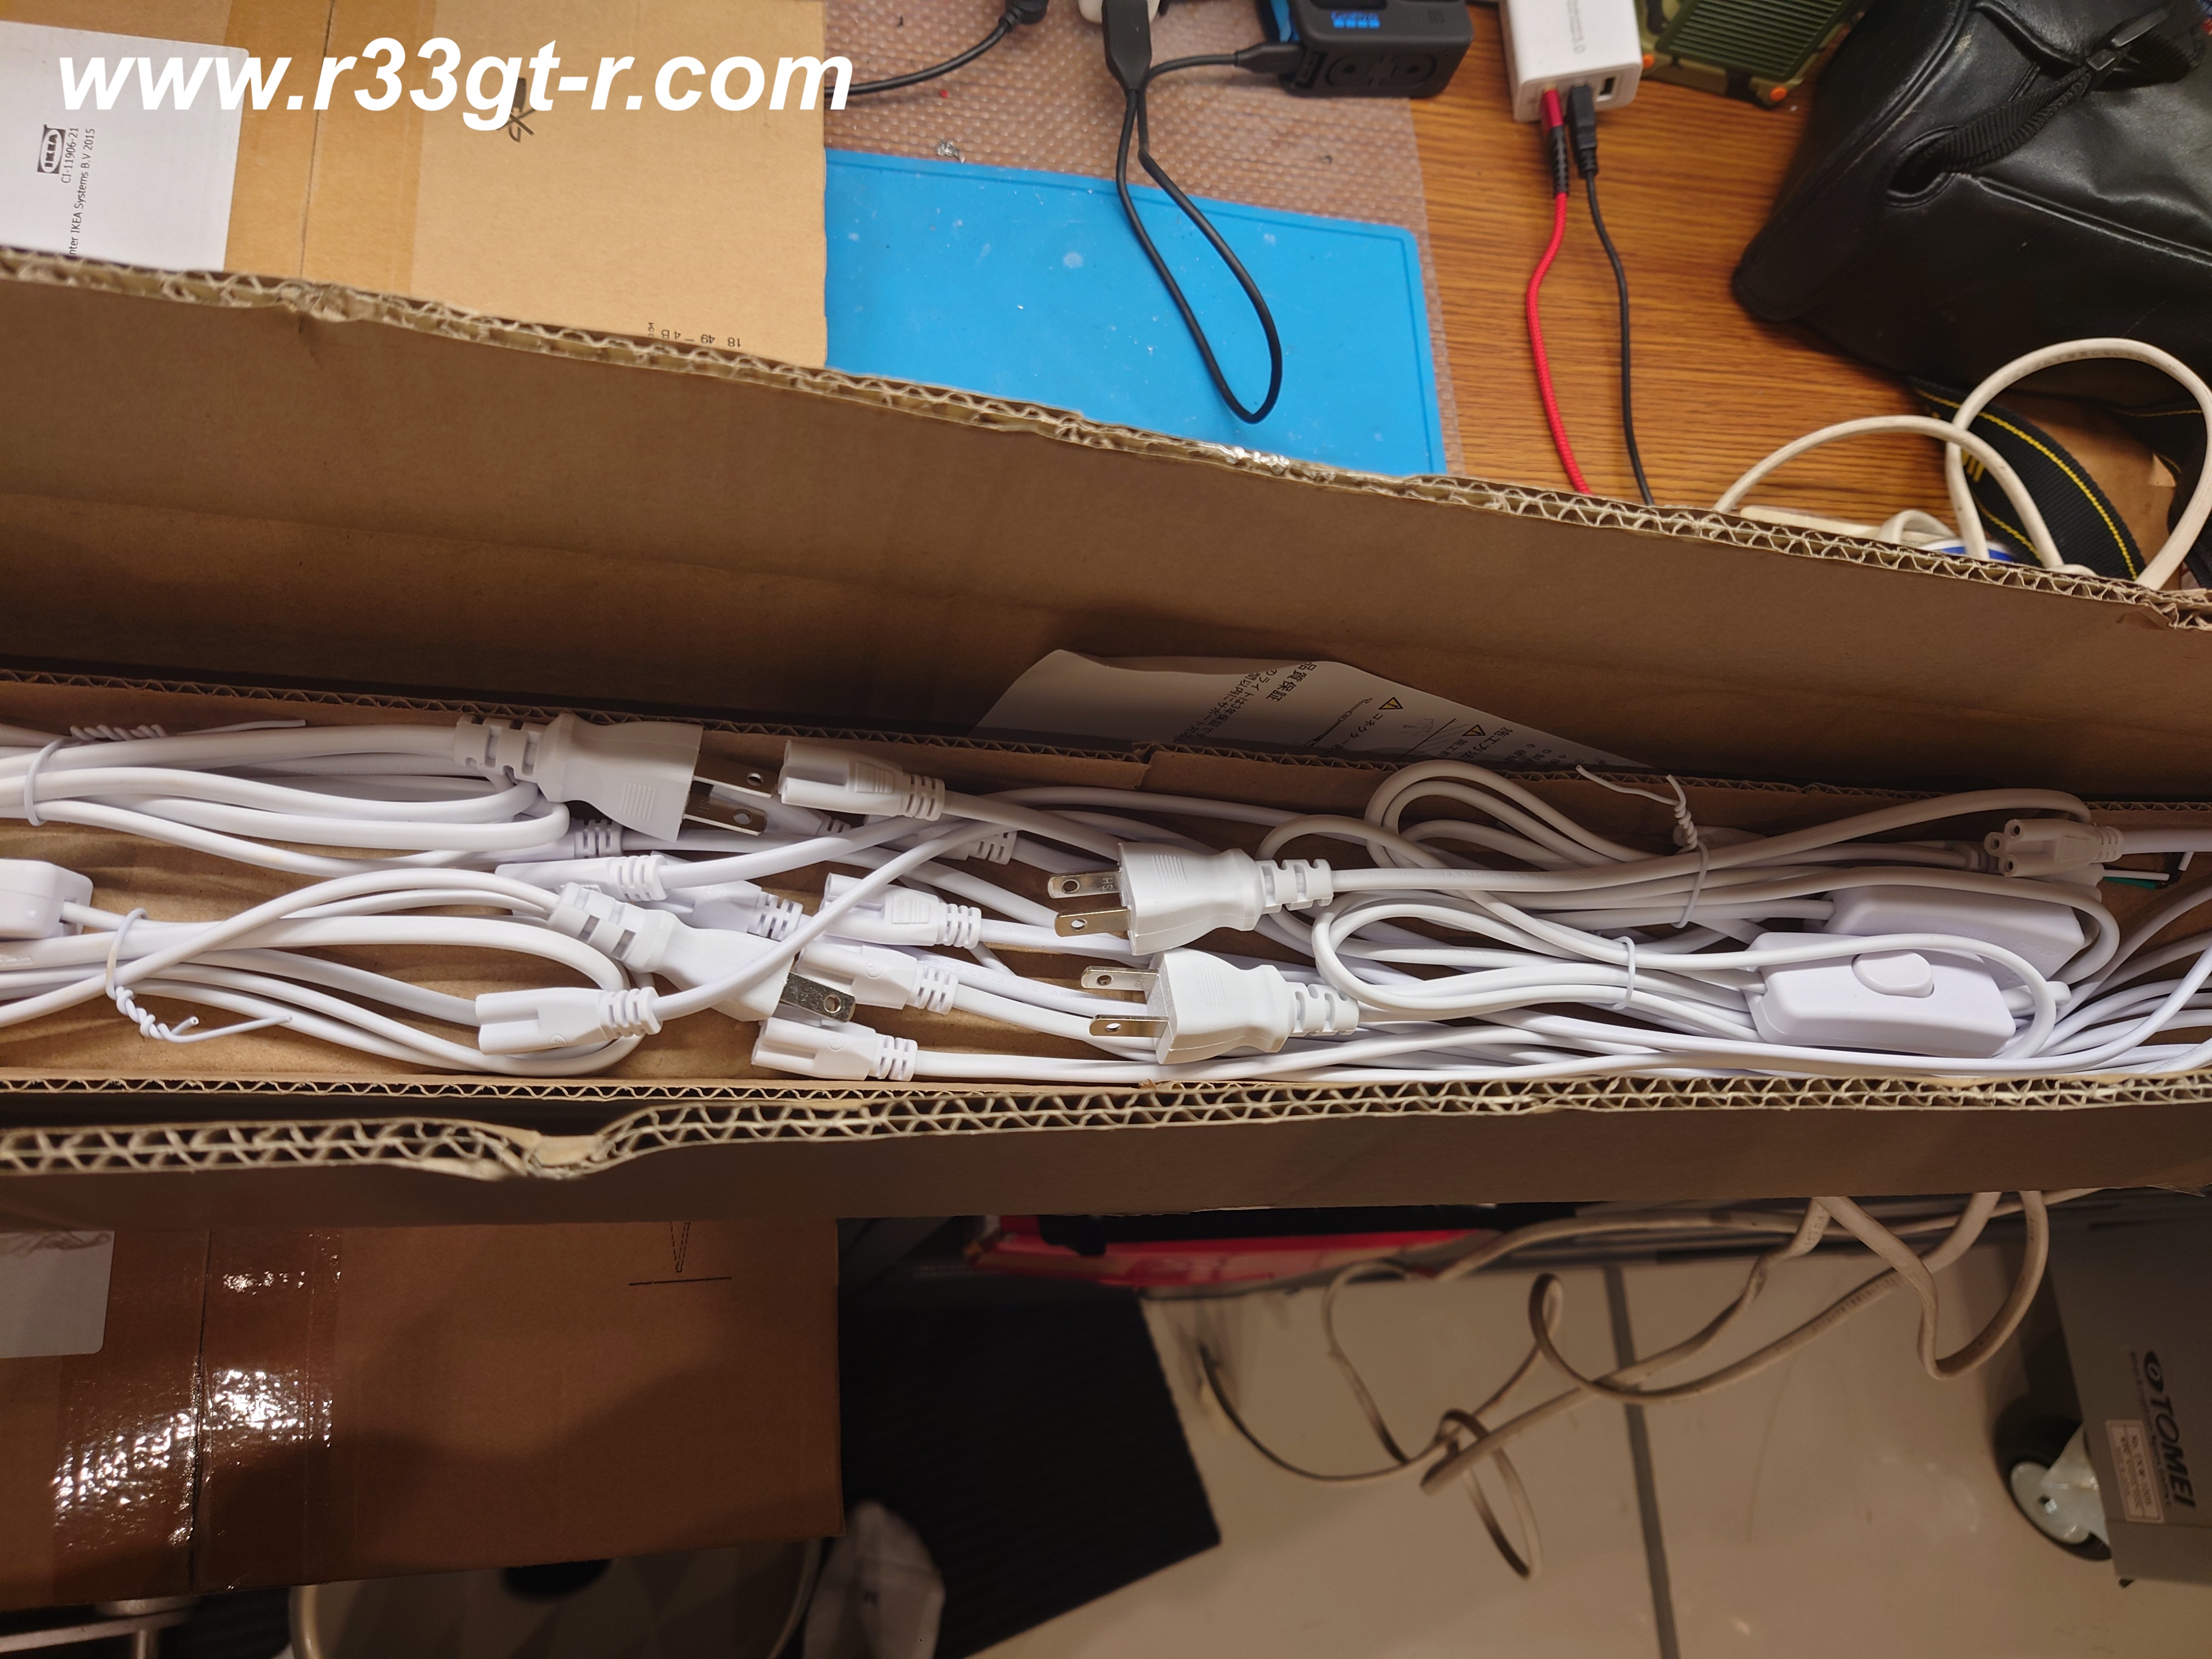
And yeah came with a whole bunch of connectors and clips

Of course having ordered 20, the first thing I did was to try to figure out the best lay out for the garage. I did this by laying out all the cardboard tubes the LEDs came in on the garage floor to visualize spacing, as well as how to hook up the wiring between each LED lamp (they are modular so voltage goes in one side and out the other, into the next one, etc.)

The GT-R was freshly back from the R's Meeting

Did a quick detail, and made sure the LEDs worked properly. Yes!

But before installing on the ceiling, I took the easy way out, and installed 5 units alongside the far wall next to the Lexus.

All lights in the garage off, trying these 2 LED lights.

Installation was easy, so I went ahead and wired in 5 of them along this wall, using the mortar space between two tiles as my guide. I initially thought about horizontal placement but then realized it might be better to have the vertical length in order to see into the paint well, from all angles. So I went ahead and ordered several 1 meter long extension cords to run between each light.

The blue paint looks fantastic!!

Photo glare! Sorrry about that... but you can see how bright the LEDs are and the extension cords I have running between at least one pair (which I cleaned up later)

So while this looks provides plenty of light, I had 15 more LED lamp units to install on the ceiling.  I then realized that I would need some help in order to ensure that I drilled the holes for the clips in a straight line.  So went ahead and got this laser level:


Which let me generate some cool green lasers on the ceiling:
(After I drilled the hole)


Once I had one north-south and one east-west installed, then it was relatively easy to keep things straight.


Just the standard garage lamps

Overhead standard lamps and side LEDs

Standard overhead plus overhead LEDs!

All Lights On! (except of course the spotlights over the GT-R)

But remember, even though I was making good progress I still have 5 more LED lamp units left. So I proceeded to install this set up:


Which made things MUCH brighter, but I felt like I could do better. More LEDs in the center, plus create another equal rectangle on the left side.  Which means 5 more LED units....

And so I decided that I would move the five 5000K LED lamp units that I had on the garage wall, and replace with five more newly purchased LED lamps - but this time with 6500K color, which is slightly more bluish than the 5000K - by having two different colors, the thinking is that this will give me better ability to spot fine scratches on lighter colored cars like the GT-R, at least from the side.

This is a well known brand, I've seen YouTubers install these.

Nicely packaged, yes.

But despite using the same couplers and cables, the form factor is thinner (Barrina on right) 

Can you spot the difference in color?
Two on the left are 6500K, three on right are 5000K

And as for the ceiling, I was able to quickly do this with the 5 I took from the wall:

But sharp eyed readers will notice a few things

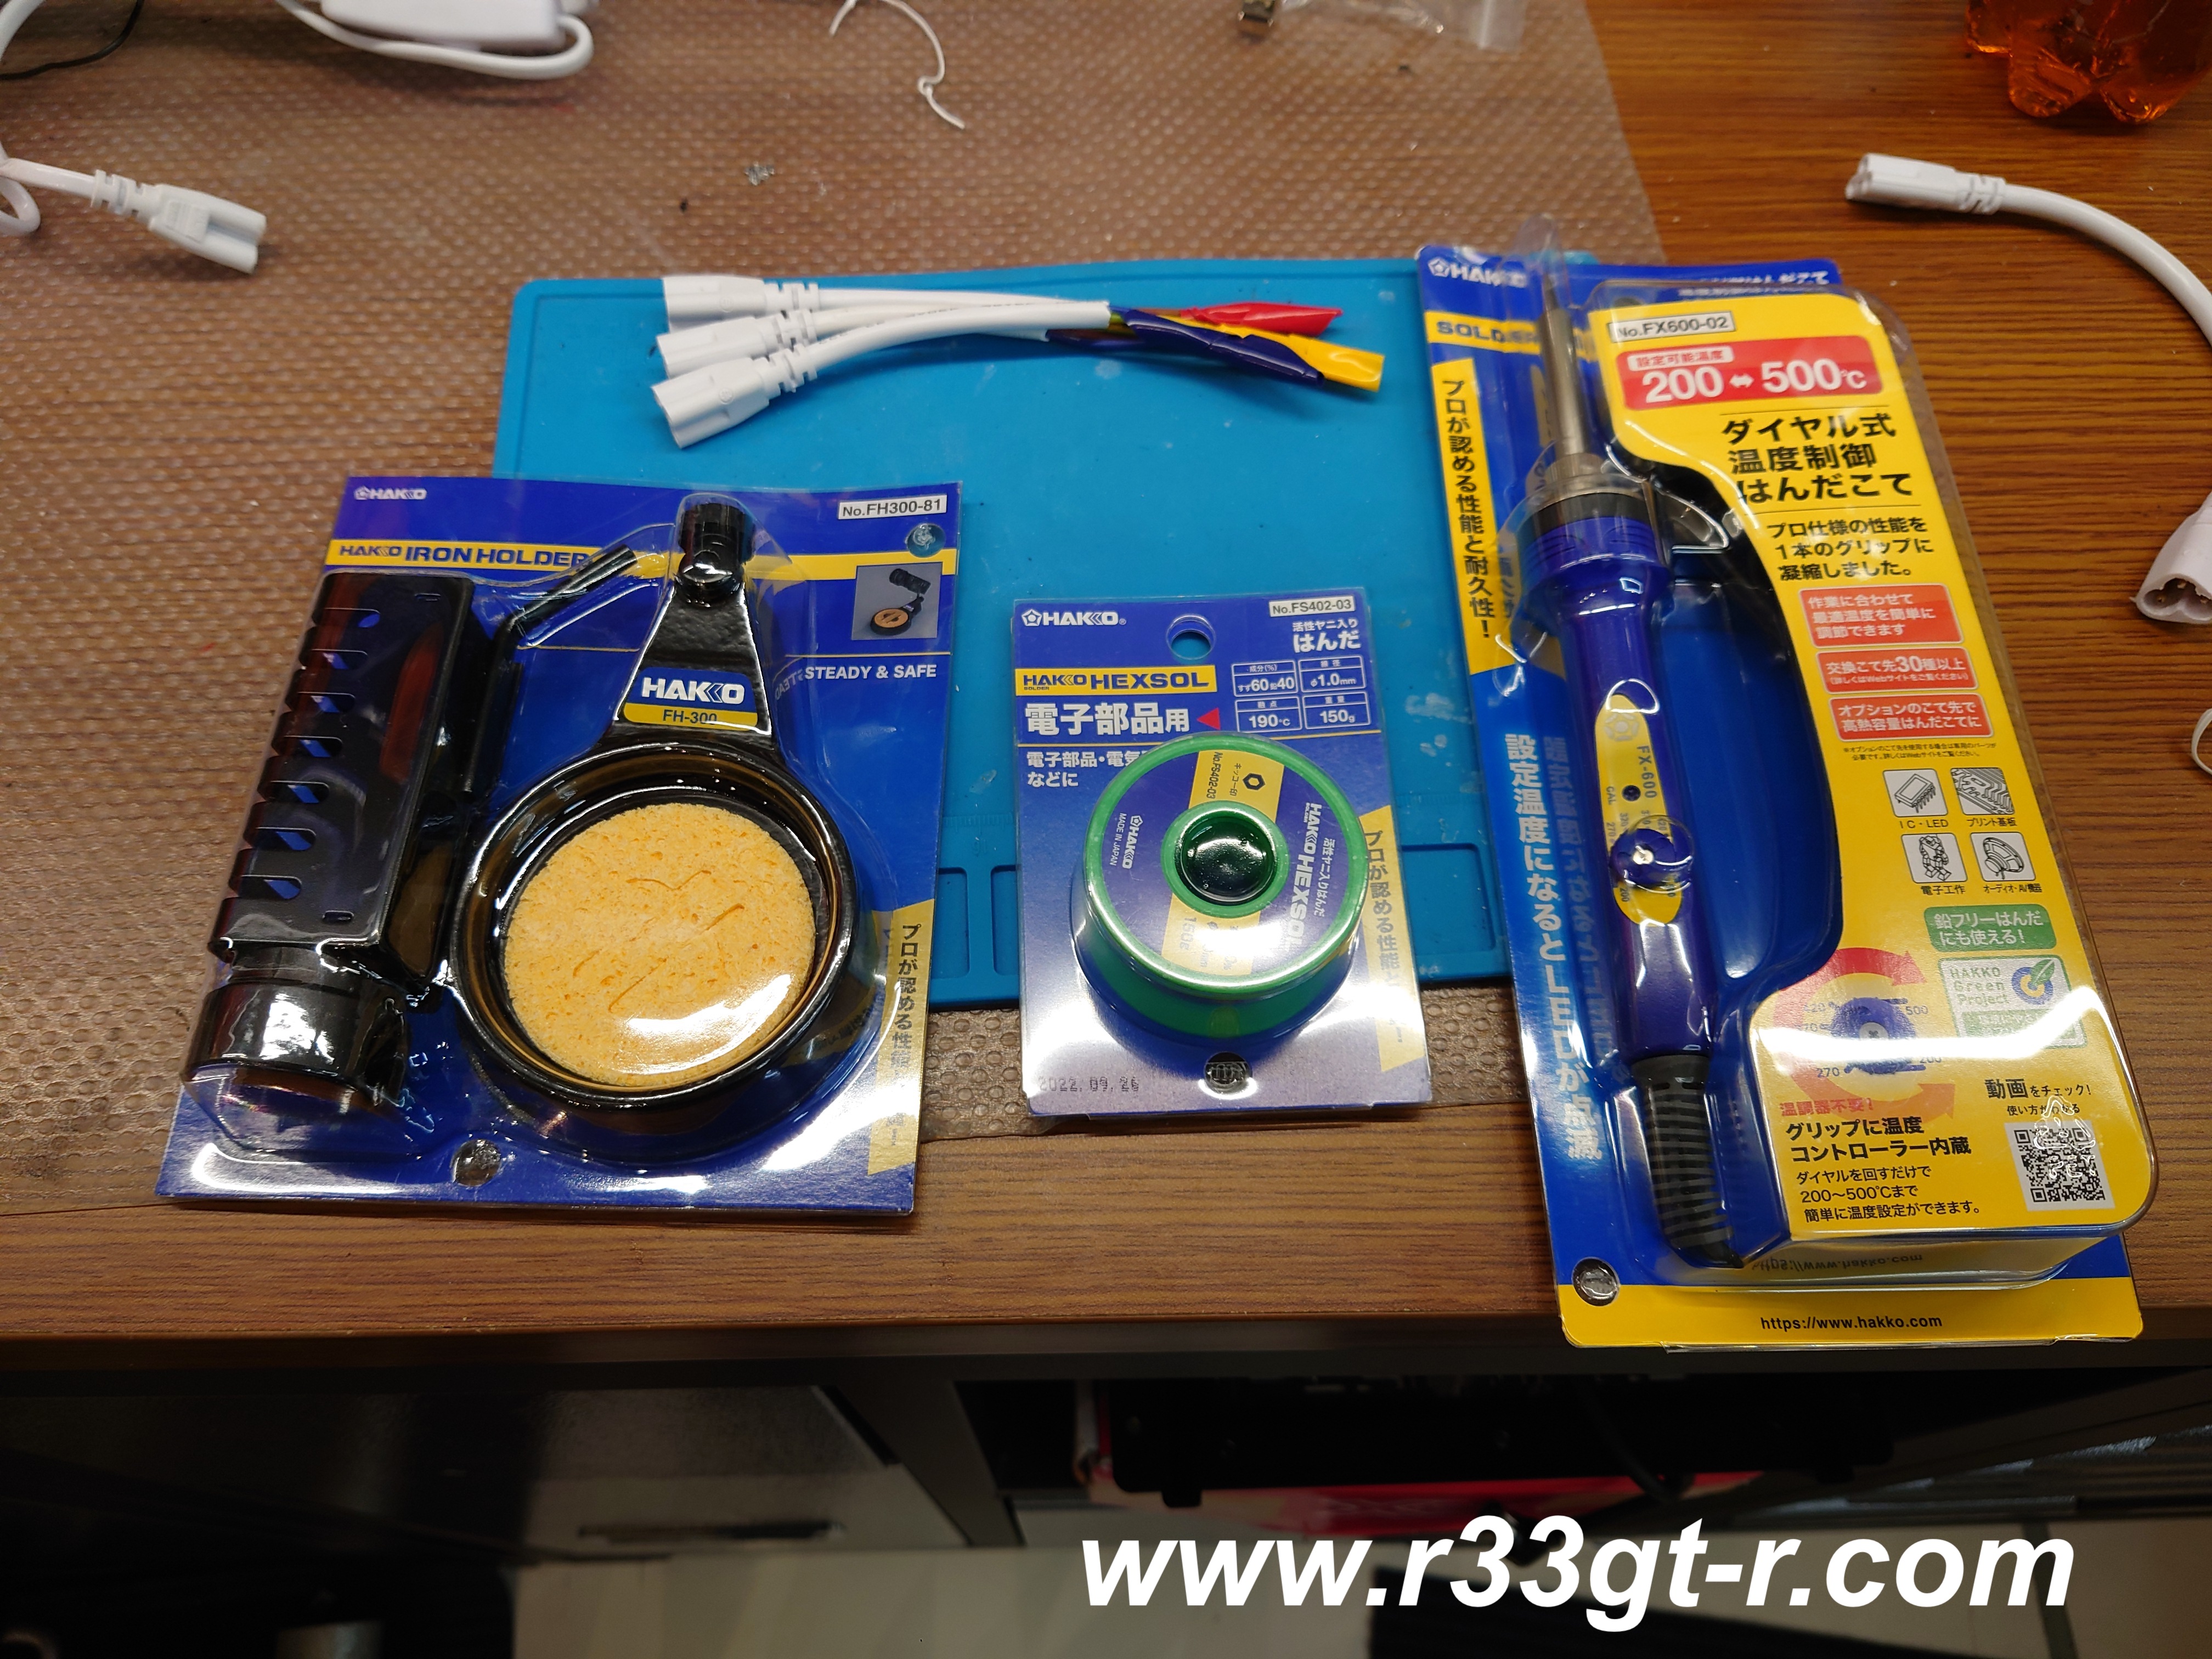
Given the very tight squeeze of the center lamps, I had to get clever, so broke out my new soldering iron and accessories.
Adjustable soldering iron from Hakko - Japan's leading manufacturer of soldering irons!

It was then that I realized I had run out of cable to power up the center bulbs, so even though I fashioned some out shortened connectors with flat cables (so as to be able to fit between the ceiling and lamps, instead of bending the cables at impossible angles over such lamps), I had to order some more connectors and cords to properly hook up the center lamps (the manufacturer recommends a maximum of 8 lamps on one circuit, so I have each of the large rectangles - at 6 lamps each - on a circuit, and will have the center 4 on their own dedicated circuit).

gotta say, even at this stage looks awesome!

A few days later:
3 circuits - left, right, and center lamps plus of course the separate circuit for the wall mounted lamps

So let's just say that I am SUPER excited by how bright the garage is now.  And with all this light, the next step is to invest in some really good stuff in terms of car detailing.  I have a Porter Cable orbital buffer, and just got some more new pads, but now the research shall begin on polishes and sealants.  Something for me to do over the winter...

Sunday, July 31, 2022

New Japanese Tools for the Marine Day Tinkering

So for years I have done my tinkering with relatively cheap tools - some not so bad ones like an old Craftsman standard/metric socket set I "borrowed" from my dad, but others from a random assortment of tools that I collected over the years - basically I would buy something when I needed it, without thinking much beyond that.

With the COVID-19 pandemic, however, that all changed.  I realized that now was the perfect time for me to build up my tools to high quality ones.  Working for Nissan, I also wanted to make sure that everything I bought was Made in Japan as well - hey gotta support Japan industry. If not Made in Japan, then at least a Japanese brand.  After all, both my cars are Japanese, so I figured why not get tools that match?

So over the past few months I have been doing my research and collecting when I can, certain tools.  A couple of these popped up on this blog previously

But only recently did I decide to go all out. For example, I discovered that Kyoto Tool Company ("KTC") specializes or at least is known for automotive repair related tools.  KTC is Japan's most popular brand and because I like supporting the underdog I wasn't automatically going to buy anything KTC so I did a lot of research.

But then I discovered that KTC and Nissan have a long standing relationship - KTC still makes tool kits for Nissan, for example, and in the past even supplied its Mirror Polish (now their super premium NEPROS brand) tools in Infiniti tool kits! 

In fact right now NEPROS are providing this tool kit for Nissan's Autech brand:
From https://ajcollection.theshop.jp/items/56720955

Anyway, this lead me to purchase a nice rolling tool cabinet - KTC offers several models but this is the only one fully Made in Japan.  It comes in silver, black, white or red so of course I got silver to match my car and the garage cabinets.

From https://ktc.jp/catalog/index-category/category-list/ekw-1005__1005bk

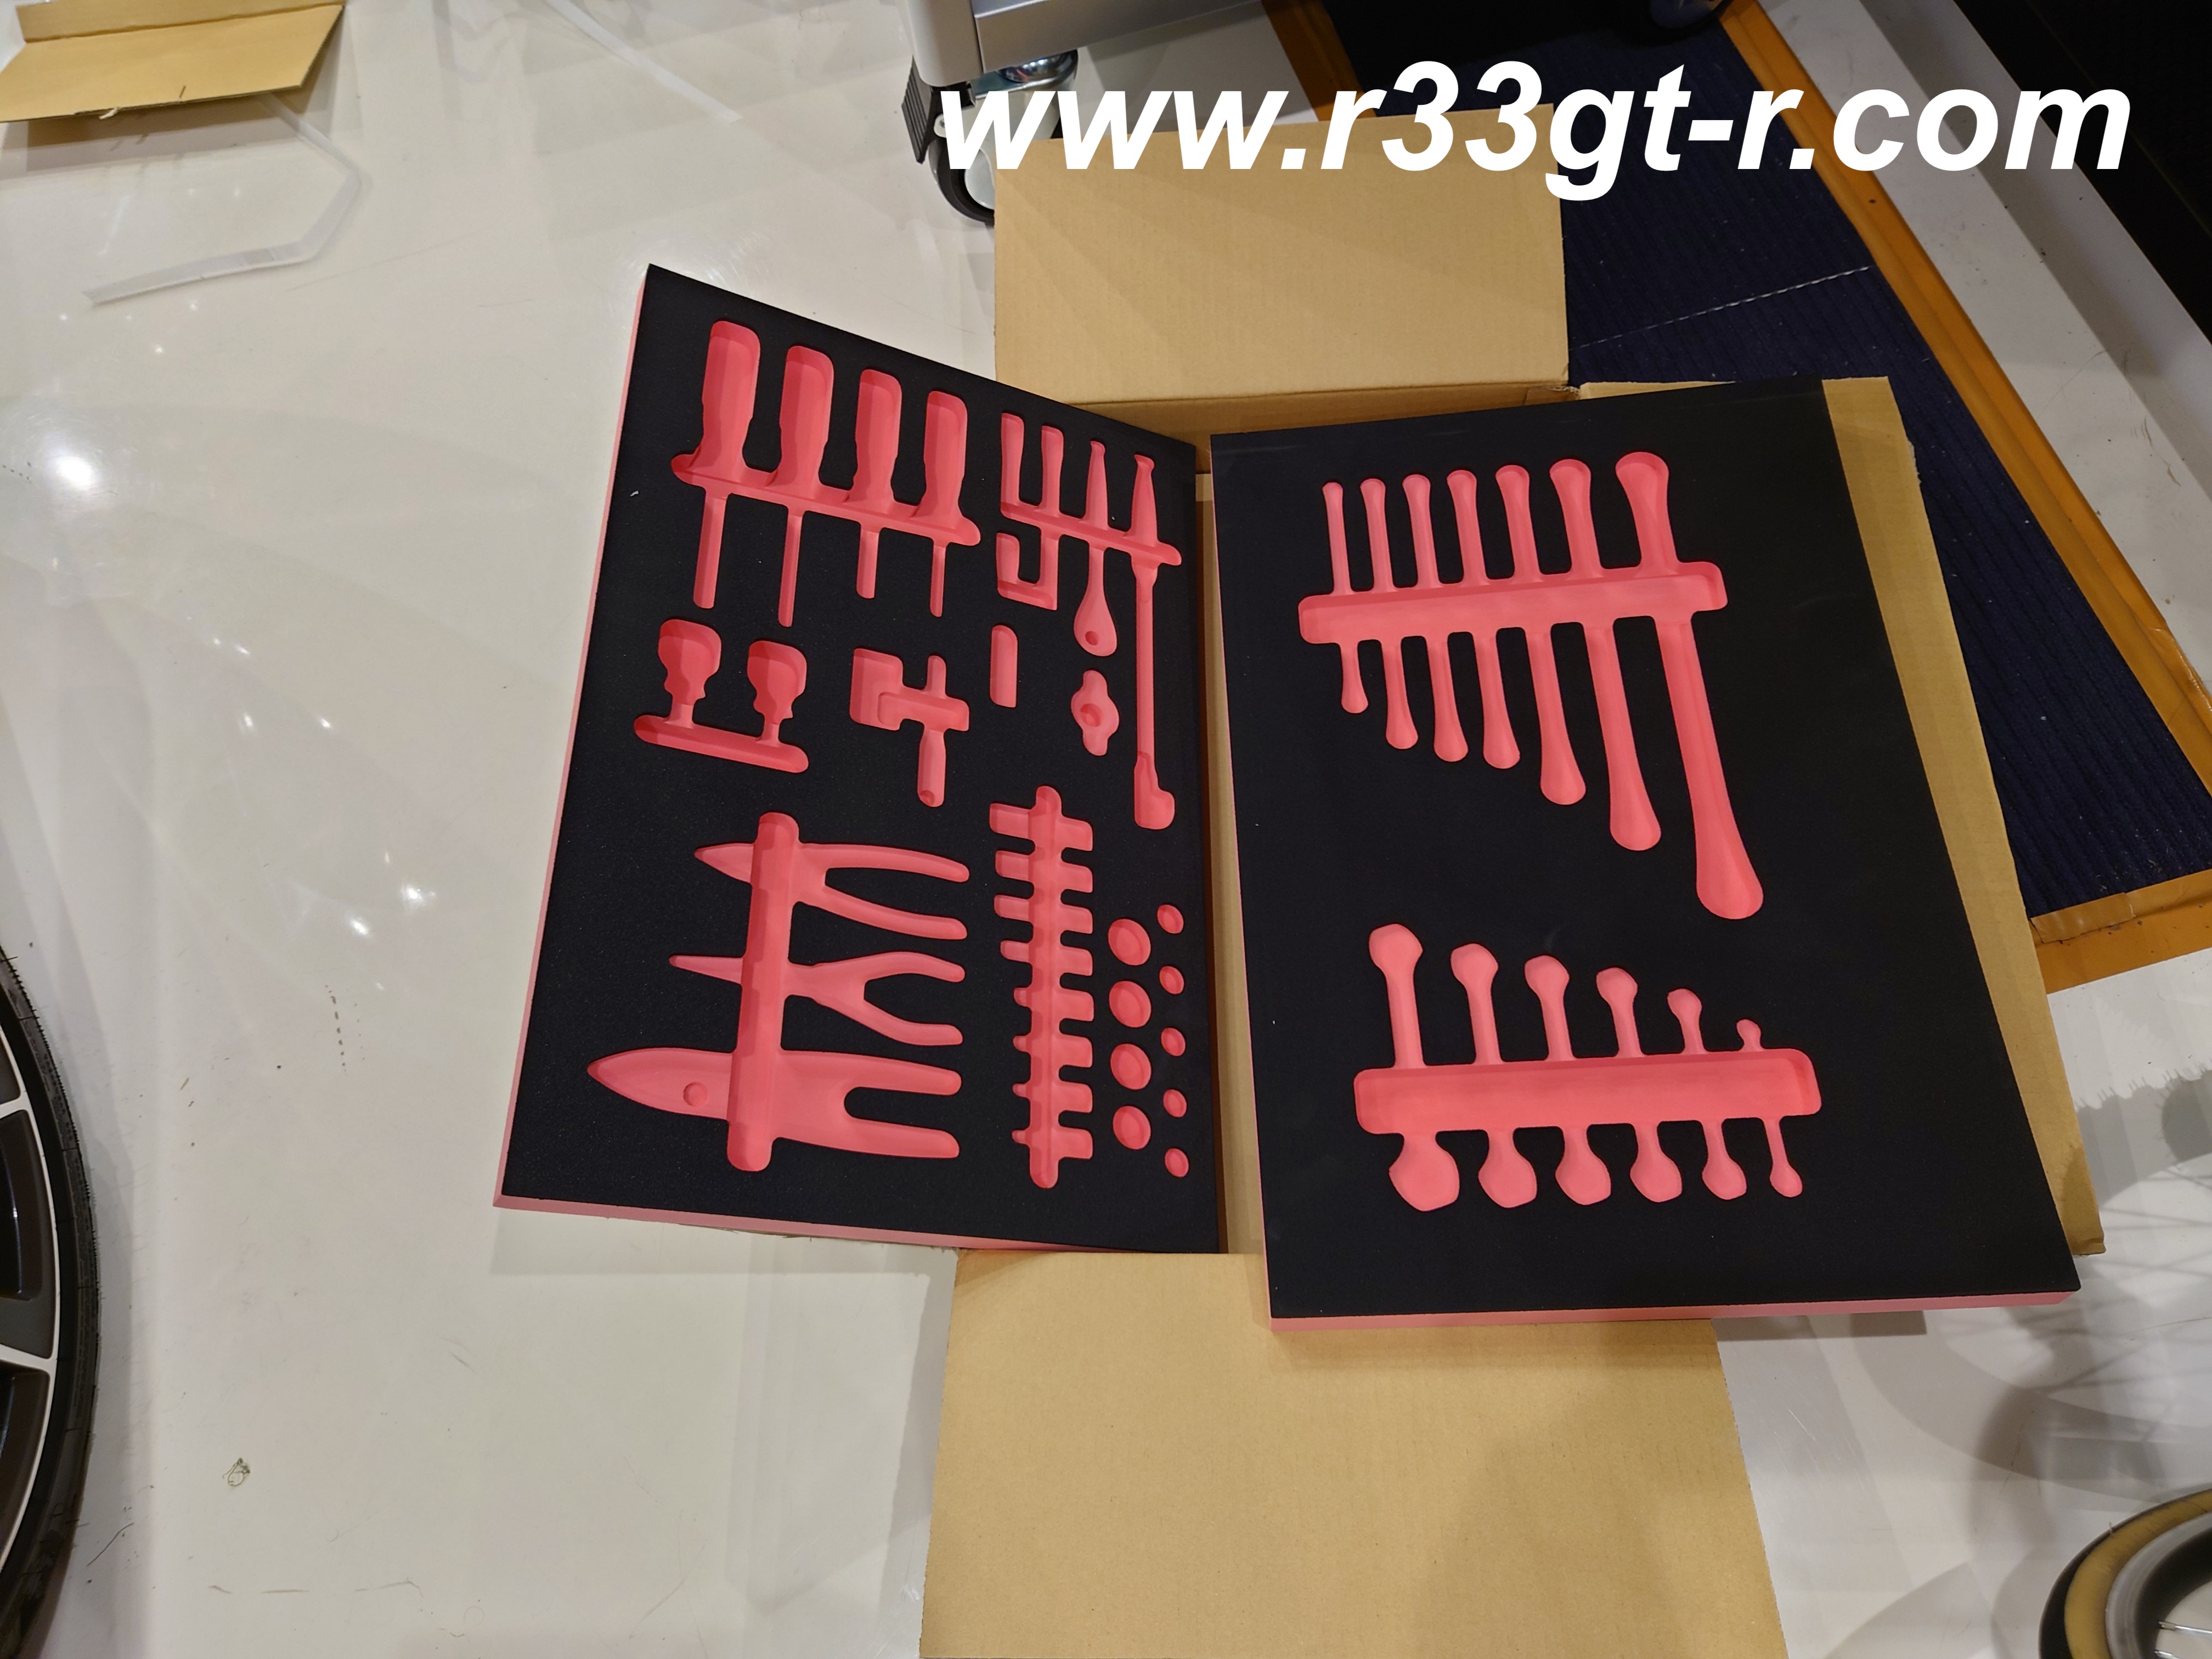
I also got the tool inserts designed for this tool cabinet - yes perfect for my OCD but in actuality really useful as it was easy to grab the right tool quickly, and also it made cleaning up so much more efficient too.
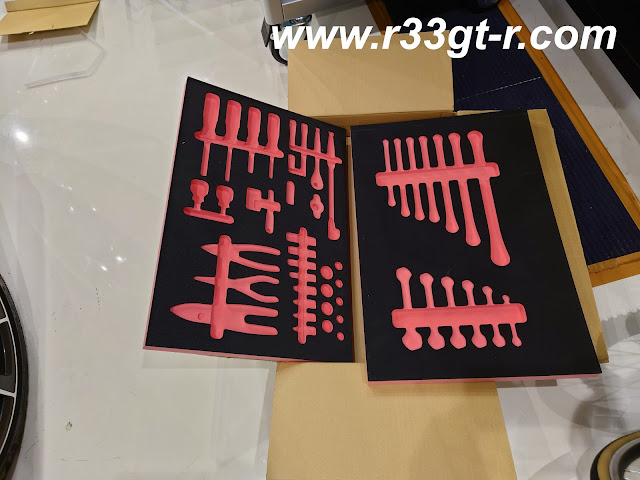
And yes perfect for my OCD...

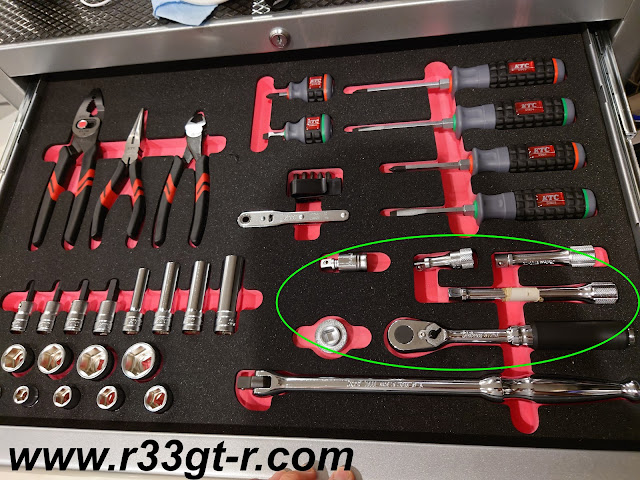
However despite the cut outs for the KTC sockets and KTC socket wrench, you will note that even though I ended up filling up the socket holes with regular KTC sockets, I still went with another Japanese brand for more specialist sockets (not shown here) and a superlative socket wrench, Ko-Ken. 

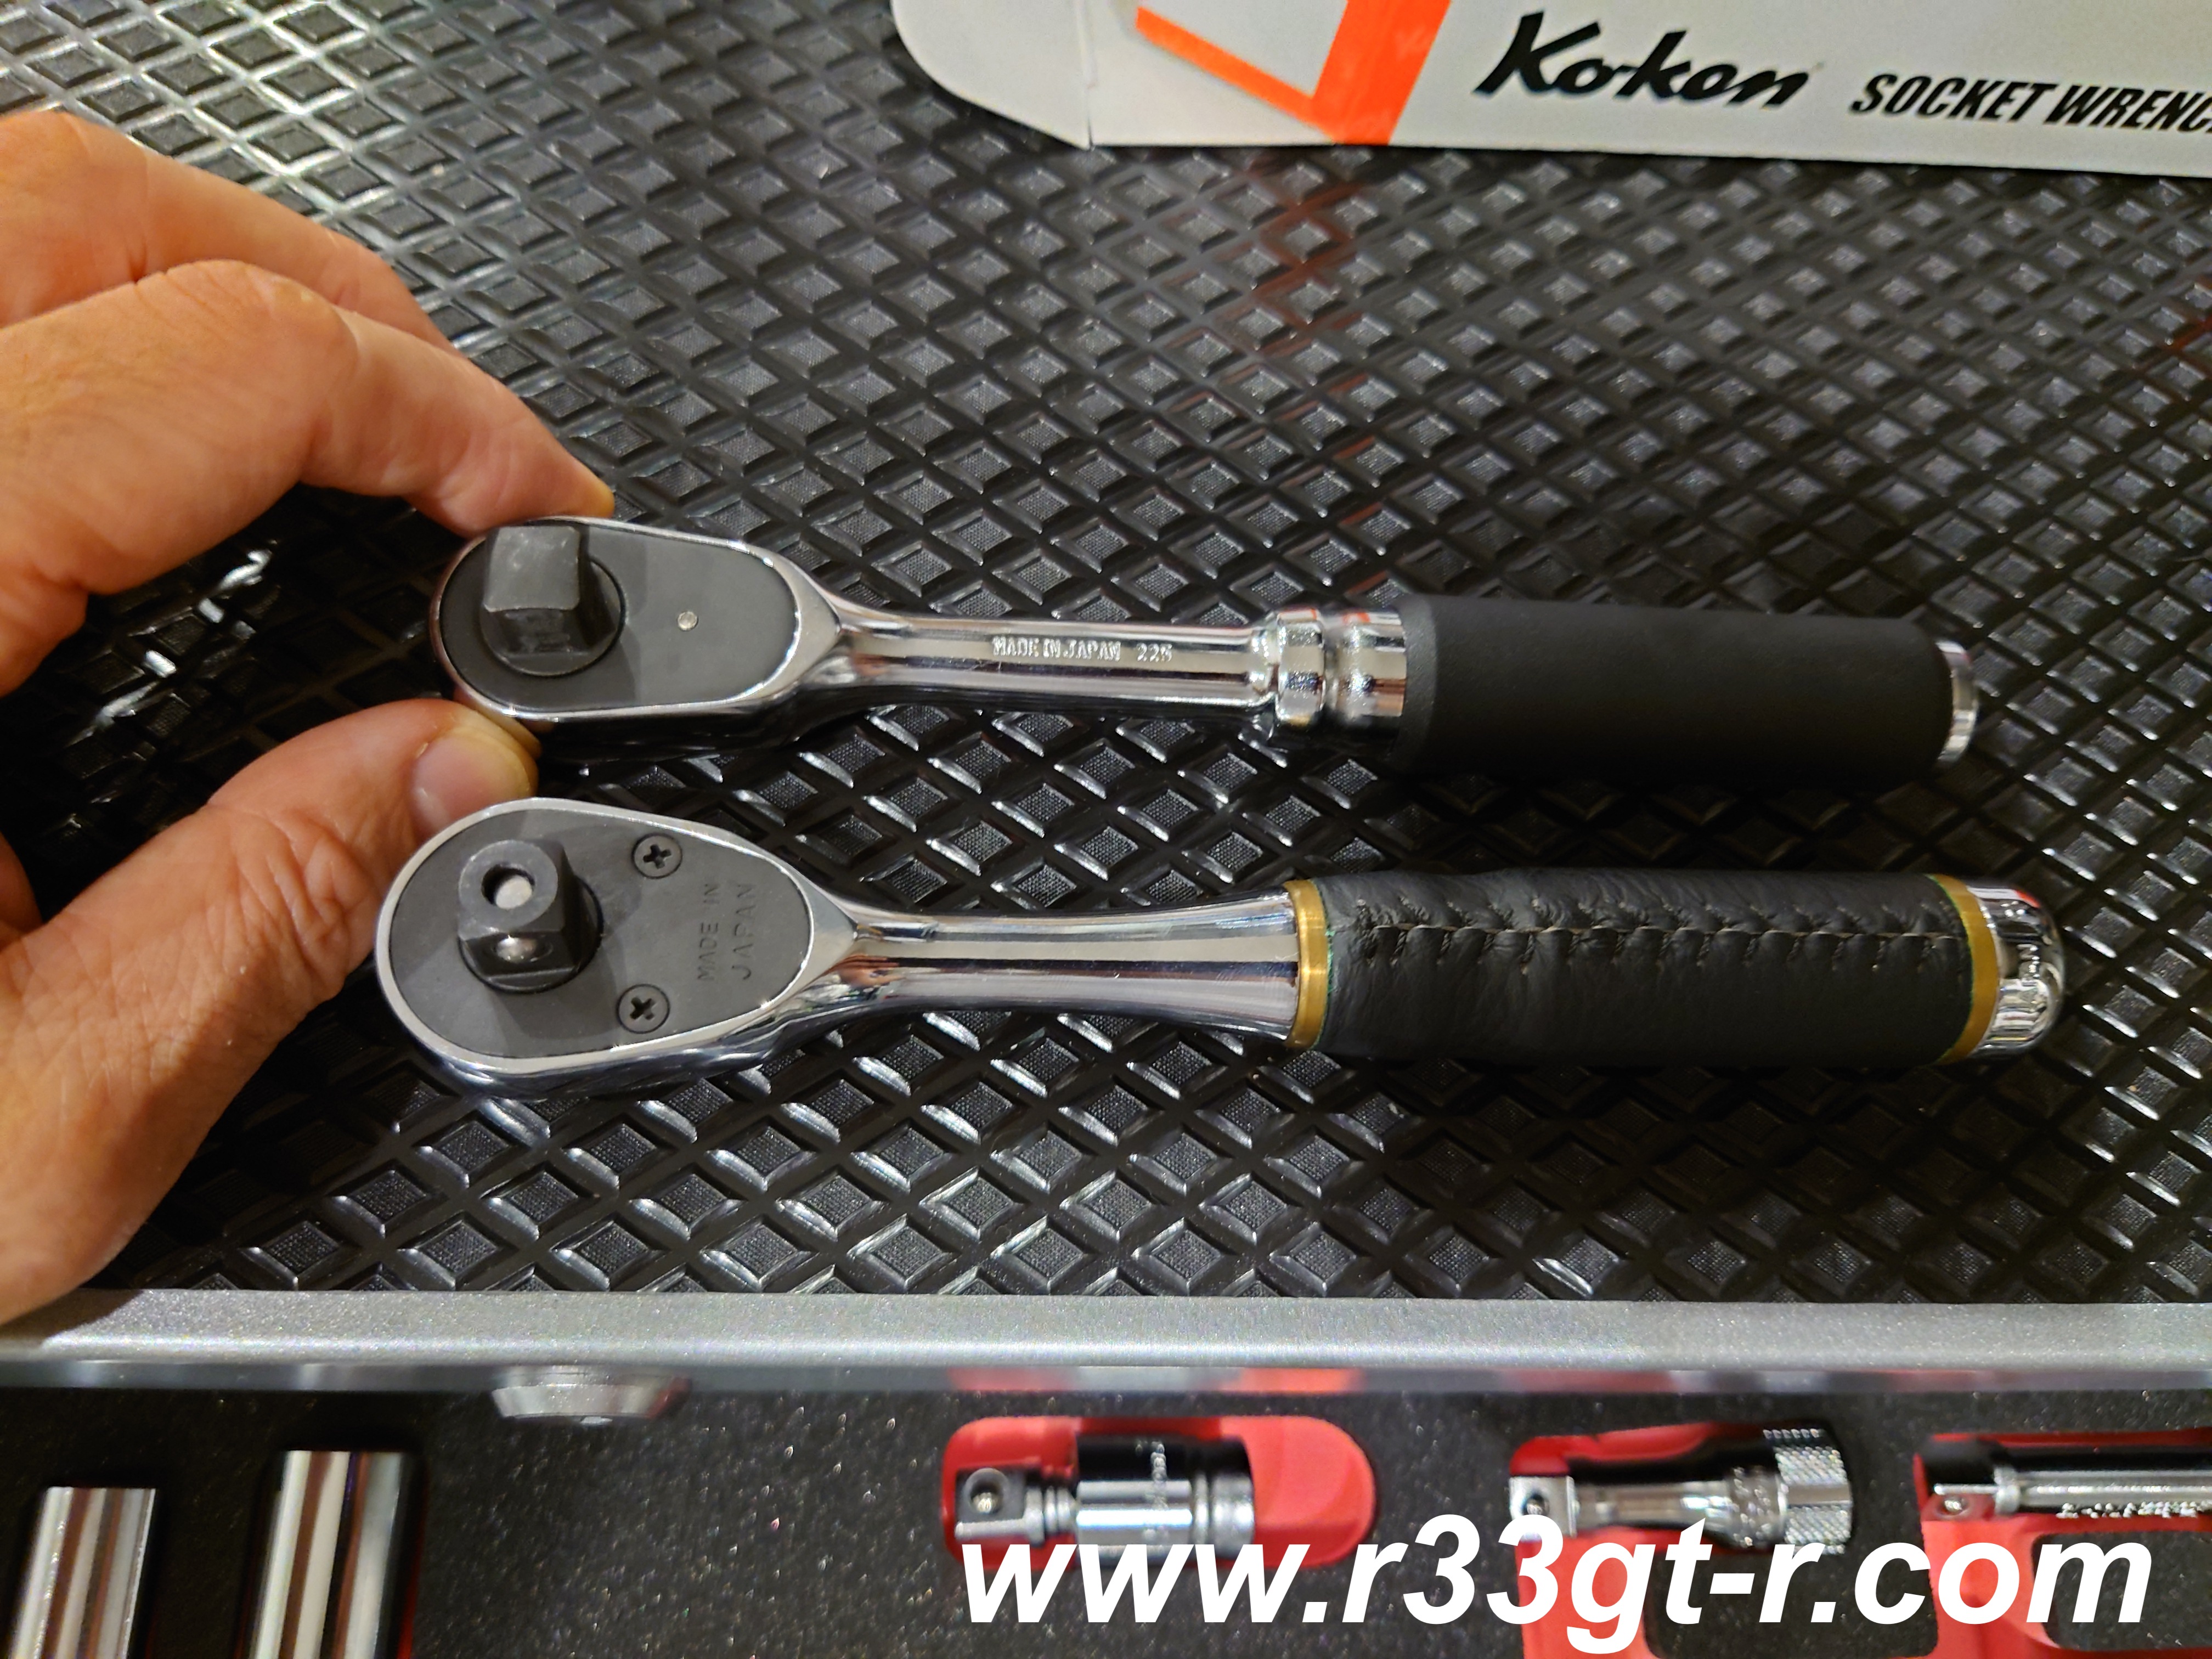
Check out the difference between a KTC NEPROS 3/8inch socket wrench (bottom) and the Ko-Ken ZEAL 3/8 socket wrench (top).
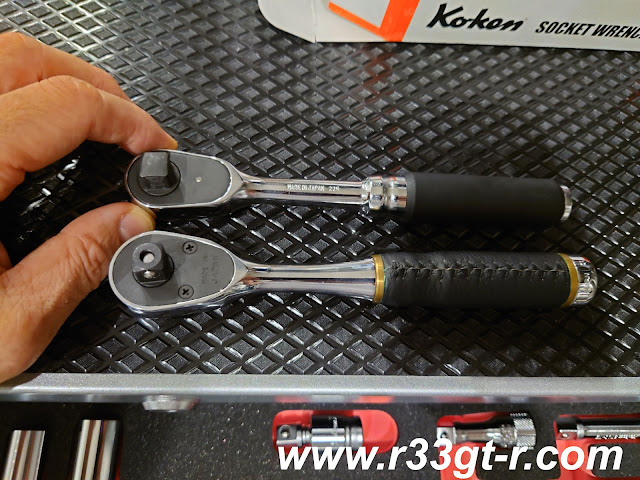
Yep, the NEPROS wrench has a leather wrapped handle!


This company's wrenches are definitely superior to even the NEPROS socket wrench in terms of feel, balance and the ratchet resistance. With such light resistance, it really makes it easy to spin it by hand as well as return the wrench to the initial position.  The additional spinner wheel helps, as well as the cross hatch pattern on the extension bars, which Koken offers but KTC did not.
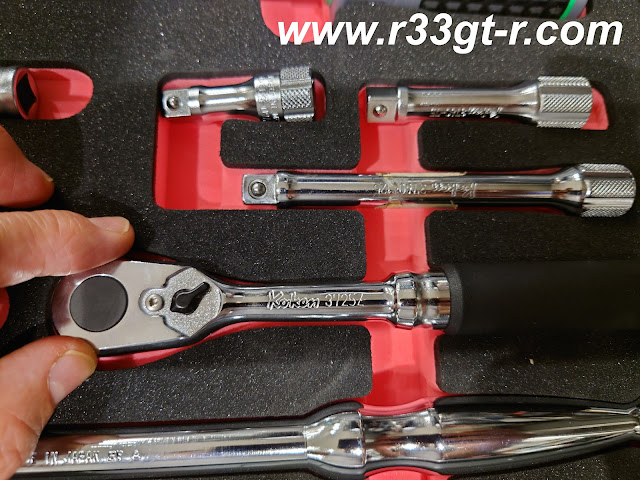
Note the cross hatch patterns on the socket extensions 

So everything other than what is circled is KTC

While I did order a set of KTC screwdrivers that fit nicely into the cutouts (and I had previously picked up the set of 3 KTC wrenches on sale), I still continue to rely heavily on this lifesaver, a rechargeable motorized screwdriver by Vessell, acknowledged as the premier screwdriver specialist in Japan. By using the motorized feature, much less tiring than spinning a screwdriver by hand, although of course for delicate work you can simply use as a regular screwdriver.  With the built in LED light, this kind of tool is particularly useful for doing work in dark places like the underside of the steering wheel.


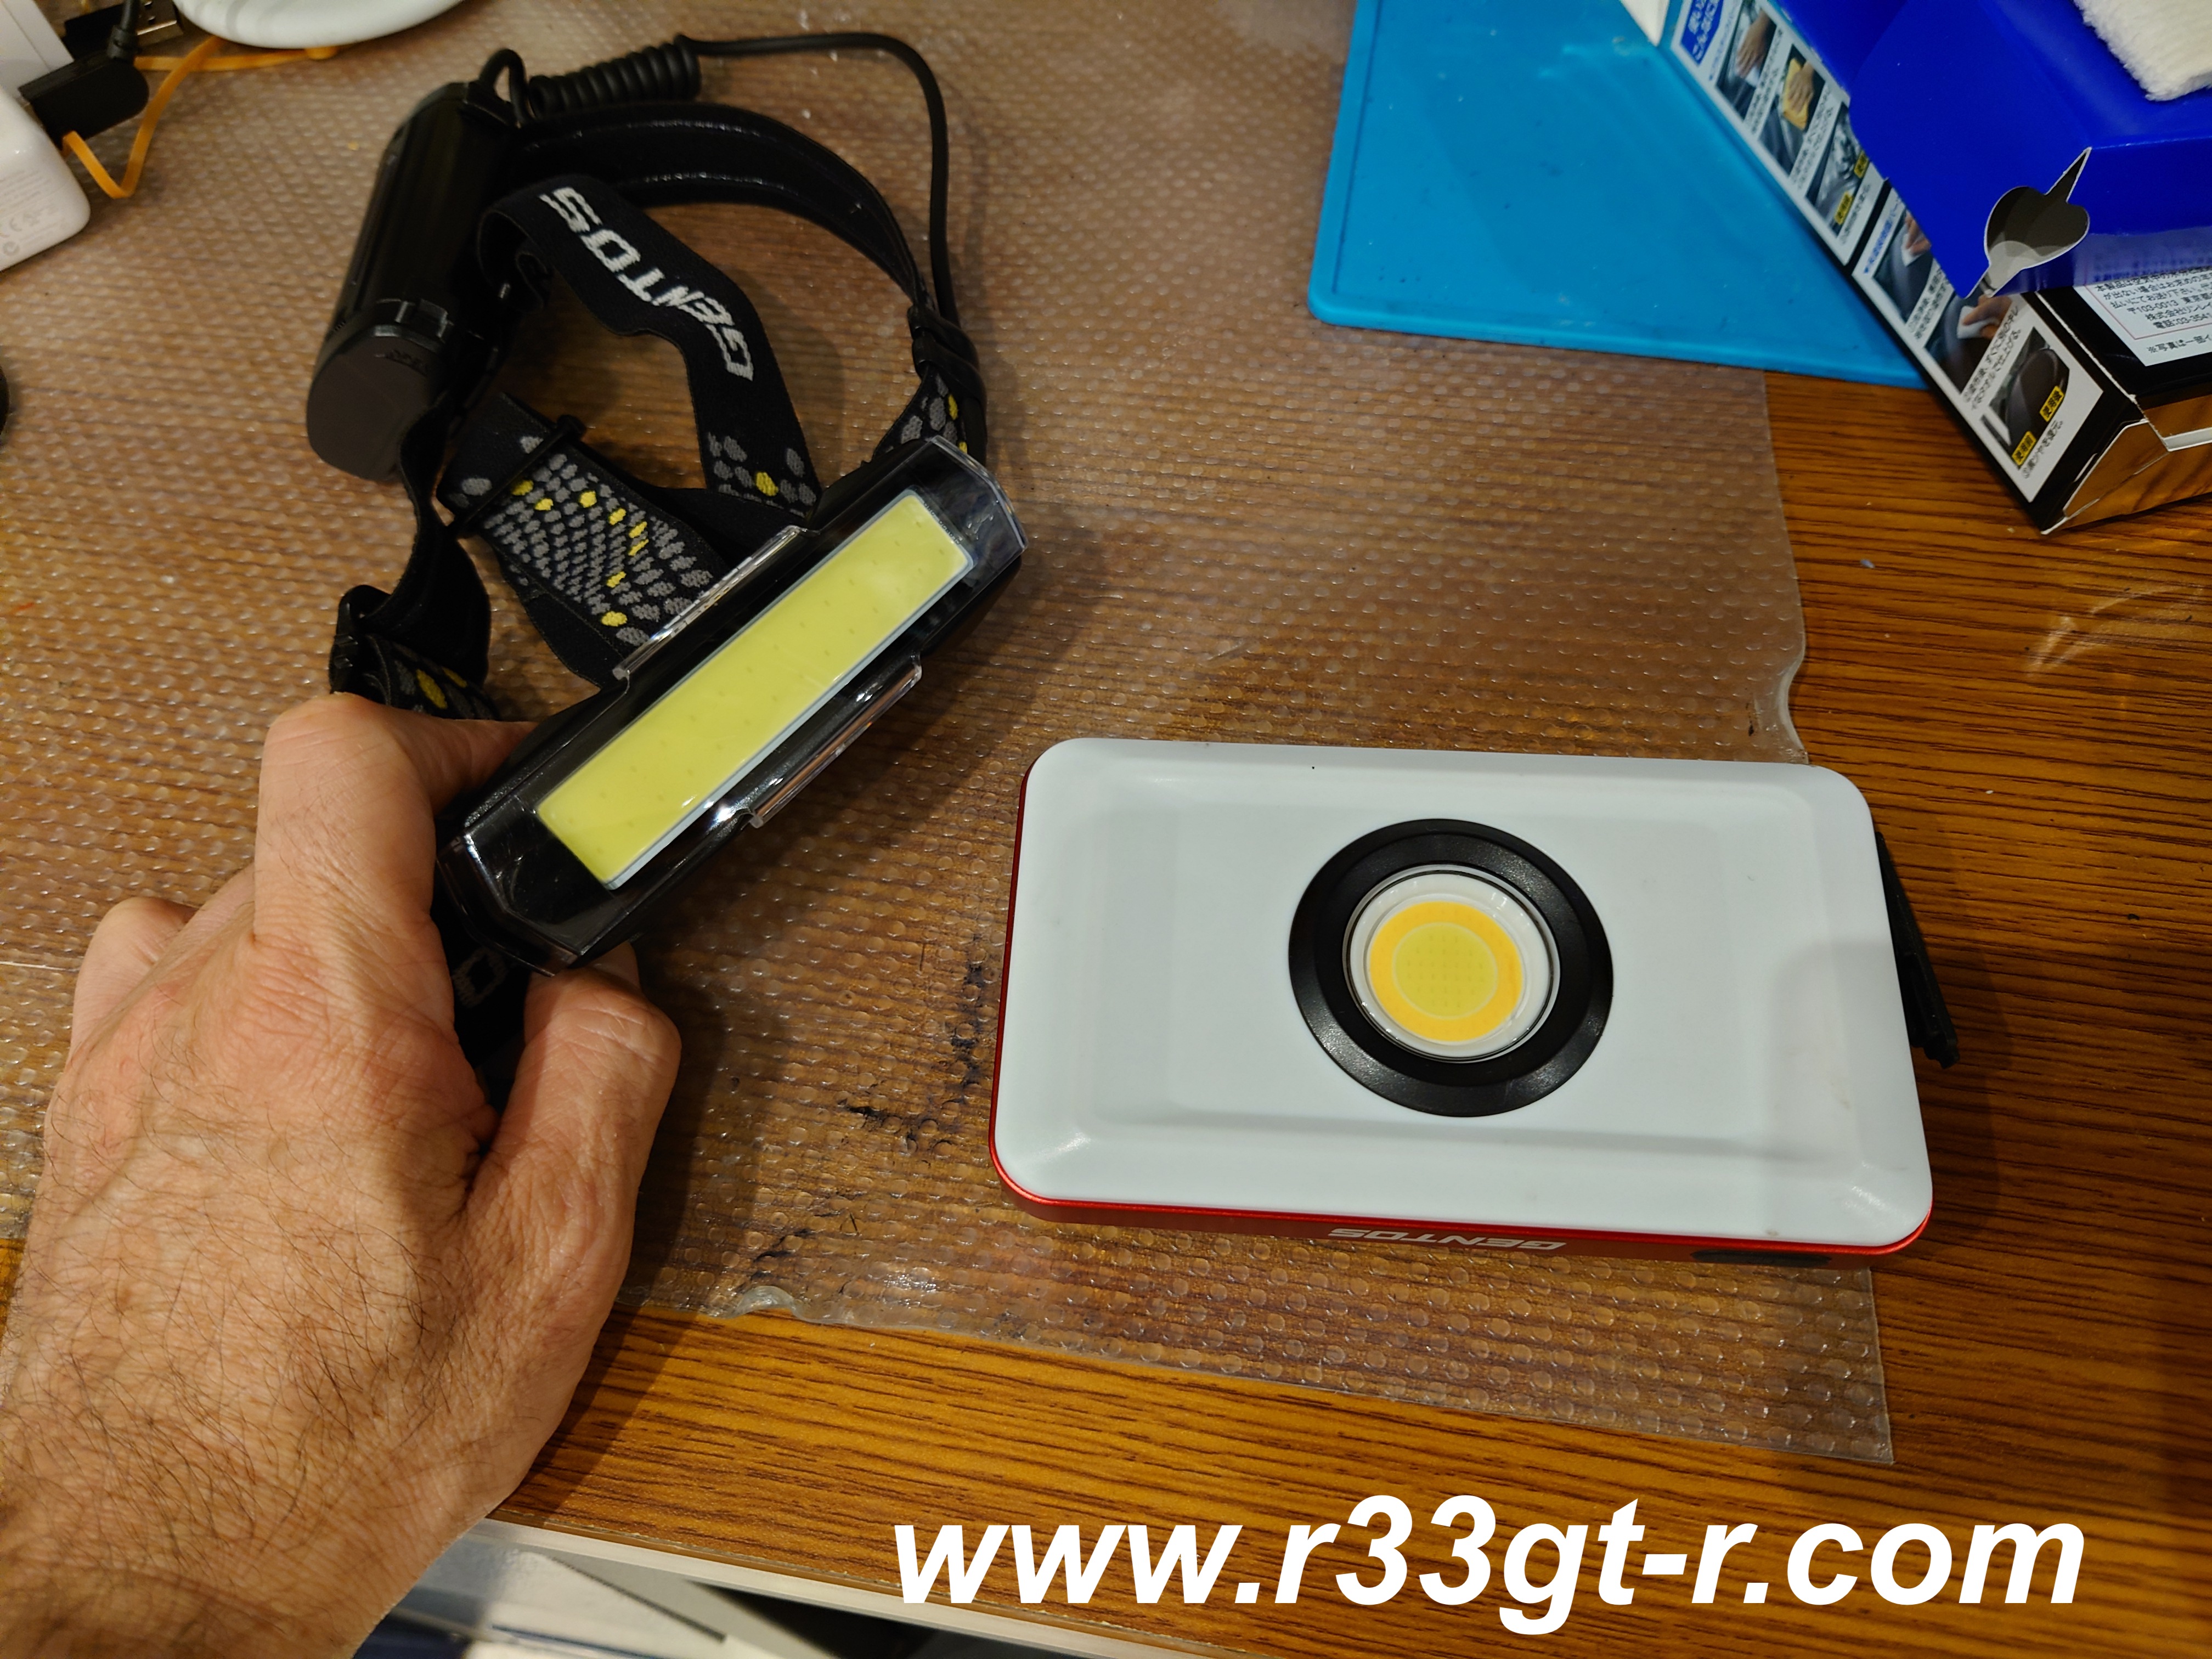
Talking about dark places and lighting - I relied heavily on this LED headband as well as this magnetized COB LED work light by GENTOS - 1100 lumens, and a 10,000 mAh battery which lasts for 12 hours (if not more) easily on one charge.  Proper lighting is KEY when working under the dash.


But perhaps the SUPERSTAR of my recent project on Marine Day is this tool - can anyone guess what this does?

Merry HS175C Coupling Tool by Muromoto Tekko - btw I paid less than half retail on Amazon...

That's right it is a special tool designed specifically to quickly and easily remove those very annoying multi-pin automotive electrical connectors.  Made by Muromoto Tekko as part of their automotive speciality tools lineup and of course Made In Japan.  In the past, I had always struggled with those white electrical connectors - for example those that connect the power window switches to the main harness, or all those that connect the buttons on the main surround to the harness behind it.  Using this means my fingernails are no longer cracked, fingers are no longer sore, and since the tool makes disconnecting the connectors easy, it helps prevent damage to whatever interior piece that needs removal. Especially true as those plastics have all hardened with age and so require more force to disconnect than might be expected. 

I found this graphic which makes it easier to understand what I am saying...
Please check out the website where I found this graphic - tremendously helpful! Plus videos too!

In the same way, I also used this other tool a couple times for smaller connectors - it slips onto your thumb and gives you a built in plastic tip that you can press down on those small little disconnect tabs on the couplers.

It's called the Amon 2381 Music Project Harness Coupler Remover

So here is the rolling tool cabinet in action. Maybe in a future post I can show you how it arrived and how I had to unpack and put the wheels and side handle on, but in a word, it was super heavy! 74kg empty!!
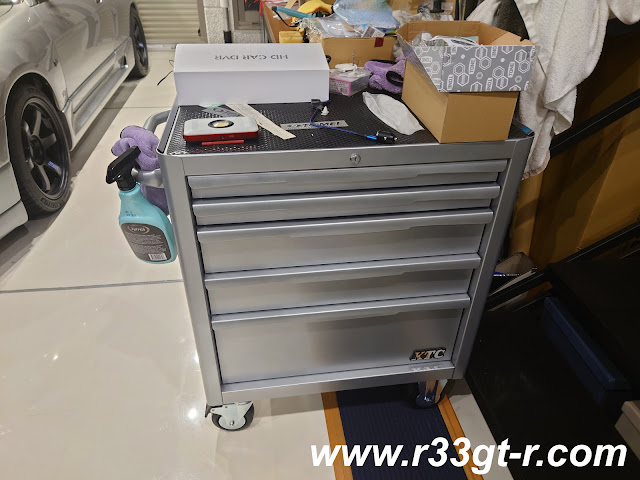
Not sure about sticker tuning, frankly. Although I am tempted as I now have a large canvas for all those stickers I've collected from the parts I've installed on the GT-R.

There were several other tools I found and purchased in order to round out what I might need - except they were not need this time round. Like this 1/4 inch ratchet and socket set from Ko-Ken. Same super smooth low resistance ratchet as the 3/8 size.  And yes I do have the Ko-Ken Nut Grip Sockets, separate from this set and in both 1/4 and 3/8 sizes.


Not sure when I will be able to start really using these tools, but I feel pretty prepared for just about anything now, short of an engine or transmission removal!

Ok next post - back to more car stuff. Stay tuned and thanks for letting me talk about these tools.