Showing posts with label detailing. Show all posts

Saturday, September 30, 2023

Minor Electrical Issue Was Worth Fixing!

So you all will remember the nightmare that happened a few years ago when a rogue stereo /alarm installer decided he would use my car as his experimental test bed and not apologize for all the goofs? Well, one consequence of that was that a lot of the wiring harness got chopped and so many connectors on the harness were lost.

One of these was the connector to the cigarette lighter.  It's only 3 leads, but... And I recall it was because he had relocated the HVAC controls to this lower area, obliviating the need for a cigarette socket. Sure, I guess you then don't need the connector to the cigarette lighter but what if I changed my mind later?

Anyway, recently I realized I was having problems with this compact cigarette socket USB charger.  I would plug cables into it that I knew were not defective, but my phone would not charge.

Excuse the dust! Also, this unit is supposed to light up when power is flowing to it...

I would tinker with the backside wiring, and sometimes end up with the cigarette socket surround lit up (not the unit itself - it needs acc power) when the lights were off, and vice versa. Or no power at all, even when the engine was on.  Finally it dawned on me that this USB power thing might be broken. So...

24 hours later - Amazon to the rescue... yeah the box got crushed

But the unit inside was fine.

Bright red so I wouldn't get confused with the current one. Plus, anodized red is always nice

Obligatory comparison photo.

So what happened then? Obviously, a simple successful swap would not result in a blog post. 

Well both good news and bad. Good, in that as the red unit lit up, I knew the black unit had failed.


But bad, because it STILL wouldn't charge my phone.  The phone would recognize power being sent but the current seemed to fluctuate on/off/on/off/on/off... and then nothing. So annoying...

So it was removing the shift surround panel to access the wiring once again and...

And yes, the tape deck is working perfectly, and sounds awesome too!

I finally figured out that the wiring being inserted into the cigarette socket circuit was wrong, even though it was lighting up properly.  Actually, without the ignition on, turning the lights on gave a "buzz" sound so I knew something was off.  So I swapped some wires around and...

Proper wiring positions - for my records, just in case!

Success! Power to finally charge my phone.  I celebrated by buying a USB-C charging cable with both Lightning and USB-C ends to allow for charging of both of my phones (and anyone riding with me with an older iPhone).


So really just minor stuff. What's next? That reminds me I need to talk to Ochiai-san at Omori Factory...

Monday, September 18, 2023

Making Sure I'm Not Left Behind

I am talking about car cleaning and detailing techniques, of course.  Since I admittedly rarely drive the GT-R these days, I don't really get a chance to keep my skills up. 

On the other hand, my Lexus... 

So I found this interesting product, originally designed to be applied to cell phone screens to supposedly harden the glass to 9H. Thus obliviating the need for those thin plastic or glass screen savers. Not sure about that, but I recently was reviewing Minkara Parts Review and found several owners saying that this spray on product was helping protect those piano black finishes that are now popular in cars these days.

Of course, the GT-R doesn't have any piano black finish, but apparently this works on plastic in general, so if it doesn't make everything shiny, I might see how I could use this in the R33, at least on non-leather surfaces.


You can check out my impressions of this over at my other blog, at www.lexus-isf.com 

Don't tell the Lexus fans, but I am going to, in my spare time, start researching the latest on car detailing techniques and products, and practice on the IS-F.  Being a blue car with a clearcoat, I think this will be a good learning experience.   Interior-wise, it has leather and plastic, meaning I can practice on those materials too!

Stay tuned... yes I have some fun GT-R stuff coming up soon, just need to make a few phone calls...

Saturday, December 3, 2022

Mods to the Garage - LED Lighting for the Win!

 So even though this blog is about my R33 GT-R, for me ownership of this car means I have a responsibility to make sure this car looks good all the time.  That means keeping it clean, and that means that when I'm not driving it or making mods to it, I want to do what I can to keep it clean.

Up until now, most of my detailing work has been the result of trial and error, and by no means is the result perfect, but I recently decided that as I am lucky enough to have a decent sized garage, why not create an environment that would allow me to go full blow OCD when polishing my car?

You may have seen glimpses of my garage in this blog, or on Speedhunters here in detailing Dino's yellow 911 and here doing some interior work on the same car, but I always felt like while a good working space what we could do was limited by the amount of light - sunlight for paintwork and interior lighting for everything else.

So after doing some research, I found a set of 20 LED lamps with a claimed output of 2300 lumens each with 5000K coloring.

Yep, made in China but the price was right. Quality not bad actually!

I think there is more cardboard here than the LEDs themselves

And yeah came with a whole bunch of connectors and clips

Of course having ordered 20, the first thing I did was to try to figure out the best lay out for the garage. I did this by laying out all the cardboard tubes the LEDs came in on the garage floor to visualize spacing, as well as how to hook up the wiring between each LED lamp (they are modular so voltage goes in one side and out the other, into the next one, etc.)

The GT-R was freshly back from the R's Meeting

Did a quick detail, and made sure the LEDs worked properly. Yes!

But before installing on the ceiling, I took the easy way out, and installed 5 units alongside the far wall next to the Lexus.

All lights in the garage off, trying these 2 LED lights.

Installation was easy, so I went ahead and wired in 5 of them along this wall, using the mortar space between two tiles as my guide. I initially thought about horizontal placement but then realized it might be better to have the vertical length in order to see into the paint well, from all angles. So I went ahead and ordered several 1 meter long extension cords to run between each light.

The blue paint looks fantastic!!

Photo glare! Sorrry about that... but you can see how bright the LEDs are and the extension cords I have running between at least one pair (which I cleaned up later)

So while this looks provides plenty of light, I had 15 more LED lamp units to install on the ceiling.  I then realized that I would need some help in order to ensure that I drilled the holes for the clips in a straight line.  So went ahead and got this laser level:


Which let me generate some cool green lasers on the ceiling:
(After I drilled the hole)


Once I had one north-south and one east-west installed, then it was relatively easy to keep things straight.


Just the standard garage lamps

Overhead standard lamps and side LEDs

Standard overhead plus overhead LEDs!

All Lights On! (except of course the spotlights over the GT-R)

But remember, even though I was making good progress I still have 5 more LED lamp units left. So I proceeded to install this set up:


Which made things MUCH brighter, but I felt like I could do better. More LEDs in the center, plus create another equal rectangle on the left side.  Which means 5 more LED units....

And so I decided that I would move the five 5000K LED lamp units that I had on the garage wall, and replace with five more newly purchased LED lamps - but this time with 6500K color, which is slightly more bluish than the 5000K - by having two different colors, the thinking is that this will give me better ability to spot fine scratches on lighter colored cars like the GT-R, at least from the side.

This is a well known brand, I've seen YouTubers install these.

Nicely packaged, yes.

But despite using the same couplers and cables, the form factor is thinner (Barrina on right) 

Can you spot the difference in color?
Two on the left are 6500K, three on right are 5000K

And as for the ceiling, I was able to quickly do this with the 5 I took from the wall:

But sharp eyed readers will notice a few things

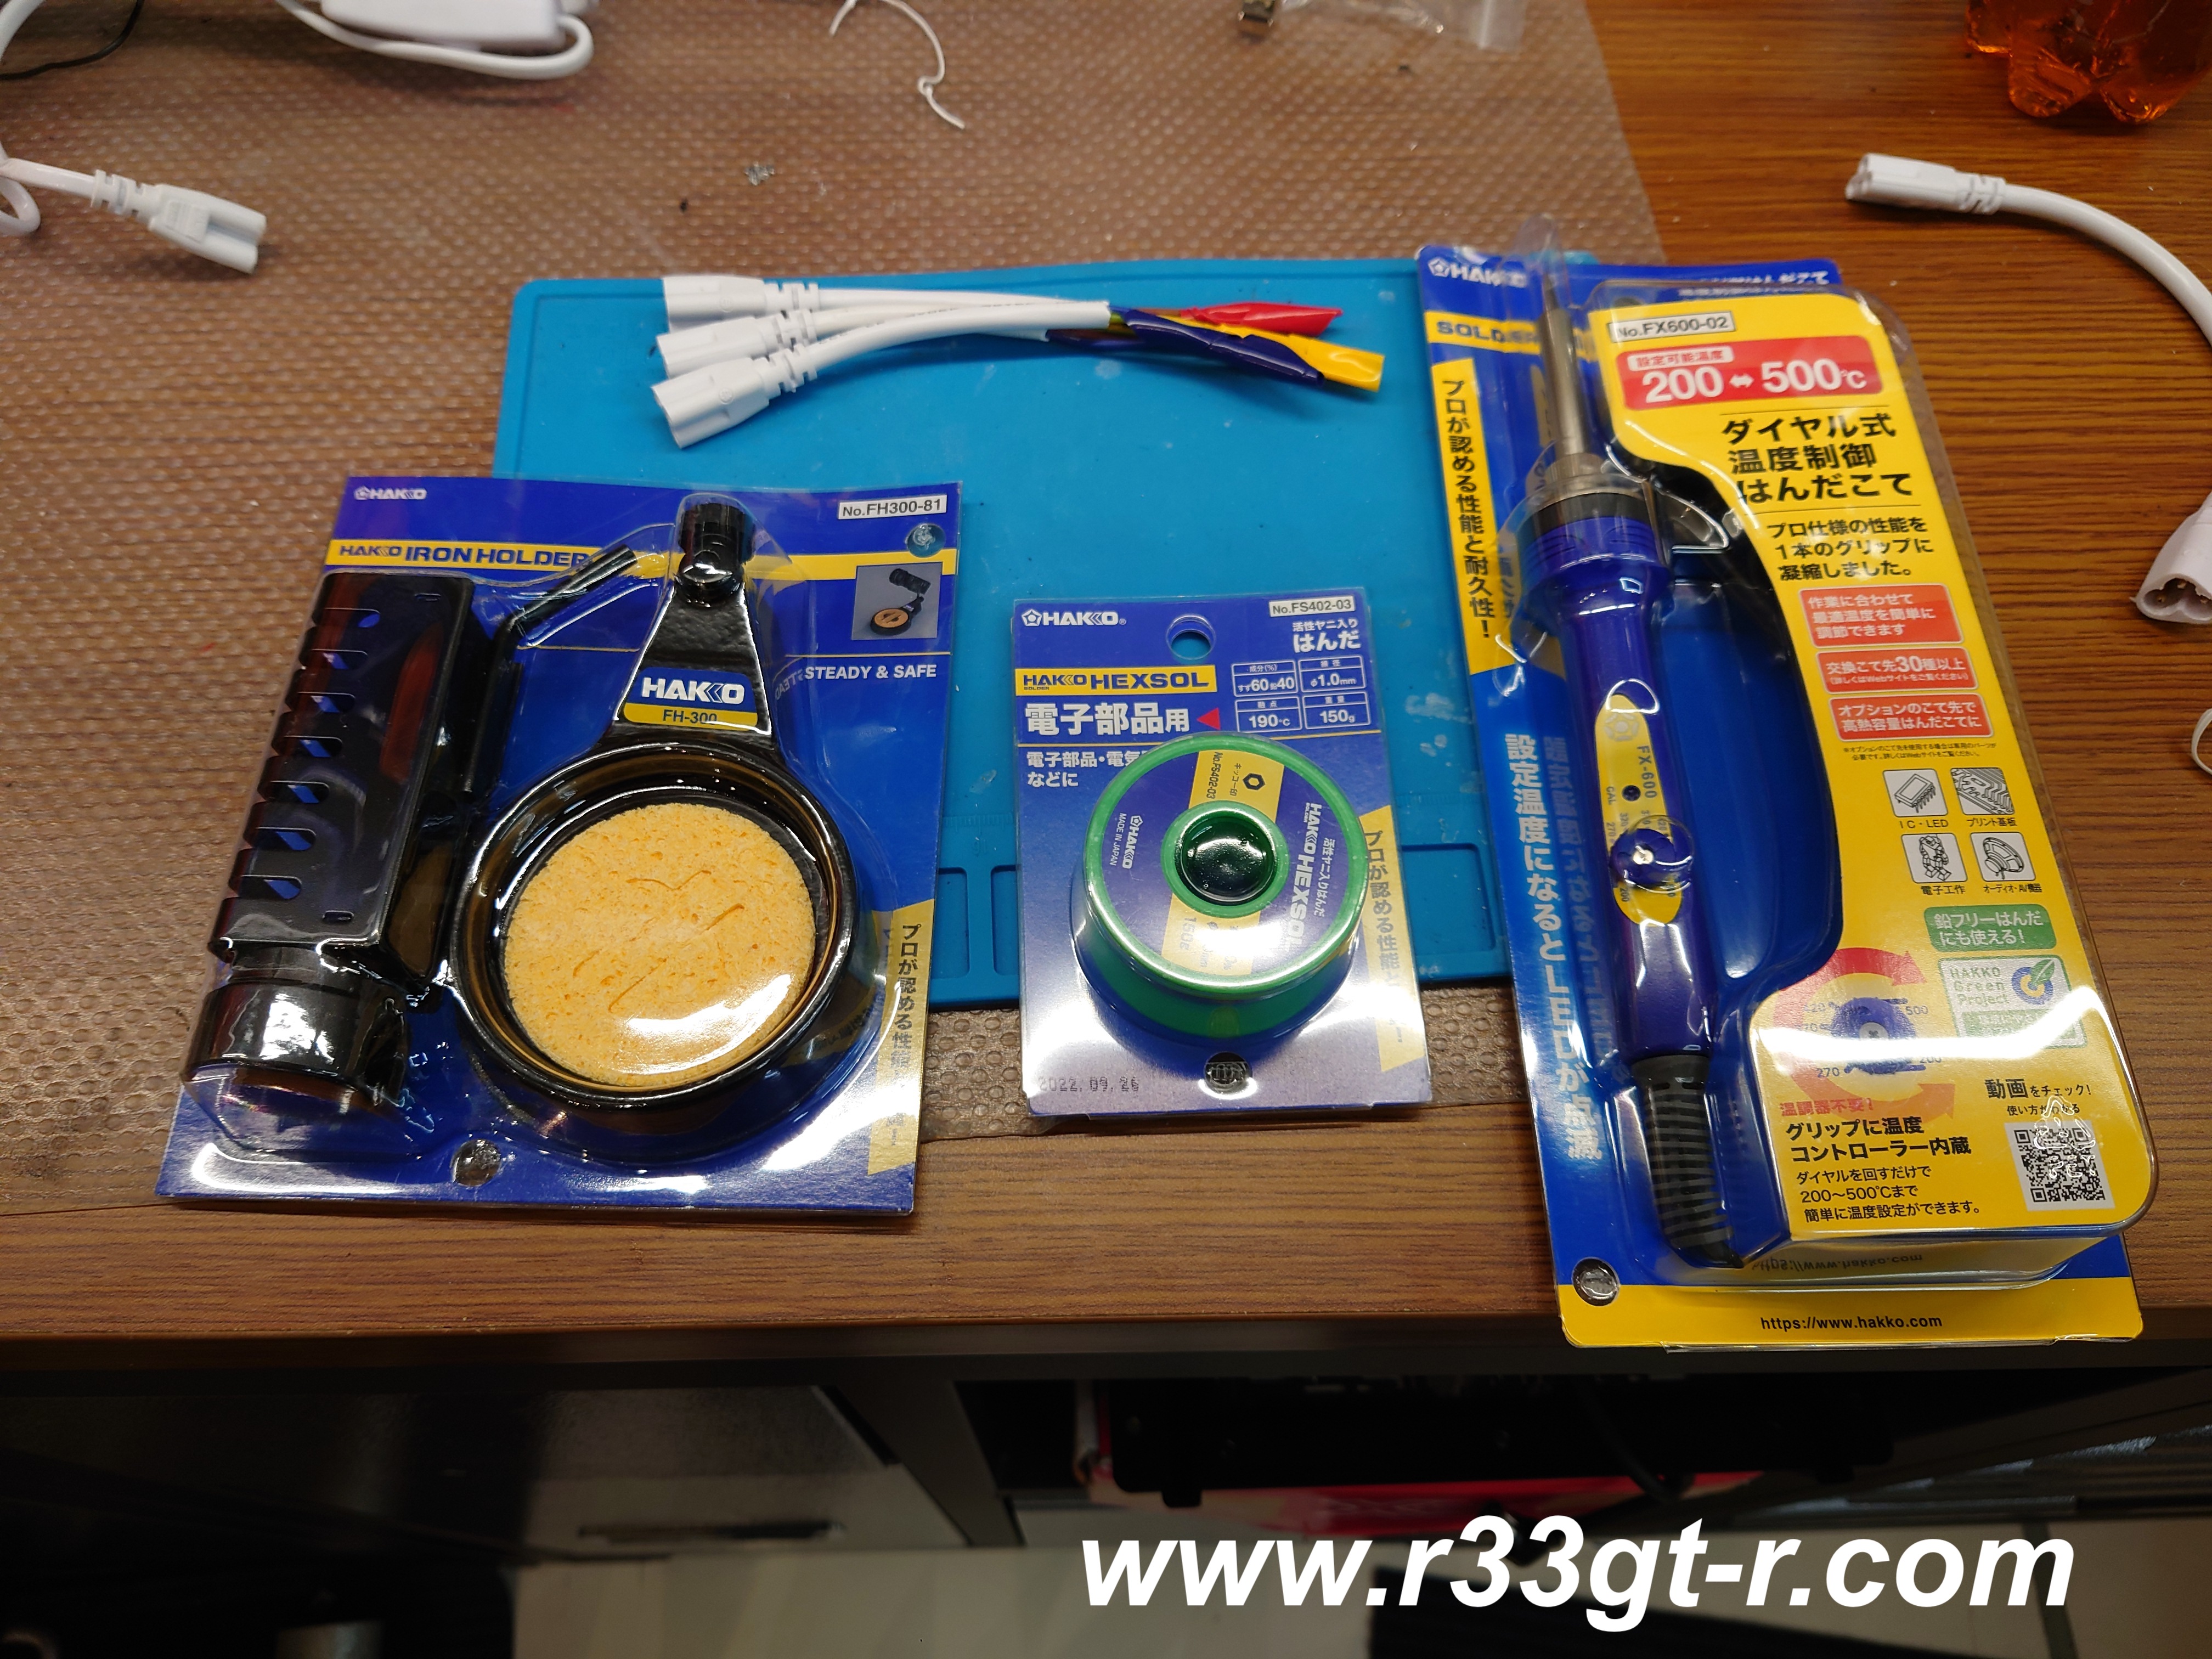
Given the very tight squeeze of the center lamps, I had to get clever, so broke out my new soldering iron and accessories.
Adjustable soldering iron from Hakko - Japan's leading manufacturer of soldering irons!

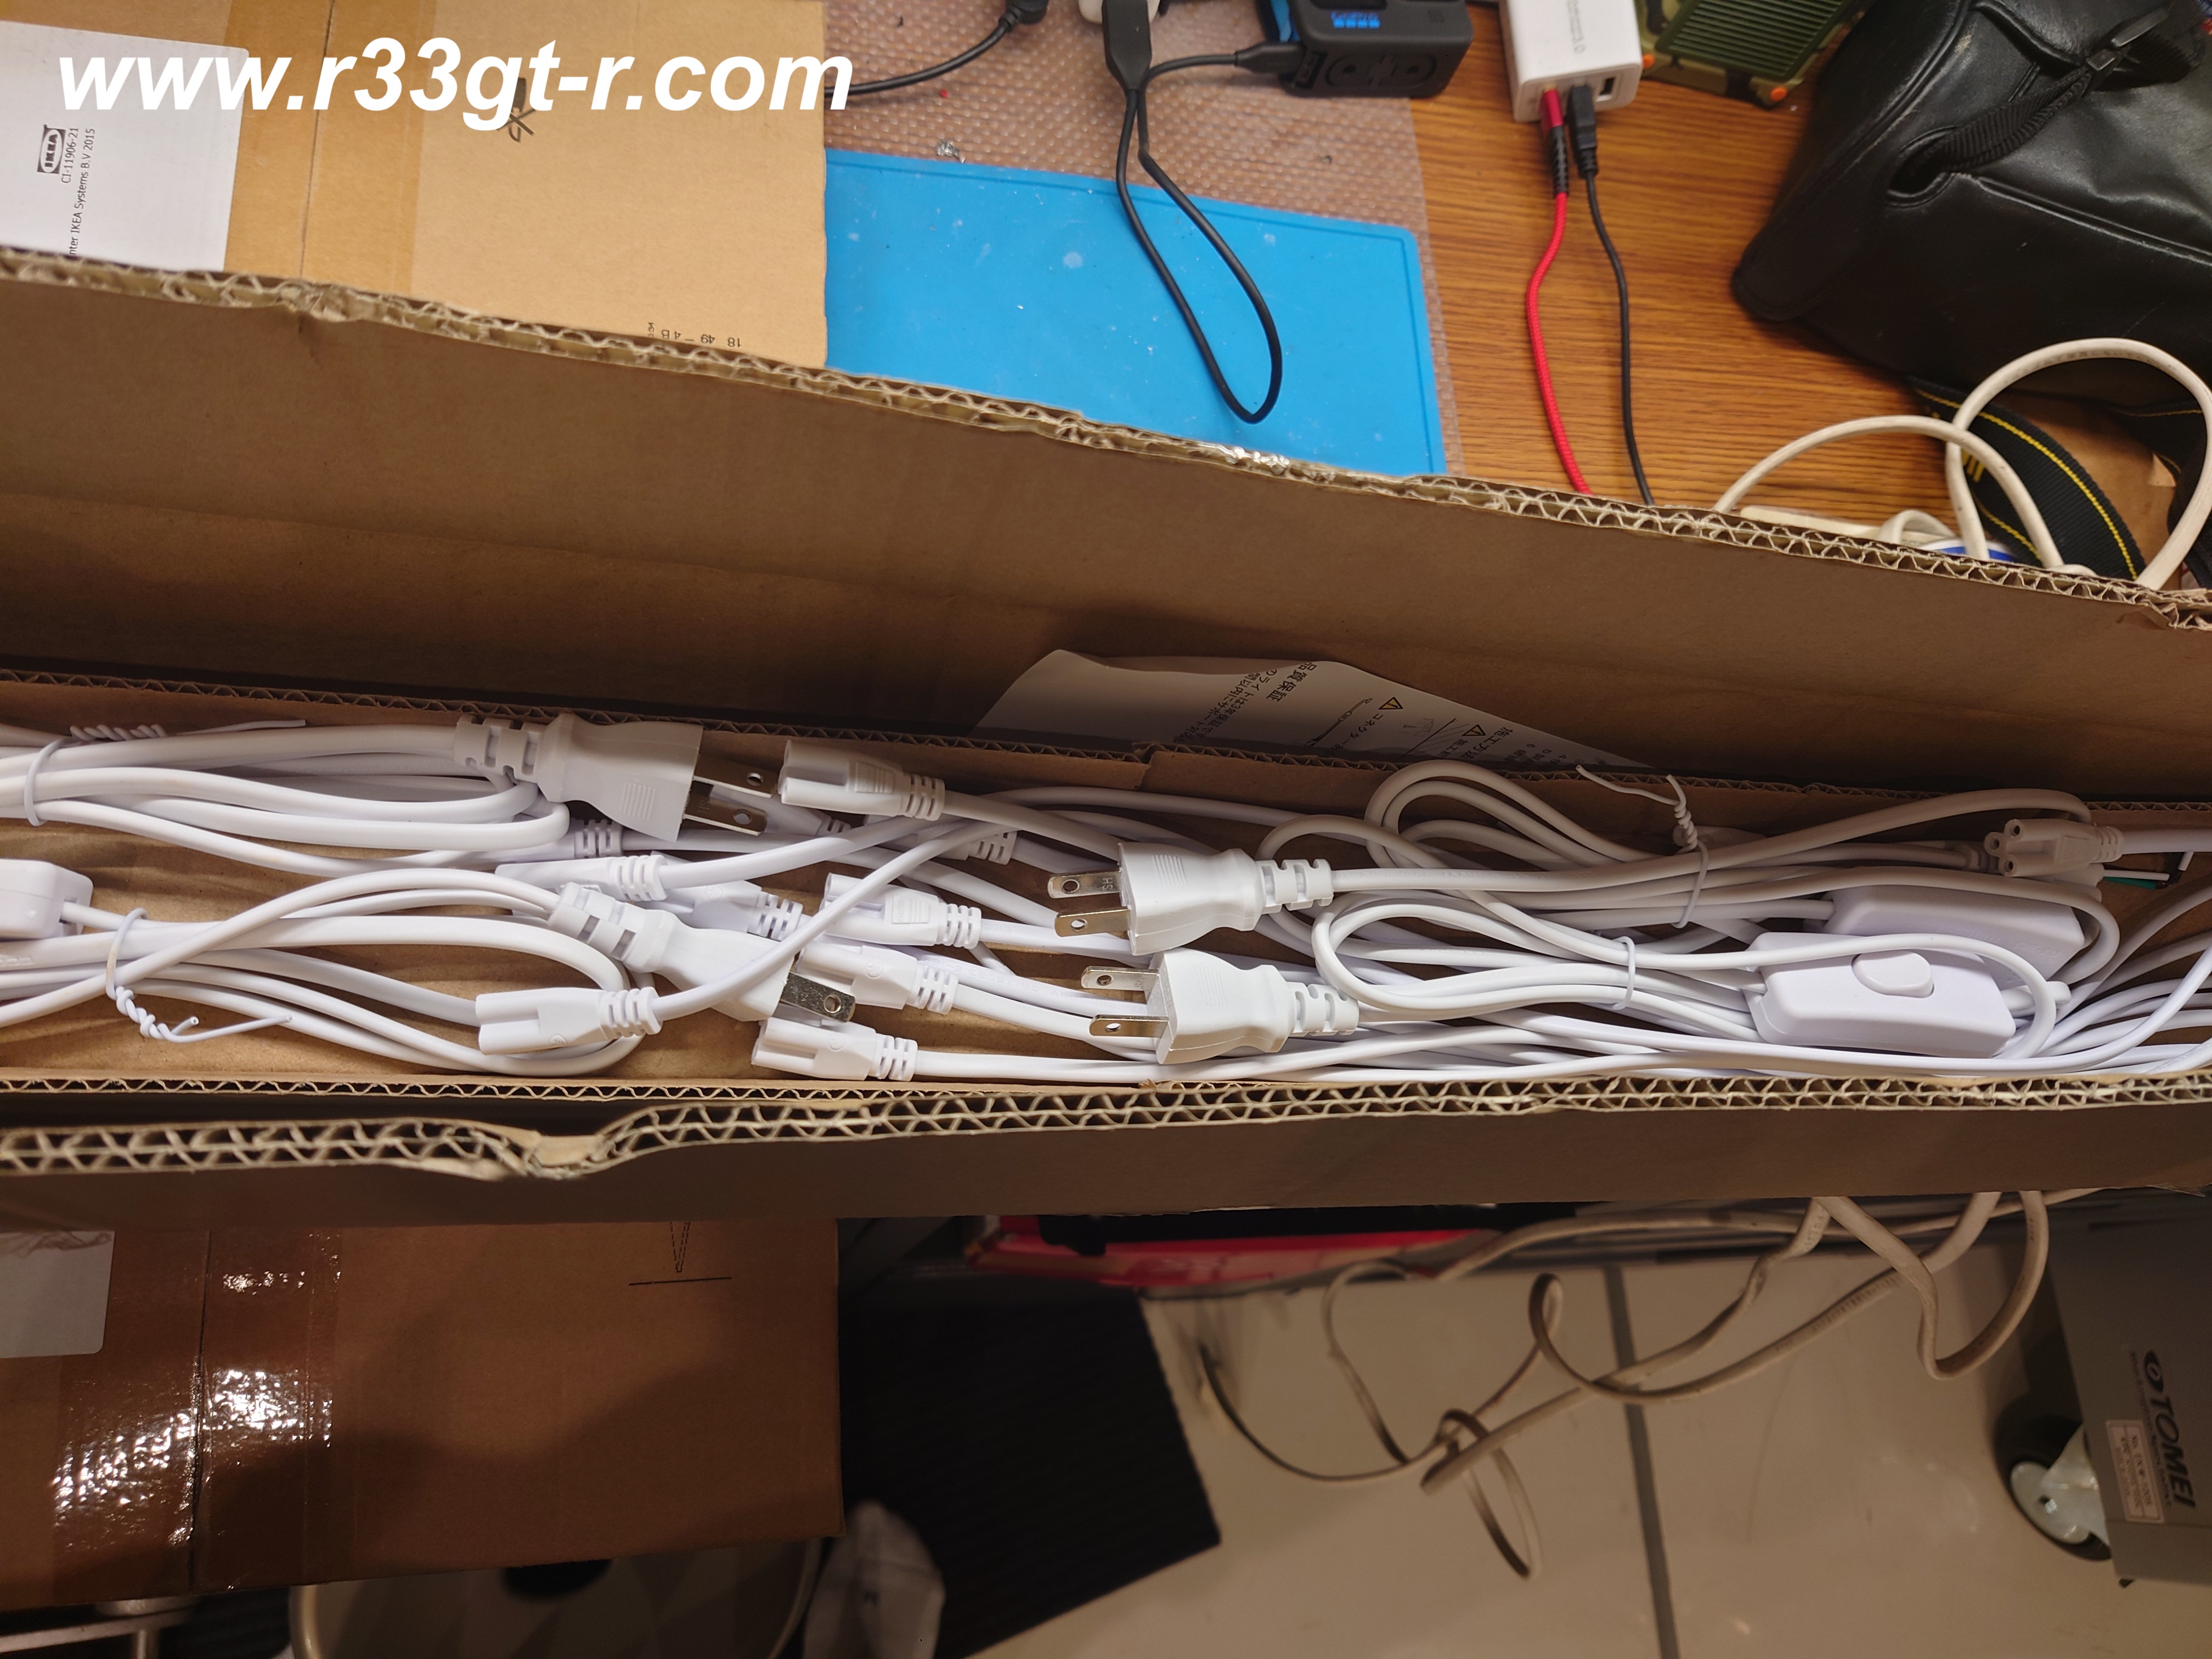
It was then that I realized I had run out of cable to power up the center bulbs, so even though I fashioned some out shortened connectors with flat cables (so as to be able to fit between the ceiling and lamps, instead of bending the cables at impossible angles over such lamps), I had to order some more connectors and cords to properly hook up the center lamps (the manufacturer recommends a maximum of 8 lamps on one circuit, so I have each of the large rectangles - at 6 lamps each - on a circuit, and will have the center 4 on their own dedicated circuit).

gotta say, even at this stage looks awesome!

A few days later:
3 circuits - left, right, and center lamps plus of course the separate circuit for the wall mounted lamps

So let's just say that I am SUPER excited by how bright the garage is now.  And with all this light, the next step is to invest in some really good stuff in terms of car detailing.  I have a Porter Cable orbital buffer, and just got some more new pads, but now the research shall begin on polishes and sealants.  Something for me to do over the winter...

Sunday, July 24, 2022

Marine Day Holiday Full On OCD Tinkering... Part 2

So in addition to the mirror replacement, I decided to focus on some on aesthetic issues - both very minor and easy to do but the execution would take some time, so I was waiting for a day off like last Monday.  Actually, the nature of these tasks meant that I started and ended the day on one of these tasks, with the mirror project done in between! 

What task is this? Well if you have a Series 3 (kohki) version R33 GT-R you know how the dashboard surround - yes the black plastic with that slightly rough feeling - scratches very easily and it also picks up dirt easily too! And given that, despite what you might believe otherwise, I actually do drive my car around a bit...

So once again, I took off the panels, starting with the driver's side door window switch assembly, the ashtray, the shift surround, and the main surround.
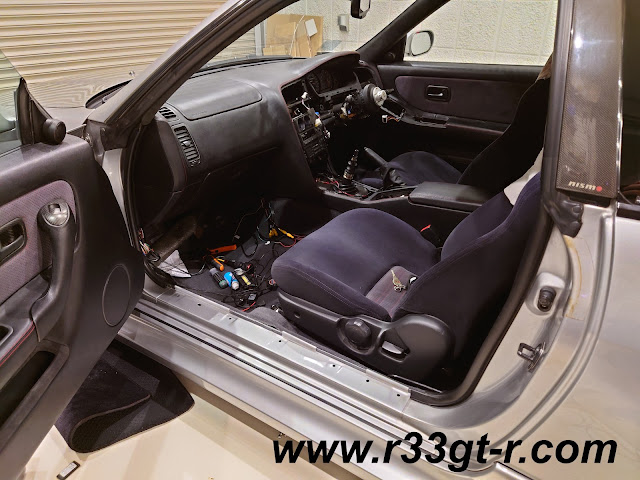
Then cleared some space on my workbench to take a look at what I needed to do.
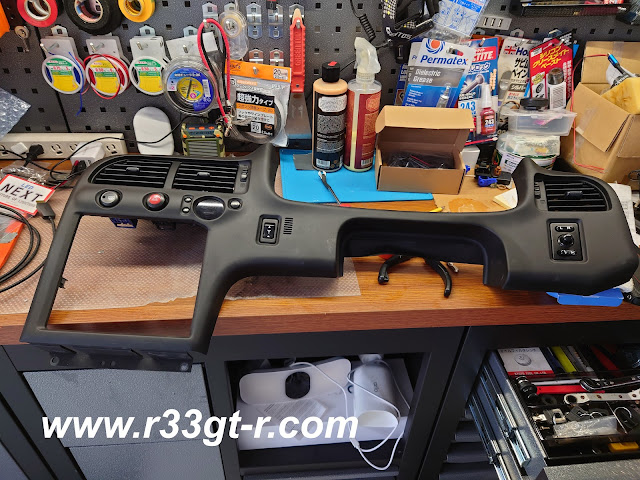
So here is one issue:
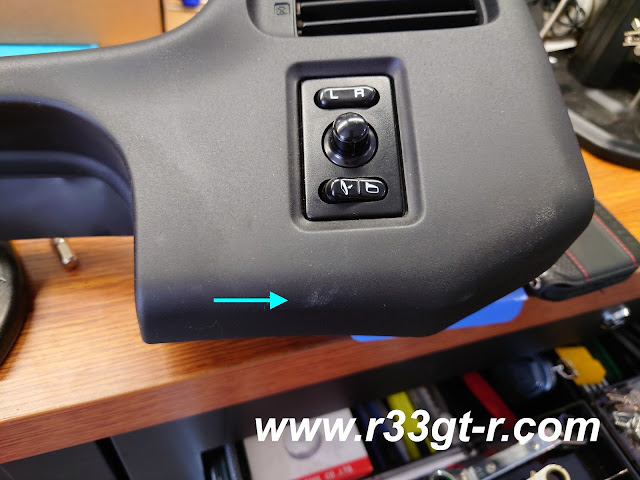
Look closely - there are also markings on the right corner too

Some other, more obvious examples.

And yes, cleaning with isopropyl alcohol (IPA) did not work. Nor did other mild solutions.

So, the solution is to paint! I have to use a special technique, which I describe below, but in preparation for paint that meant I had to remove all the switches, etc. 
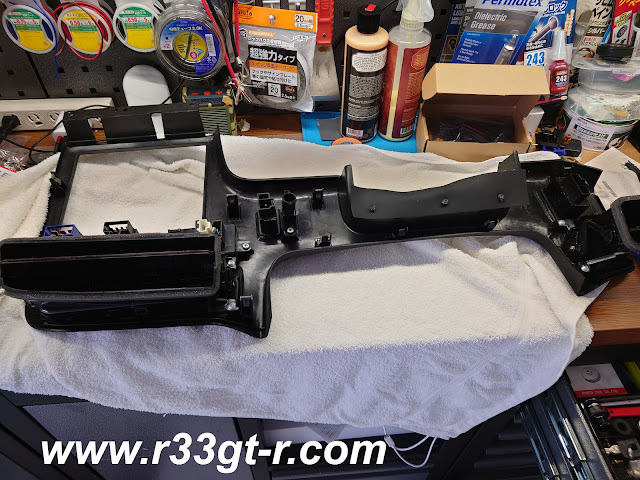
Using a towel to make sure not to further scratch

It also means removing the leather shift boot from the shifter surround.


Which then gave me an excuse to properly clean, condition and protect the leather.

Which was badly needed. Bonus, I did not need to worry about any excess ending up on the black surround plastic, where it tends to smear. So, I could apply extra conditioner and let the leather all soak it up without worry!

Once all the switches were removed, and I taped up the cigarette lighter surround (I tried to remove but gave up) I did an IPA wipedown of all the parts using a clean, brand new microfiber cloth.


And then took a deep breath and...

So the technique I use is to use flat black spray paint, but I purposely hold the can further away from a normal painting stance. That allows the paint particles to dry slightly in mid-spray, which results in semi-dry particles landing on the surface.  If you recall the plastic itself started out with a slight rough, sandpaper feeling surface, so several passes of this painting technique were required to build up the particles on the surface.  So yes this took several hours, but again during this time I worked on replacing the mirror as I described in my previous post. 

While I had the surrounds off, I tackled another issue that had been slightly bothering me.  Can you tell?


So it may be my imagination, or else I have issues, but it seemed to me that the light bulbs used in the center HVAC unit did not seem to be as bright as the LEDs I used in the 3 gauge cluster - or for that matter, even the OEM cassette deck!

Suspecting it was time for the OEM bulbs to go, I found a seller on Yahoo Auctions who sent me this - they look like the COB type LEDs which I like, so promising!

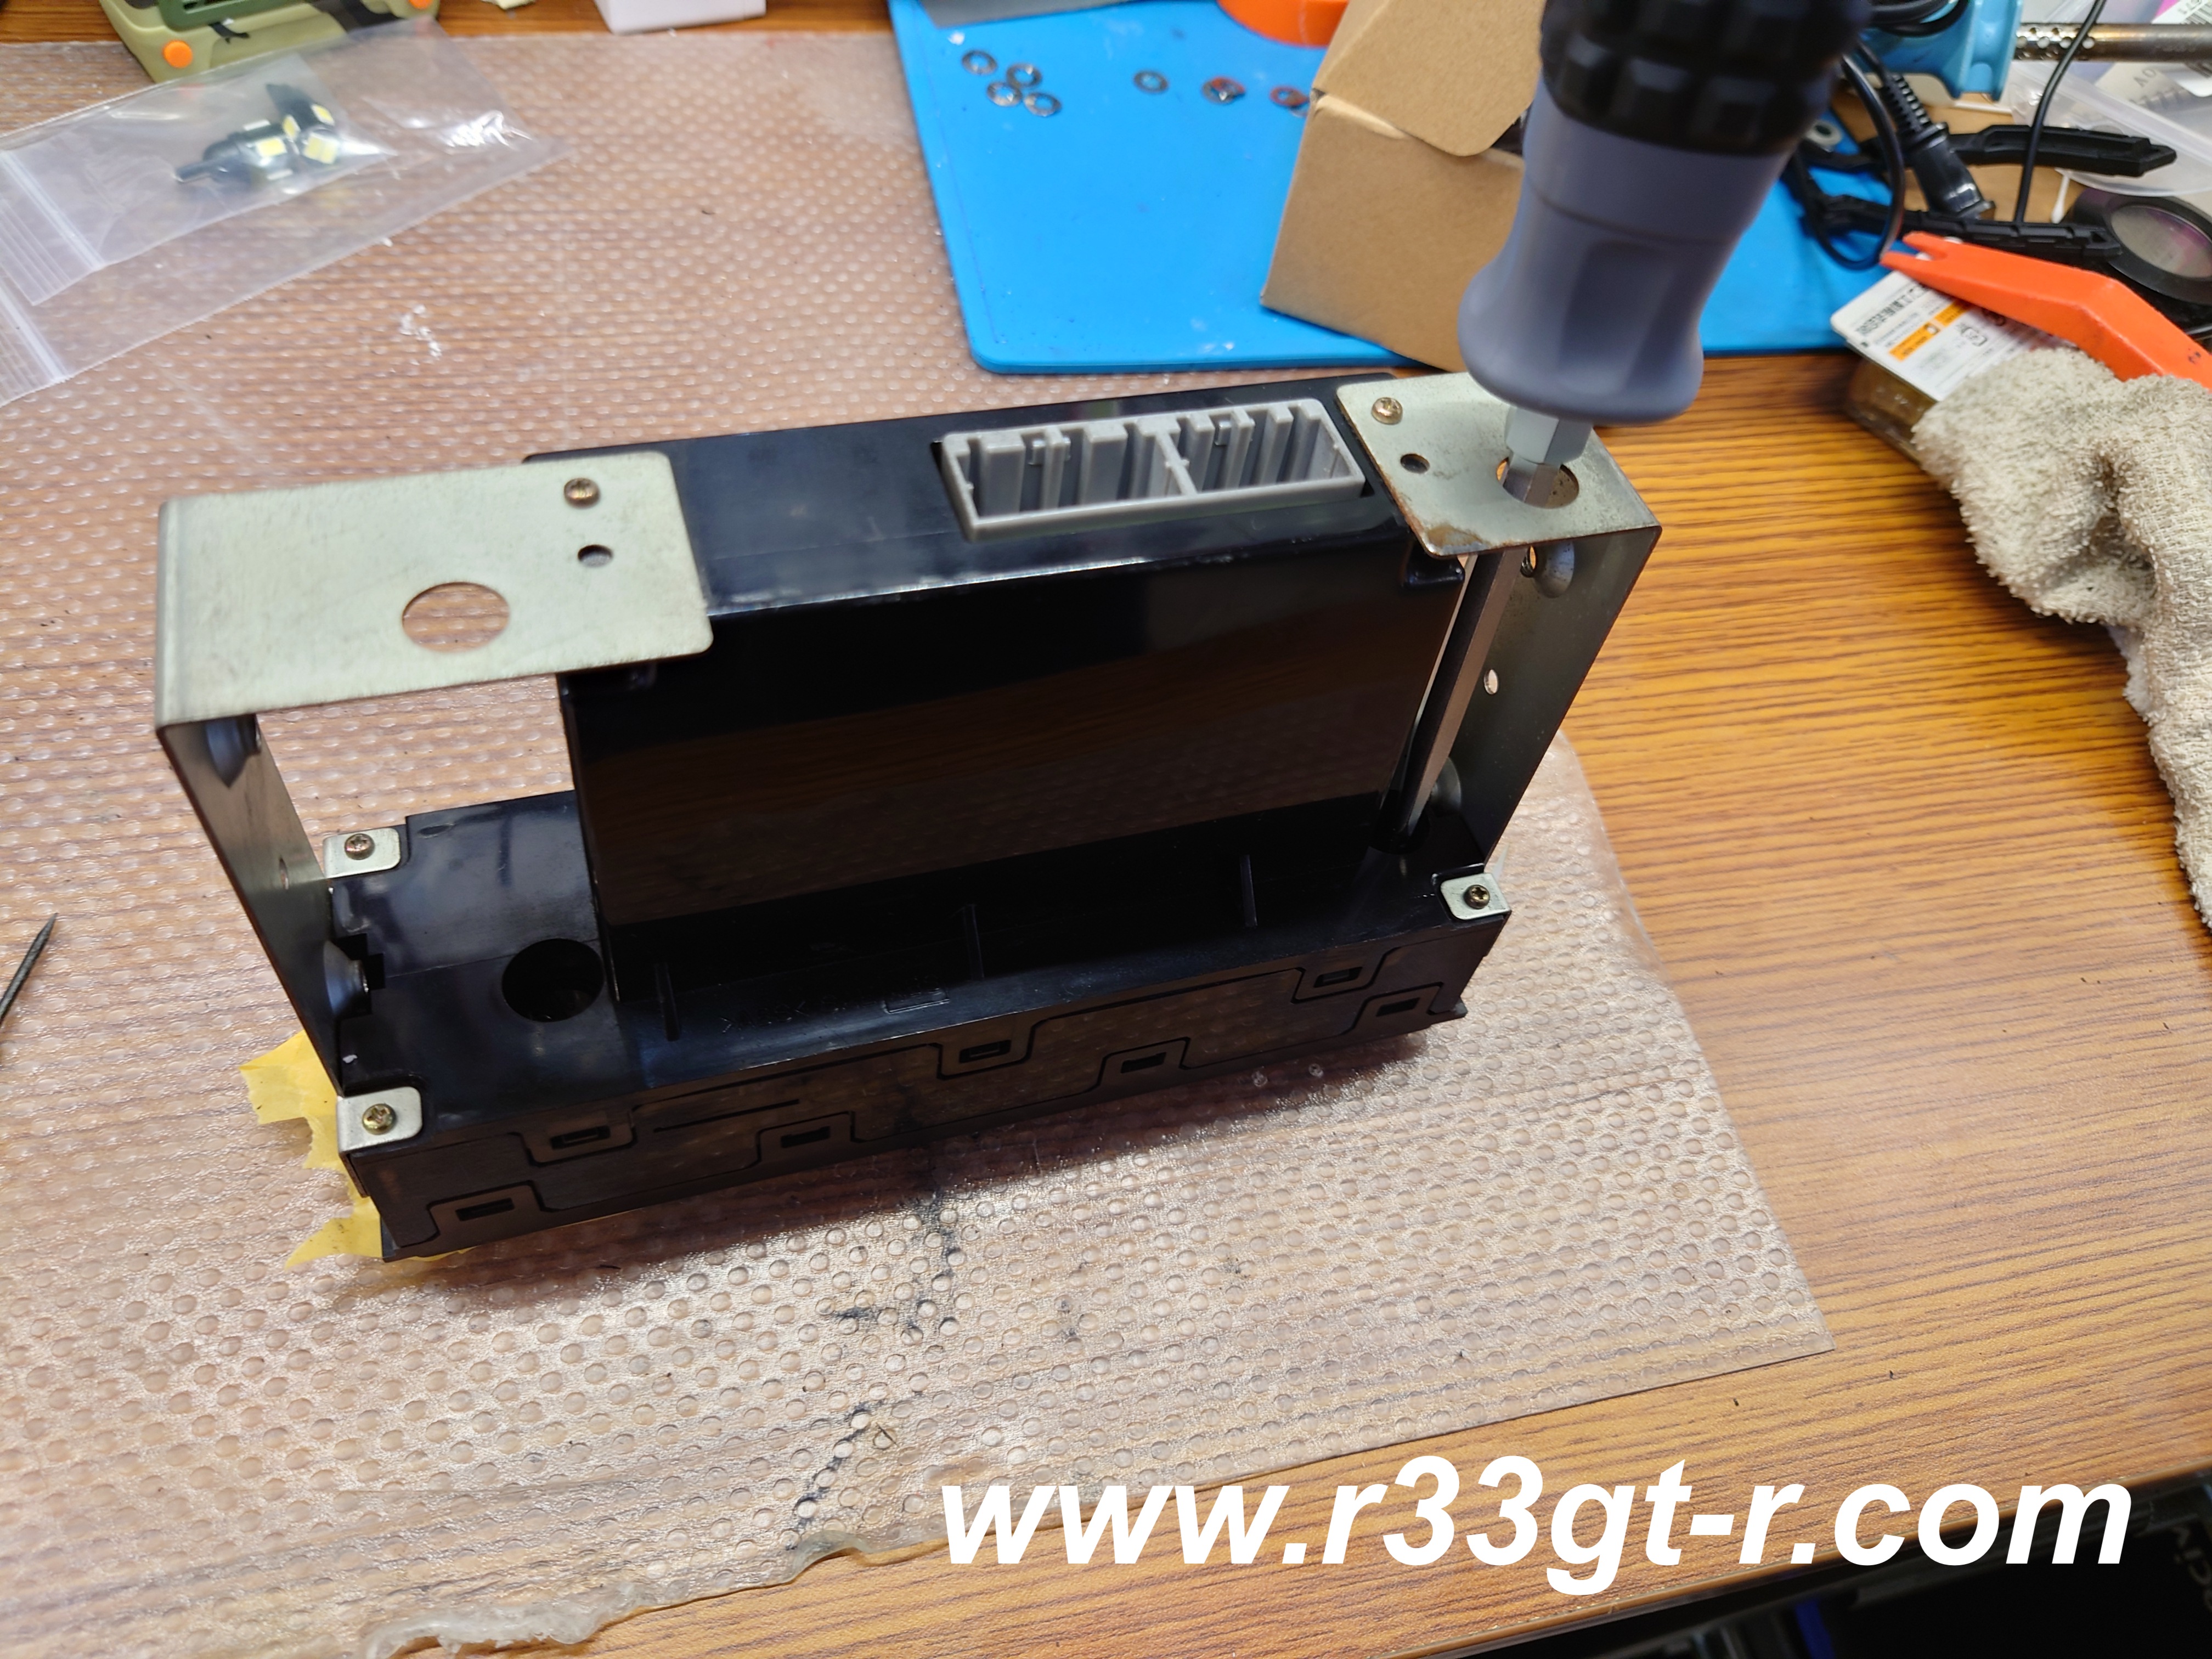
After removing the HVAC unit from the center stack, I saw that the front face was held into place with clip like fingers - so I carefully squeezed and leveraged around until I got the face off!

I even taped up the front to make sure that in my efforts I did not accidentally cause any scratches.

And managed to get the face plate off in one piece! Except...I quickly realized I had made a mistake.

As removal of the face plate did not give me any access to the light bulbs. Oops!  Instead, I found two holes on the backside of the unit which allow replacement of the bulbs without ANY disassembly of the unit itself. 


So I used a screwdriver to remove them and

Found that the bulbs WERE LEDs. I can't remember when I did the install, maybe it was something that Worx did? 


In any case, it was easy to replace these with the new LEDs. Looks way brighter and cleaner, right?

Meanwhile several coats of flat black spray paint had dried and after confirming the pieces looked great, I started to reassemble.  Note that I forgot to take a photo before I reattached the switches to the main surround, I was getting pretty tired at this point. 


Before reassembling the driver's door switch surround, however, I noticed something.

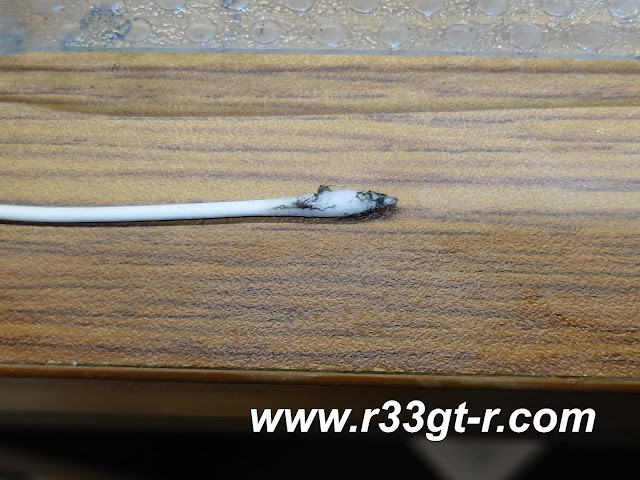
Yeah, a lot of dust and dirt! Me being me, I had to clean this up before reassembly. So, with some IPA and some pointed cotton swabs designed for this kind of thing:

Oh my, oh my...

And this is the THIRD one I used...


Anyway, the switches were finally clean enough to satisfy me, so:


I reassembled the switch into the surround, very carefully to avoid any last minute scratching.


I mean that looks BRAND NEW! (actually as I am writing this I just realized I DO have a brand new part that I bought many years ago just in case... should have done a comparo photo).  I guess I could have simply replaced with the brand new part, but given that the center surrounds are no longer available, I reasoned that painting all of these pieces simultaneously with the same paint using the same method would result in a more uniform result.  Which it did!


So what's next? I actually had a couple more mods which I was planning to do, but simply ran out of time this time. So something to look forward to.  The next post however I think I will show you a few interesting tools I found that made my life SO MUCH EASIER doing both of these projects - tools can make a huge difference, as you will see.  Thanks for reading!