Showing posts with label painting. Show all posts

Sunday, July 24, 2022

Marine Day Holiday Full On OCD Tinkering... Part 2

So in addition to the mirror replacement, I decided to focus on some on aesthetic issues - both very minor and easy to do but the execution would take some time, so I was waiting for a day off like last Monday.  Actually, the nature of these tasks meant that I started and ended the day on one of these tasks, with the mirror project done in between! 

What task is this? Well if you have a Series 3 (kohki) version R33 GT-R you know how the dashboard surround - yes the black plastic with that slightly rough feeling - scratches very easily and it also picks up dirt easily too! And given that, despite what you might believe otherwise, I actually do drive my car around a bit...

So once again, I took off the panels, starting with the driver's side door window switch assembly, the ashtray, the shift surround, and the main surround.

Then cleared some space on my workbench to take a look at what I needed to do.

So here is one issue:

Look closely - there are also markings on the right corner too

Some other, more obvious examples.

And yes, cleaning with isopropyl alcohol (IPA) did not work. Nor did other mild solutions.

So, the solution is to paint! I have to use a special technique, which I describe below, but in preparation for paint that meant I had to remove all the switches, etc. 
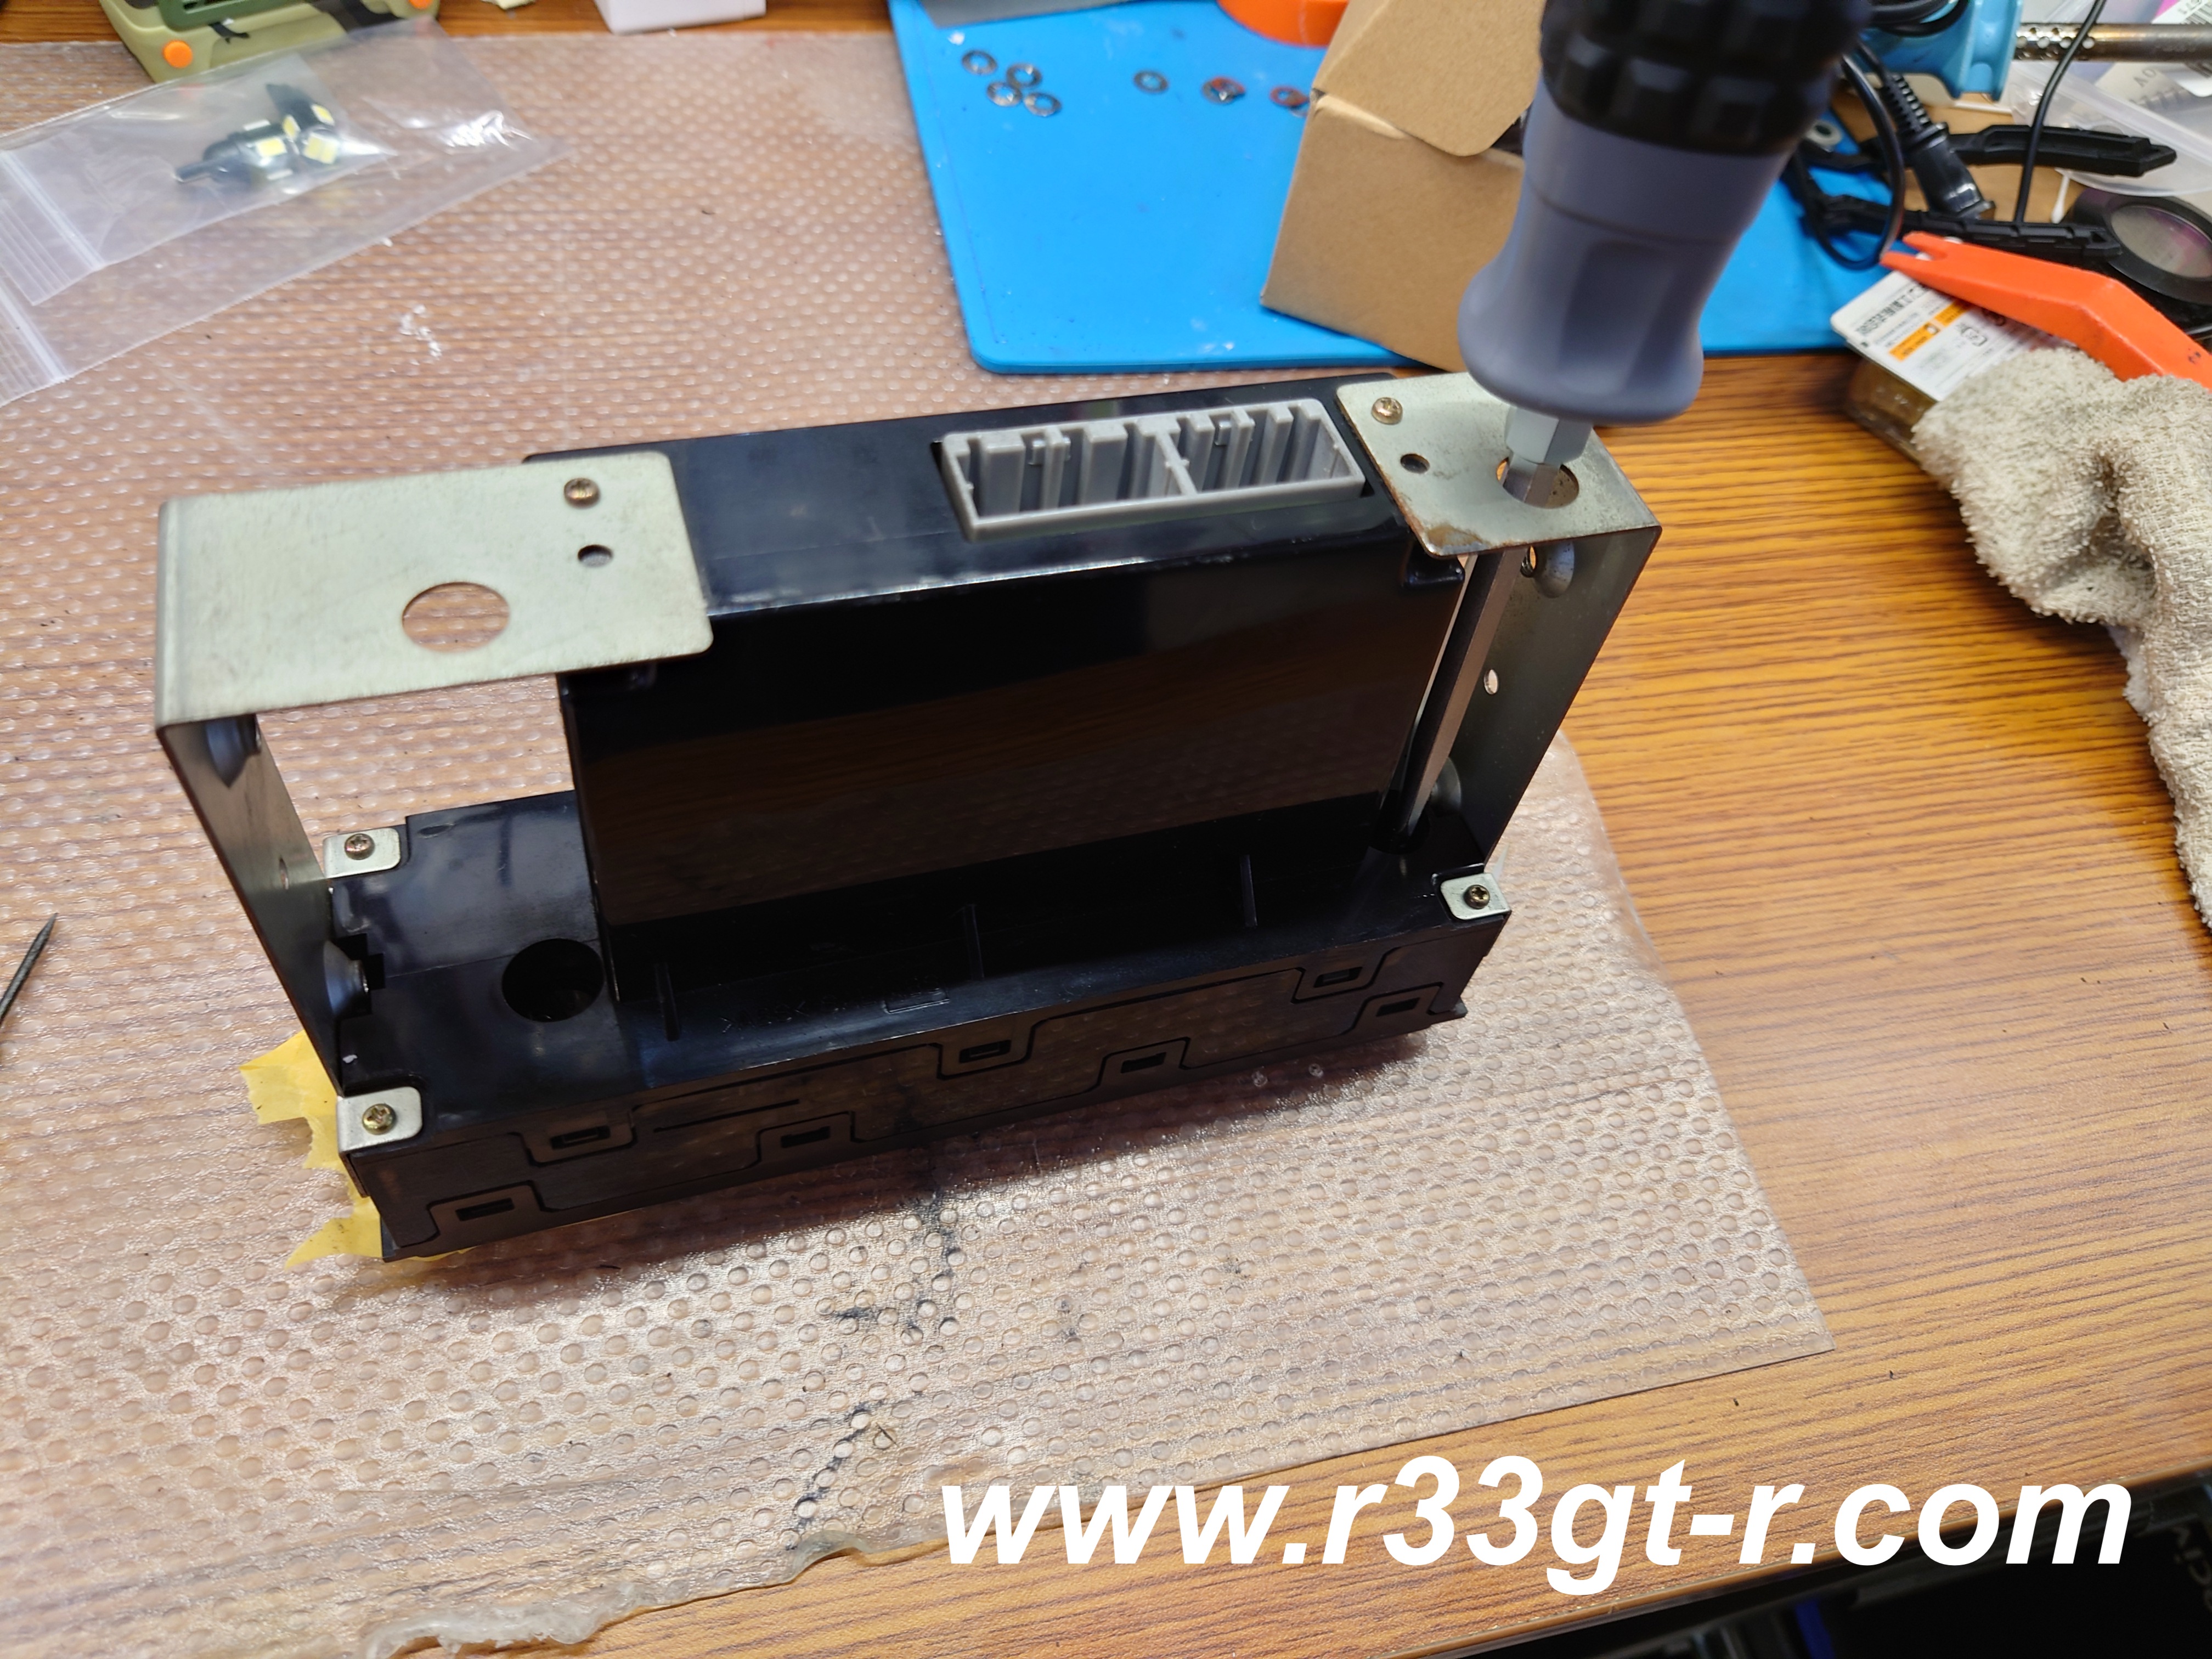
Using a towel to make sure not to further scratch

It also means removing the leather shift boot from the shifter surround.


Which then gave me an excuse to properly clean, condition and protect the leather.

Which was badly needed. Bonus, I did not need to worry about any excess ending up on the black surround plastic, where it tends to smear. So, I could apply extra conditioner and let the leather all soak it up without worry!

Once all the switches were removed, and I taped up the cigarette lighter surround (I tried to remove but gave up) I did an IPA wipedown of all the parts using a clean, brand new microfiber cloth.


And then took a deep breath and...

So the technique I use is to use flat black spray paint, but I purposely hold the can further away from a normal painting stance. That allows the paint particles to dry slightly in mid-spray, which results in semi-dry particles landing on the surface.  If you recall the plastic itself started out with a slight rough, sandpaper feeling surface, so several passes of this painting technique were required to build up the particles on the surface.  So yes this took several hours, but again during this time I worked on replacing the mirror as I described in my previous post

While I had the surrounds off, I tackled another issue that had been slightly bothering me.  Can you tell?


So it may be my imagination, or else I have issues, but it seemed to me that the light bulbs used in the center HVAC unit did not seem to be as bright as the LEDs I used in the 3 gauge cluster - or for that matter, even the OEM cassette deck!

Suspecting it was time for the OEM bulbs to go, I found a seller on Yahoo Auctions who sent me this - they look like the COB type LEDs which I like, so promising!

After removing the HVAC unit from the center stack, I saw that the front face was held into place with clip like fingers - so I carefully squeezed and leveraged around until I got the face off!

I even taped up the front to make sure that in my efforts I did not accidentally cause any scratches.

And managed to get the face plate off in one piece! Except...I quickly realized I had made a mistake.

As removal of the face plate did not give me any access to the light bulbs. Oops!  Instead, I found two holes on the backside of the unit which allow replacement of the bulbs without ANY disassembly of the unit itself. 


So I used a screwdriver to remove them and

Found that the bulbs WERE LEDs. I can't remember when I did the install, maybe it was something that Worx did? 


In any case, it was easy to replace these with the new LEDs. Looks way brighter and cleaner, right?

Meanwhile several coats of flat black spray paint had dried and after confirming the pieces looked great, I started to reassemble.  Note that I forgot to take a photo before I reattached the switches to the main surround, I was getting pretty tired at this point. 


Before reassembling the driver's door switch surround, however, I noticed something.

Yeah, a lot of dust and dirt! Me being me, I had to clean this up before reassembly. So, with some IPA and some pointed cotton swabs designed for this kind of thing:

Oh my, oh my...

And this is the THIRD one I used...


Anyway, the switches were finally clean enough to satisfy me, so:


I reassembled the switch into the surround, very carefully to avoid any last minute scratching.


I mean that looks BRAND NEW! (actually as I am writing this I just realized I DO have a brand new part that I bought many years ago just in case... should have done a comparo photo).  I guess I could have simply replaced with the brand new part, but given that the center surrounds are no longer available, I reasoned that painting all of these pieces simultaneously with the same paint using the same method would result in a more uniform result.  Which it did!


So what's next? I actually had a couple more mods which I was planning to do, but simply ran out of time this time. So something to look forward to.  The next post however I think I will show you a few interesting tools I found that made my life SO MUCH EASIER doing both of these projects - tools can make a huge difference, as you will see.  Thanks for reading!

Tuesday, July 14, 2020

Next Steps at NISMO Omori Factory

So as I hinted in my previous post, Nismo Omori Factory technicians have now begun focusing their attention to the outside of the car - among other things, the wheels and tires!

And that's why the car has been on "borrowed" wheels and tires for the last few weeks. Although I have to admit, those NISMO LMGT4s look VERY nice on the car...
So I wonder what suspension the car was on while the Ohlins were being serviced...
The Ohlins DFVs, from what I understand, were removed from the car almost immediately after I dropped it off, and sent to Labo Carrozzeria to be rebuilt with the same specs as before.  A few years ago they let me tour their factory and I did a blog post to show how they do a rebuild!

So the coilovers came back quickly, in about a week... what took time were the TE37 wheels that were being refinished, fixing up some minor curb rash and the usual scrapes that come when you actually drive your car.

Damn. Gorgeous! And yes, a glass coating has been applied - both outside AND inside...
You may also have spotted the odd looking/colored valve stem. That's because they are a non-Nissan/Nismo part that Nismo Omori Factory actually agree to install - an aftermarket Tire Pressure Monitoring System (TPMS).   In fact they had an aftermarket one (made by Orange Electronic) designated a "sports model" (to allow for high inner tire temperatures) in a box when I visited, and were even kind enough to open it up for me to show me how it worked.  Unfortunately the screen display was a bit large and I've already got enough stuff (Blitz exhaust valve, Do-Luck DTM-2, ETC card reader, boost controller, heads up display controls) in the car already so I wanted something stealth.

So a few internet searches later I stumbled on this - a TPMS where the display is an app you download to your smart phone (either iPhone or Android).  I've actually already used an aftermarket one on my Lexus, but this displayed its output on a small screen that had to be installed in a blank switch location.


Of course, I have no idea if these work yet. Of course once I test them out, I will post the results! Fingers crossed...

Back to the wheels and tires... I was surprised when Ochiai-san sent me the following photo.  I had always thought that Nismo Omori Factory had tire changing equipment on premises, but for whatever reason they outsource to this guy who arrives with all of his equipment on a truck!

Look closely and you can see my name on the tire...
I know mobile tire fitters aren't a new thing (and in fact I need to find one to do the tires on my Lexus...) but I wonder how Nismo does the tires on their racing cars? And yeah, I ended up going with the Michelins, the price was TOO GOOD to pass up...

And talk about attention to detail! Or maybe they know me a bit too well...
Yep, blackened wheel weights so they don't stand out.
Oh and yes that missing ashtray? A long time ago I think I broke it like this when I tried to drill a hole in the back... I was experimenting with LED lighting of the ashtray and tried to get it to light up via the LED I had attached to the cigarette lighter ring. This was during my pre-Dremel days.  Buy the right tools, people!!


But guess what - new stock still exists for this part! So a new pristine one on the way! Cannot wait to get back into a car with an "OEM" look dash!

So what next? There is one more item I asked them to take care of but I haven't received any photos or messages on that yet. I'm also curious about whether we can get an alarm shop out to Nismo to help remove that crap alarm.  I'll keep you all posted of course...

Wednesday, March 18, 2020

Finishing the Garage Floor! (Garage Series)

Epoxy floor coatings for personal garages aren't a popular thing in Japan, so it took me a while to find the right company. Luckily, Google WAS able to find a specialist that seemed to be exactly what I wanted, Hikari Coating.

First, Nagai-san, the owner of the business, came over in early February, right after the repairs to flatten the floor were made, and we discussed exactly what I wanted. He also provided an estimate and I was pleasantly surprised at how reasonable it was.  So I immediately made a reservation to get the work done in early March.

Even though the weather wasn't cooperating, Nagai-san and his crew from Hikari showed up as promised on Sunday morning to begin preparing the floor of the garage for the epoxy coating.


After some discussion, I had elected to go with a high gloss white epoxy coating for the garage floor, and a grey anti-slip coating for the parking spot/driveway outside the shutter door.  Nagai-san had actually recommended I go with a light grey for the inside because, as he put it, white has a tendency to show dirt very easily and in some circumstances can yellow if exposed to too much sunlight. However, I decided to go ahead and stick with the original plan of gloss white - I'll just keep the garage door closed as much as possible!

The first step was to prepare the cement floor. In order to prevent future peeling, the crew ended up removing the foam cushioning that the house manufacturer had installed between the flat concrete floor slates and the walls of the garage, replacing the foam with an elastic putty like material.
You can see the grey putty they used
That was all they had time for the first day.

The second day, a single guy showed up - but he went ahead and prepared the floor of the garage by way of some polishing and then application of primer.
The polish machine. You can see the dust on the floor.
Looks very ugly. I was surprised

This primer dried pretty quickly, and before he left, he had gone ahead and spread out the middle coat of white epoxy.

He had also gone ahead and prepped a few cm that extended past where the shutter door came down on the ground.
From the outside. Wasn't quite sure what to make of this actually
The next day was rainy as well but out of the elements the inside floor dried very well, except I (being OCD) of course noticed some slight grey areas peeking through the epoxy.
Hard to tell but there are vague grey patches in the white floor
Some more grey patches can be seen here too

Concerned, I emailed Nagai-san who told me don't worry, he wasn't done yet and and when the top coat would be applied the next day, it wouldn't be visible.

And indeed the next day was very sunny, and even though I had to be at work I watched via my security cameras as the crew finished up the inside of the garage by application of the top coat, which then extended past the floors and up 45 cm to the bottom of the cement walls.
Was grey before - see the previous photos.
At the same time, the crew was cleaning, then laying primer on the outside parking spot/driveway.  By the time I checked the cameras at 5pm, they were done with applying a grey epoxy coat, and by the next morning it looked like this.
But not quite done yet - see how shiny the grey is?
On the third day of work, the workers added the grey top coat and added some sand, to make for an anti-slip surface. They also touched up the interior where some dust/bugs had inevitably ended up in the paint. Then left it to all dry overnight.
Looks like a sneaker to me...
Unfortunately, overnight some a-hole had decided to purposely step into the wet paint. His foot prints extended from the middle of the driveway all the way to in front of the front stairs to the house.

But when the worker showed up, he reassured me that he could remove it, and further was going to add a quick drying clear anti-fade top coat.
Look at that masking! Wow!
Now I have to figure out how to correct the other uglies around the house, especially that concrete wall!
And the end result?
From back looking out to the street-side
Wow! I have to say it turned out better than I had expected.
From the front, looking towards the back. Yes, I have a garage door leading into the yard...
This being Japan, it looks good not just from a distance, but also up close. It's the details that make all the difference...
Grey anti-slip, meet white gloss. Check out how crisp that line is.
Look at that precision!
And the grey spots in the upper left are reflections of the EV charger and electrical outlets on the wall!
In conclusion, it looks great! I am very happy. However, my next challenge is to keep the floor as white and clean as long as possible. I will have to get creative - even though I don't plan to keep the shutters open on a frequent basis, if Nagai-san is correct about yellowing from exposure to the sun, then I need to lay some protective carpeting or tiles or something in areas where the sun hits the most.

But now that it's dry - it also means I can finally start moving things into the garage from storage areas throughout the house, and can start planning on garage fixtures such as cabinets and tool chests.  But first, maybe I should go pick up my GT-R and see how it looks in the new garage...

Sunday, March 8, 2020

Almost Done...

Photo courtesy of Takasu-san at NISMO Omori Factory
So I got a call last evening (Friday) from Takasu-san from NISMO Omori Factory. It seems that the used G&Yu NeXT battery that Nakamura at Worx Autoalarm had installed without my permission (and thrown out my trusted Optima Yellow Top - he claimed they were well marketed but not a good battery!) had reached a point where it could not hold a charge. And in fact, attempting to charge it (whether when the car was running or by charger) resulted in a weird chemical burning smell... not good...
Here it is - Model number is NX 115D26L
So I did some research and I think G&Yu (formerly Yuasa) had stopped making this model about 2-3 generations ago. It does appear on Rakuten and Amazon but doesn't look like you can order it anymore.  In any case, looks like it has a capacity of 68Ah (higher than the Yellow Top, as below) but I couldn't find any CCA rating.  Also, I am sure there is a technical reason why this one is no longer made but the Yellow Top still is... and of course being a USED battery, who knows what state the NeXT battery was too when it was installed in my car.

Who da F installs a USED battery in a customer's car??

So, I'll have to buy a new Optima Yellow Top, as I think they are the best out there... Good news is that NISMO agrees and recommends the Optima Yellow Top, so I promptly went online and bought one (model number YT925S-L/YR R 3.7?) from the online dealer I had dealt with before (in order to avoid the NISMO tax, of course...) and had them send the battery directly to NISMO for me.
Here is a closeup of the battery that fits the 33/34 GT-Rs. You can see it has a claimed 660 A Cold Cranking Amps and capacity of 48 Amp hours
From: https://www.soundwavemeiwa.com/SHOP/OPY3704.html
This is the GT-R specific mounting kit they supply.
From: https://www.soundwavemeiwa.com/SHOP/OPY3704.html
Showing this shop is an official Optima dealer, the terminals are pre-polished, compatible with the smaller type battery leads, this is a deep cycle battery, etc.
From: https://www.soundwavemeiwa.com/SHOP/OPY3704.html

Also Takasu-san informed me -  good news - my car is almost done, for real!

The next day (today) being Saturday I decided to drop into NISMO in the afternoon. Yes, NISMO Omori Factory is currently closed to the public due to the coronavirus scare (from March 4 to March 18) but hey this is where being a senior Nissan employee has its advantages...


So as I have written previously, the initial goal of having the car serviced at Nismo Omori Factory was to verify the extent, and then as needed, undo the damage incurred when the car sat outside the Worx Autoalarm garage, exposed to ocean winds, which I suspect then led to rust on parts of the car's undercarriage.

I did take care of the rust that had savagely appeared on the rotors, as I wrote in this post.

And for those suspension parts and links that developed rust, as I wrote recently I simply had those parts removed and replaced.


Then there are some places on the body that simply had to be repaired at a body shop.
For example, here is how their body shop fixed up the sills (the jack up points, having been scratched up in use, had developed some minor rust even before the Worx episode but the amount of rust seemed to increase tenfold afterwards).  My sills weren't bent up like many I've seen, but the outside flanges seemed to be more skewed to the outside than they should be. So now no rust and straight sills!


So you can see how the middle part of the bottom chassis - where the exhaust and driveshaft are - were left alone.
Just dirty, no rust. A future project for me!
So while I left the fixing up and re-protection of the bottom of the car to the pros, if all the rusted parts had to come off anyway, what other parts could come off due to age, not functioning and wear and tear?

 Funny you should ask...
Box of mostly banged up, but still quite usable, NISMO suspension link set parts!
Nothing new bushes and some paint can't fix! Anyone interested?
The hub bearings
Driveshaft boots and steering bushing
Nitrogen accumulator thing for the ATTESSA. After 23 years, pretty much non-functioning apparently...can't wait to take that first corner in the wet and see how much more quickly the front wheels get power!
 (I'd always wondered, why even with Do-Luck's digital G-sensor, response seemed a bit slow...hope this resolves it!).
More Nismo links and body rigidity parts. On the bottom, what remains of my Nismo brake air deflectors (that were attached to the tension rods - these are out of production now, replaced by the 10x more expensive dry carbon ones)
As mentioned last time, the driveshafts had to be either overhauled (front) or replaced (in the rear) with rebuilts
-these are the rears that couldn't be rebuilt at Nismo
The rear suspension member was taken off too and replaced with a new one. 
So, some parts were a simple replacement of the various Nismo parts I had installed long ago. Other parts were OEM parts that had not been changed out since the car left the factory, such as the rear member suspension brace!

Basically - I had the NISMO Omori Factory's Chassis Refresh done - plus a few cool extras.  In my next posts, I will show photos of all the new parts on the car, so you can see the difference, as well as the extras!