Thursday, July 21, 2022

Marine Day Holiday Full on OCD Tinkering... Part 1

So last Monday was Marine Day, a national holiday here in Japan, and it made for a nice 3 day weekend.  While many people take literal advantage of this day and go to the beach or participate in other water/ocean activities on this day - I decided instead to fix a couple of minor issues on my car - those who know me know that no issue is too small for me to ignore - the big ones I might have to pay to get fixed, but the smaller stuff I can do at home. Just need to find the time to do so.
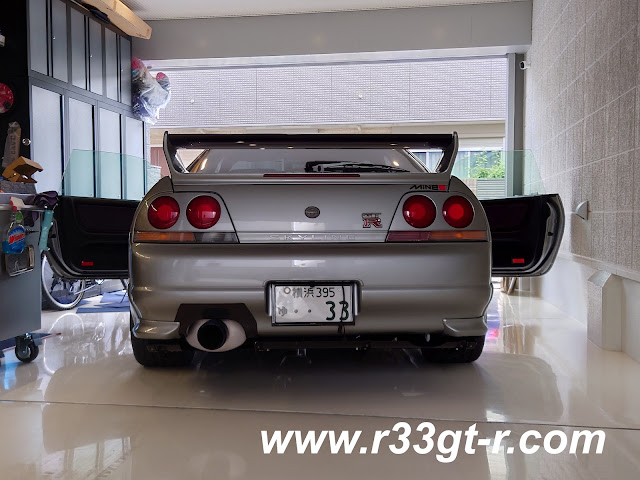
Ready to go! Let the tinkering begin!

One thing that has been annoying me is the complete failure of the new rear view mirror that I installed a few months ago.  My thinking was, an Android powered mirror with the possibility of using all of those apps, including Google Maps, plus Bluetooth to connect to my phone, and a front facing camera to record in front, coupled with a back-up camera, was an all-in-one solution that could help modernize my car.
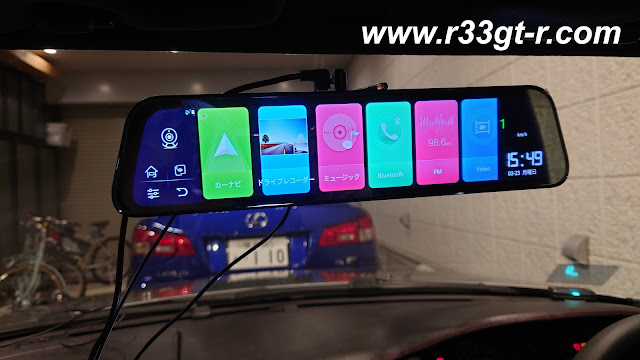
So many options! Except how to record what happens up front but still maintain rear view ability?
Could never quite figure it out...

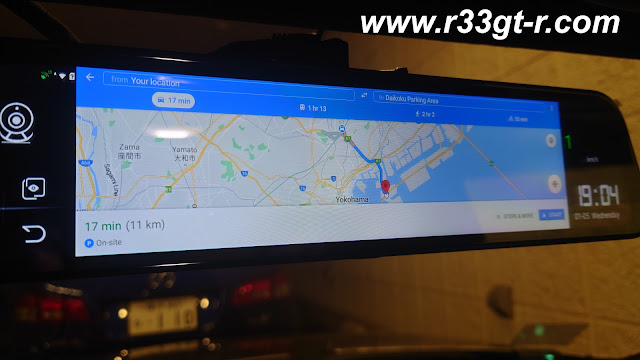
Yes, Google Maps in the mirror is why I got this... except very slow...

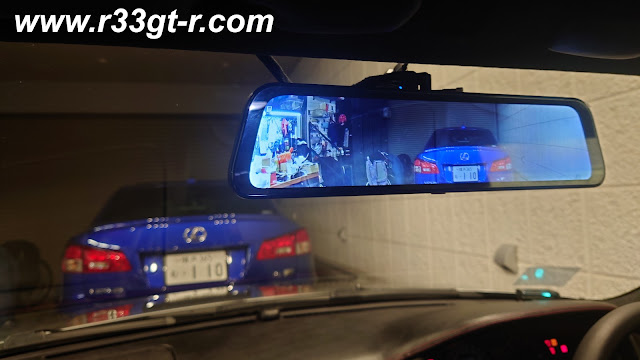
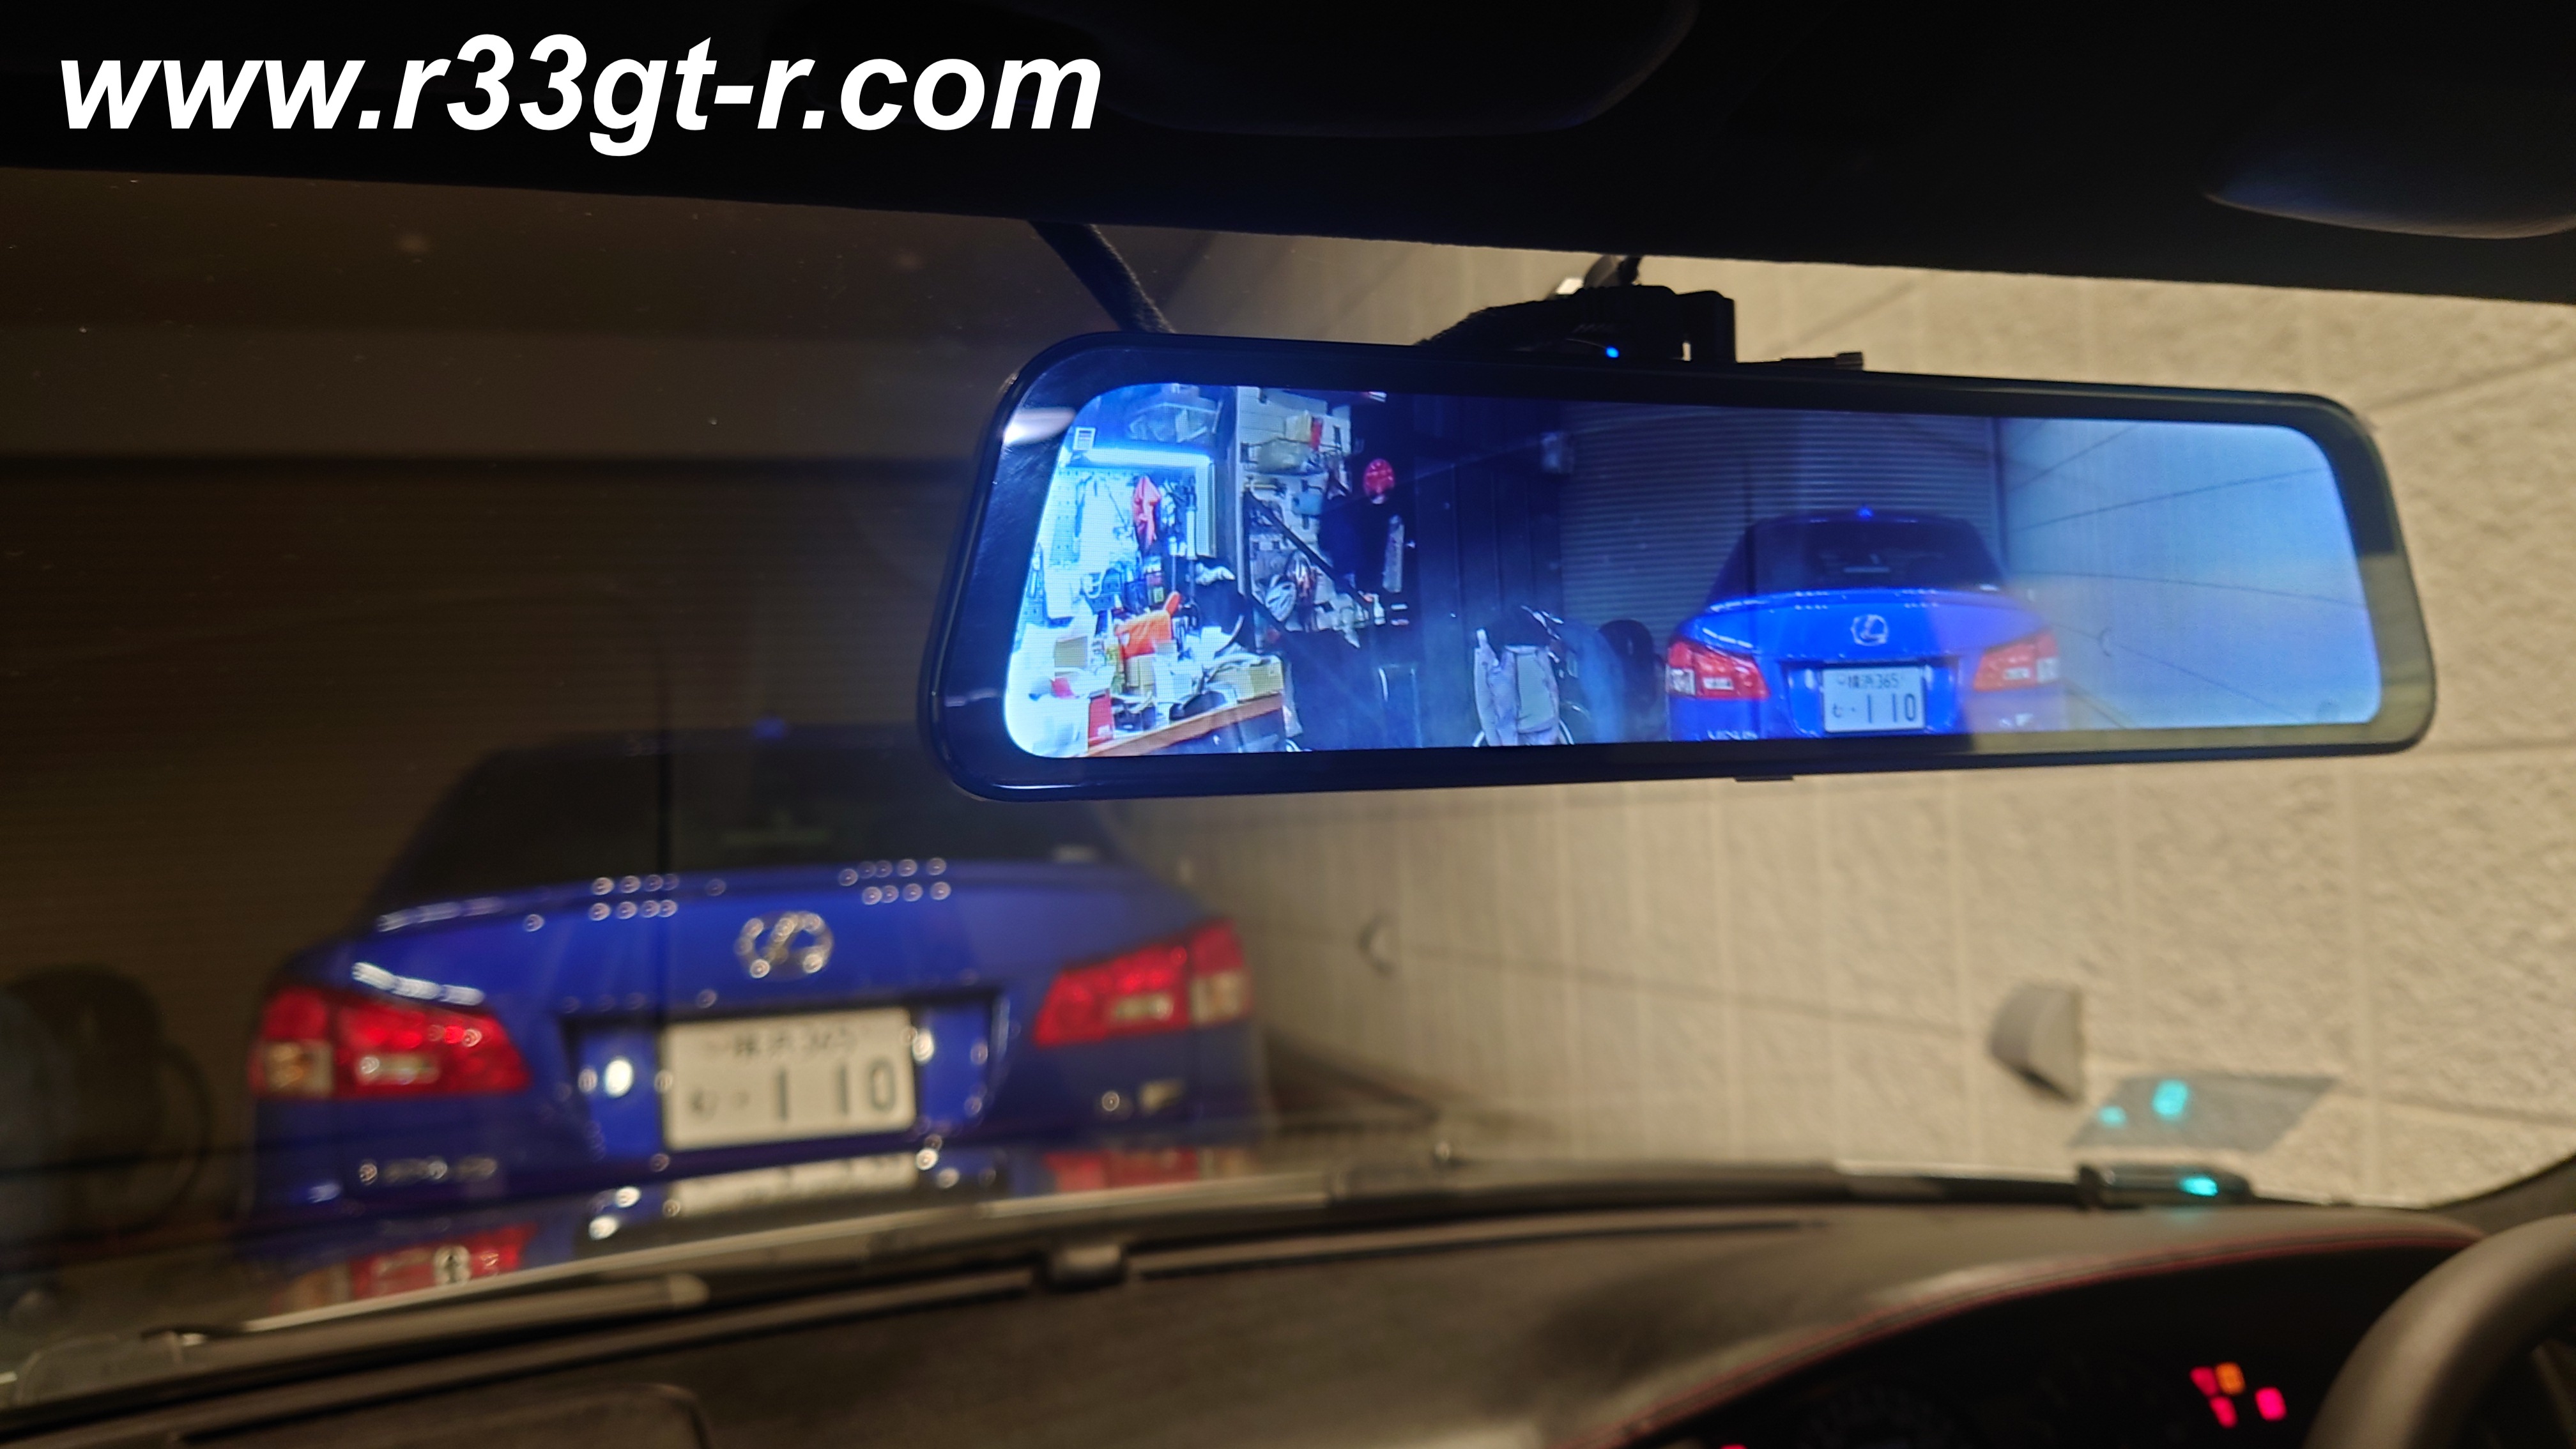
Front camera showing display on screen


Back up camera... after it failed...nice lines though...

After installing it and using it, my conclusion is, I was wrong. Anyone tempted to use one of these mirrors, please be aware of the following.

First, the Android system (8.1) is very slow. Very frustrating. And somewhat disconcerting, since the mirror powers up slowly so you have to wait. Second, these mirrors with the built in drive recorders/dash cams are designed for left hand drive vehicles - in other words when I adjust the mirror from the right side driver's side so I can see back, the camera, which is adjustable side-to-side, does not have enough sweep to be able to fully to aim straight to the front (less side adjustment is needed if the mirror is adjusted for drivers on the left). Third, the supplied rear camera failed. (Although later I found out that it was not the camera itself).  Fourth, when you turn off the car, the mirror powers down very loudly with its electronic melody of sorts. But after a 5-10 second delay. So a bit jarring. 

So, I decided to go back to basics.  Not the OEM mirror, as I still wanted modern functionality but without the drawbacks of the Android one. After some searching, I found a modern, OEM-type windshield mounted mirror with dual 4.3 inch LED screens, allowing for 2 channels of video input each for a total of 4 video inputs!  
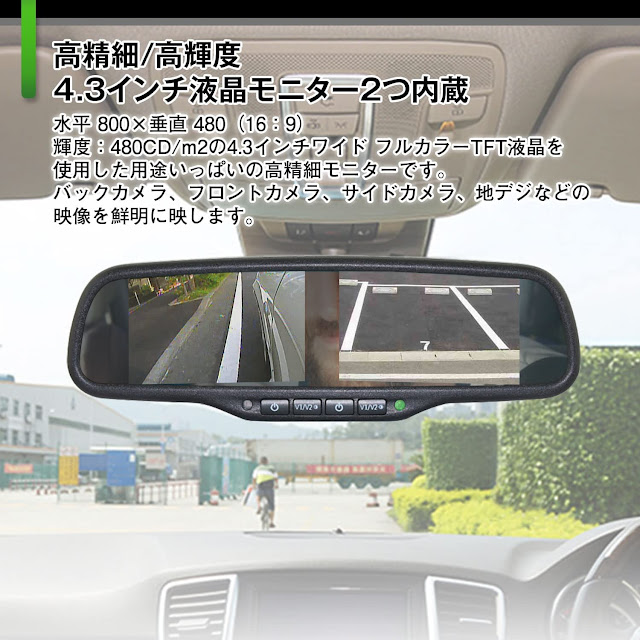
Not the highest resolution but it should work! From Amazon


Here it is, completely unboxed. A bit overwhelming (below) maybe but notice that there are two trigger wires, meaning that if the other video input is being used (or the video is off) a trigger will cause that video feed to be shown as priority.  Perfect for a back up camera, right?  Incidentally as seen below the back up camera was a separate order (hence the separate box) where I had to make sure its video feed was via RCA in order to work with this mirror!


But first, I had remove the old mirror. This was pretty easy, just unplug all the cables - power, GPS, and rear camera - and then unbolt from the windshield mount.
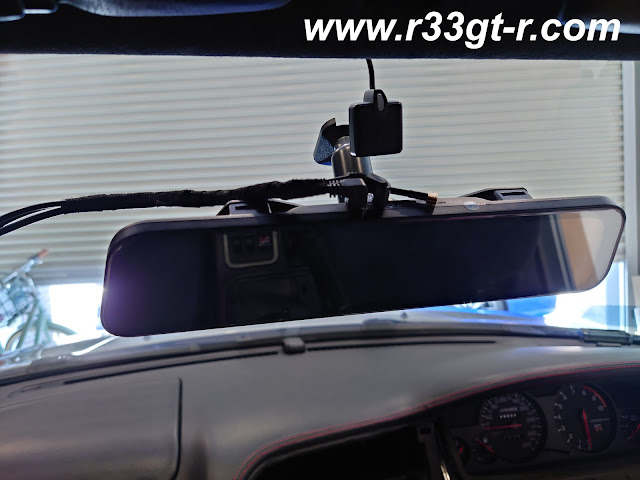
You can see the ETC antenna hanging down too, that had to be repositioned slightly

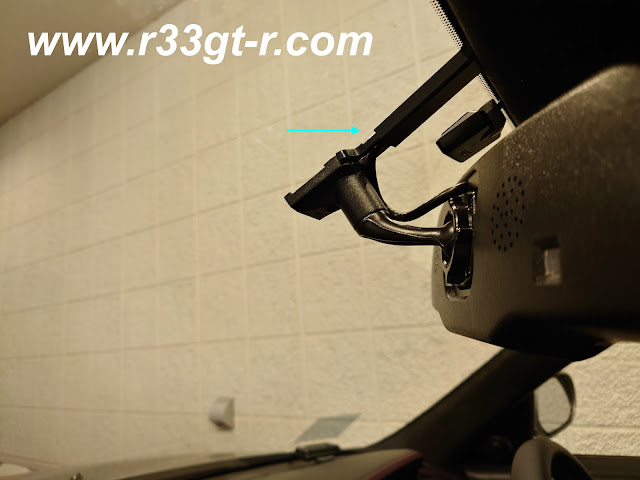
By comparing the old and new, you can see the old one is a bit wider. The old mirror is also designed to be attached to existing mirrors with rubber bands, so in the case of direct windshield mount it has a bracket that uses clips to latch onto the protusions designed for the rubber bands. This actually lead to some squeaking as well, for those of you who may have seen the livestream that Dino did on our way down to Mine's a few months ago when we took this car down there as Dino had an appointment to take photos of a very special build for a friend.

Showing the bracket before attaching to the back of the mirror. 


Light blue arrows point to those clips. New mirror is one piece, thankfully...

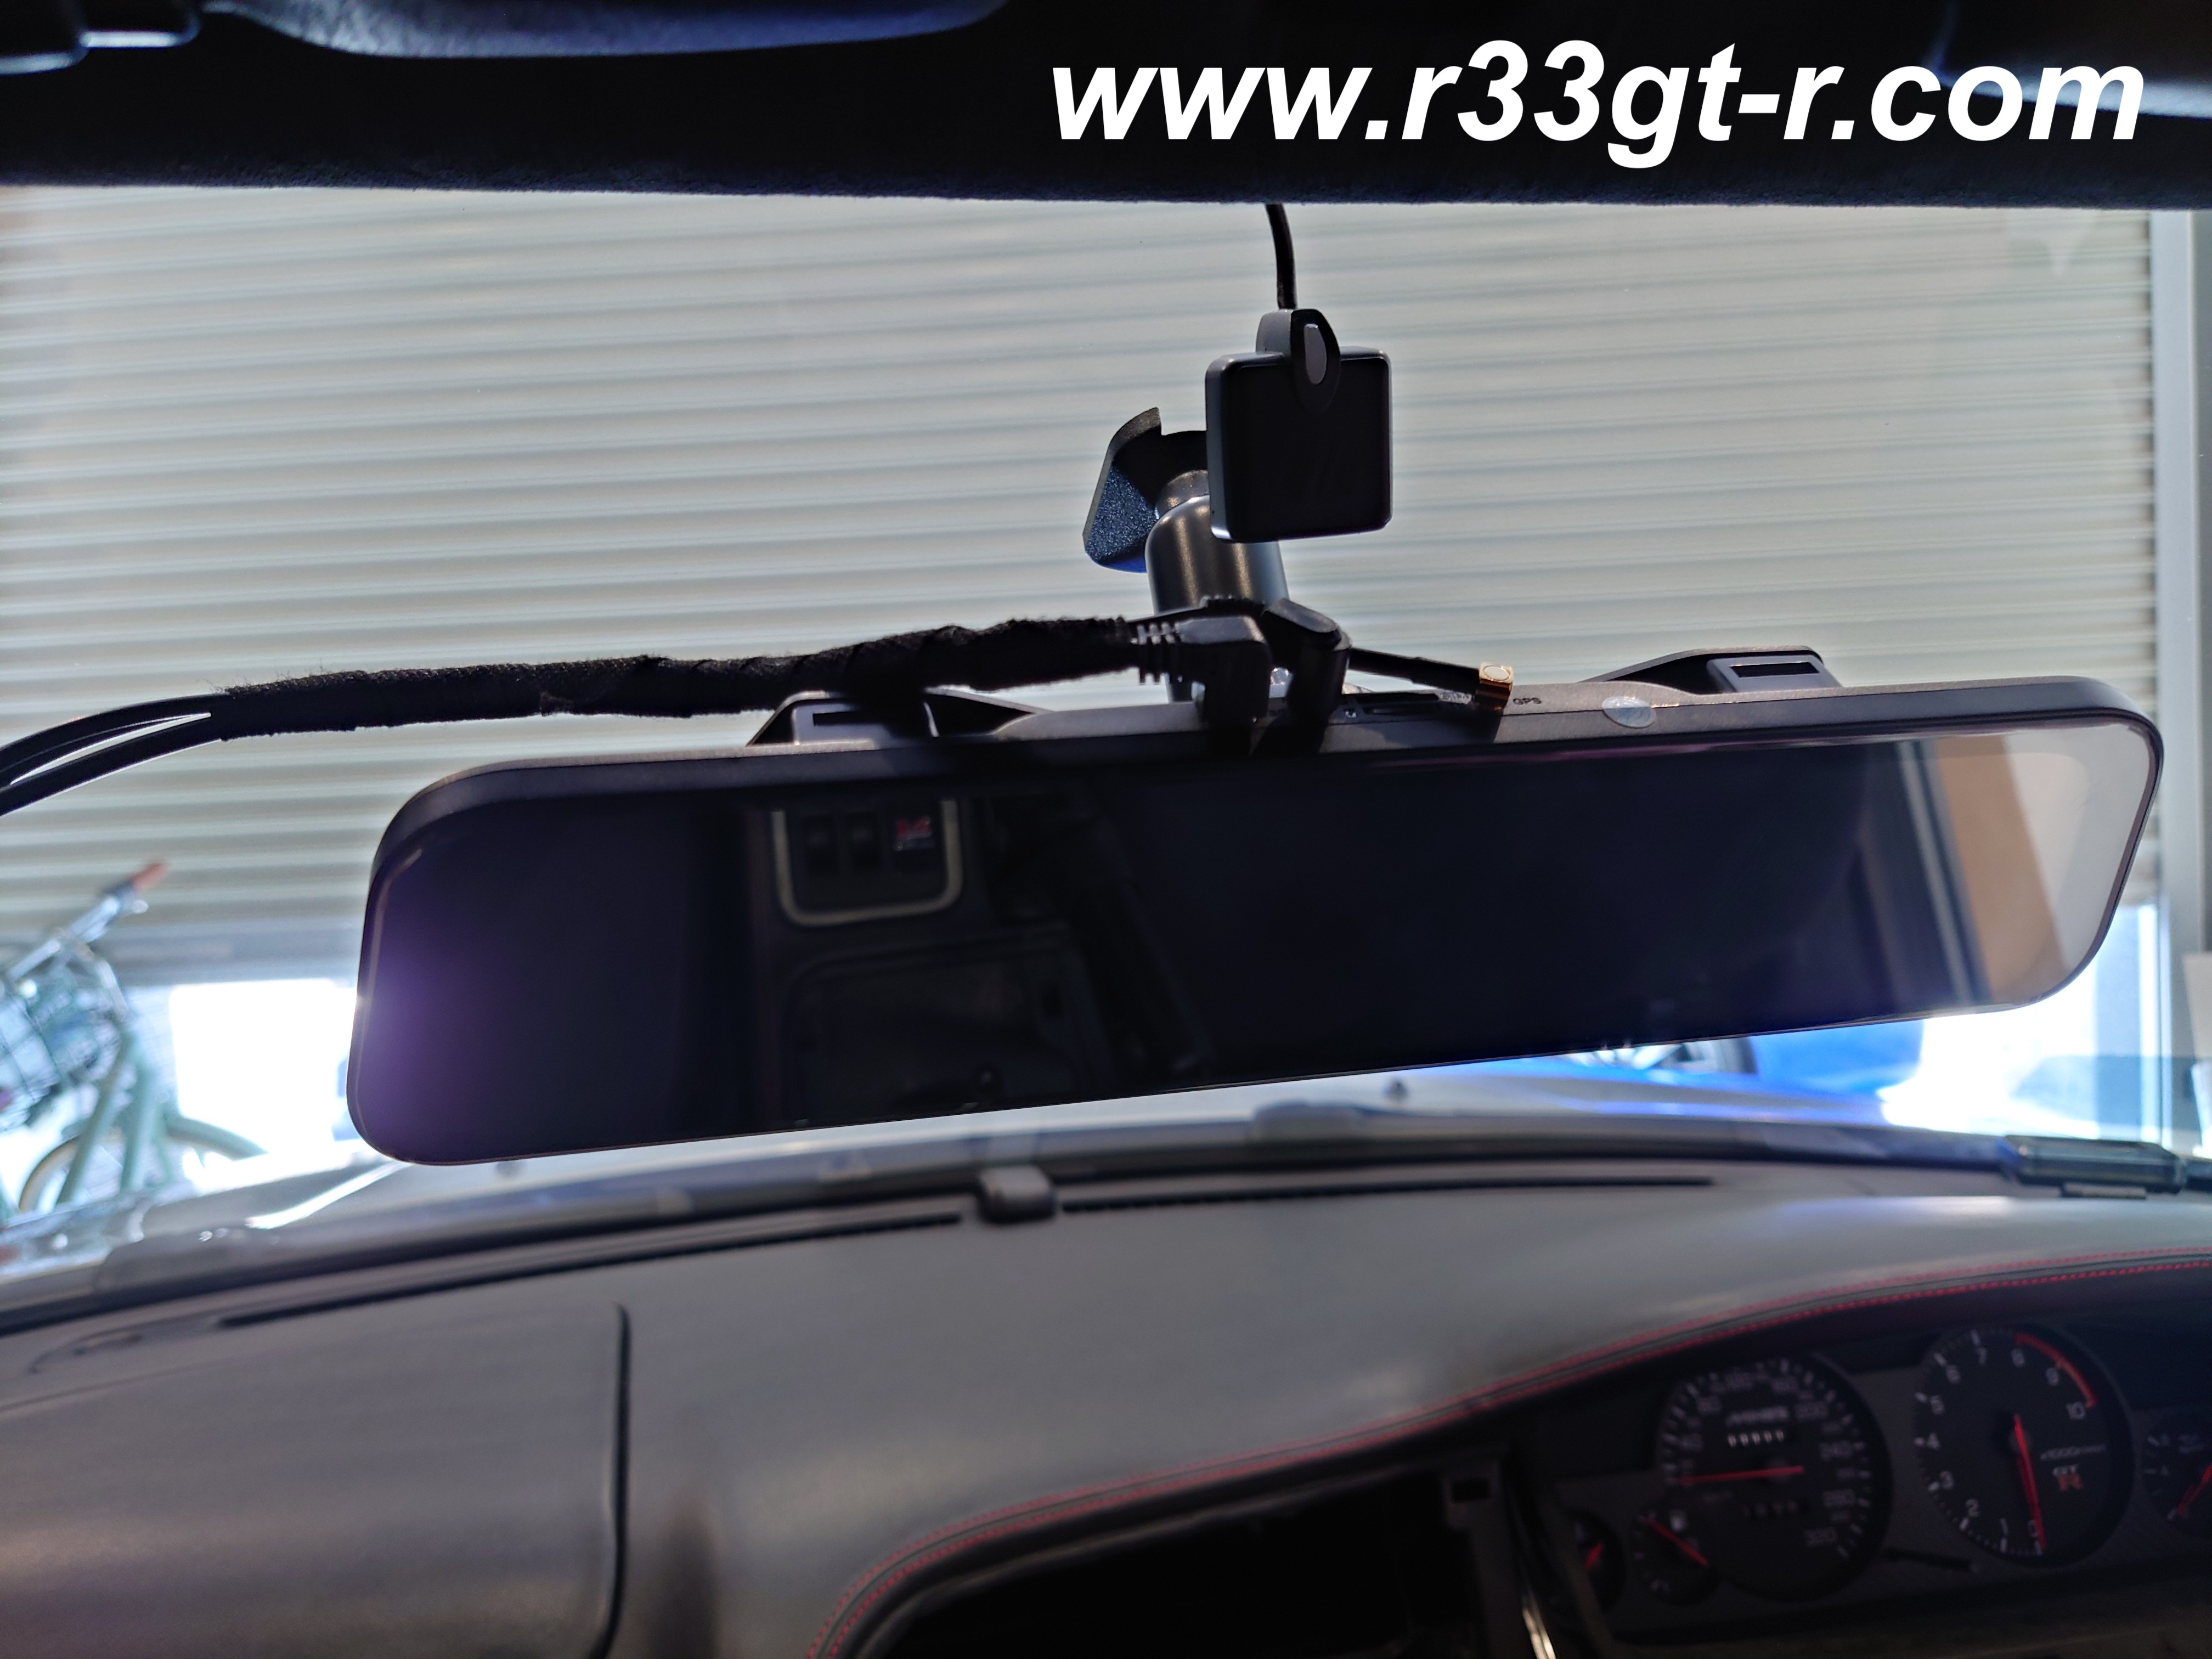
The new mirror is a one piece design - so looks very OEM - but this install had some challenges too!

A bit too long!    

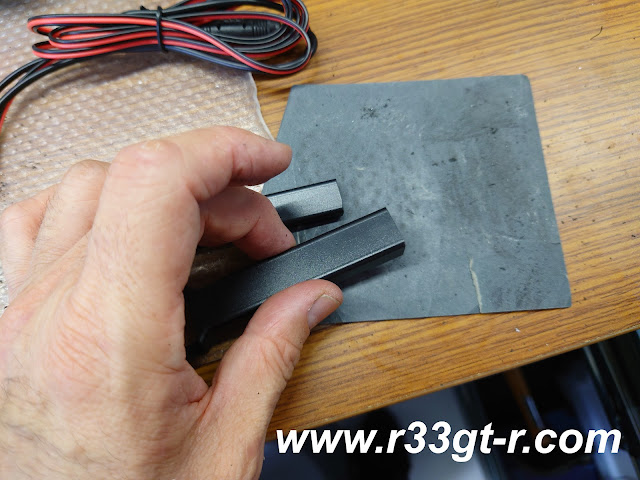
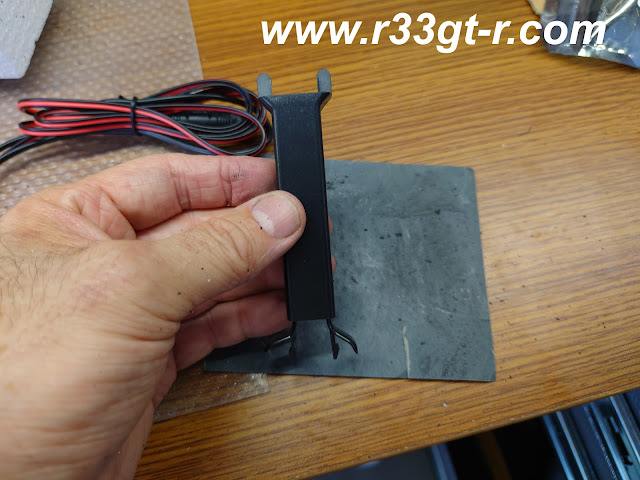
Although like the old mirror you need to run the cable from the mirror to along the front side of the roof lining, it came with a cover to hide the cable. A nice touch, however I had to do some cutting to make it fit properly.

Good use of styrofoam here!
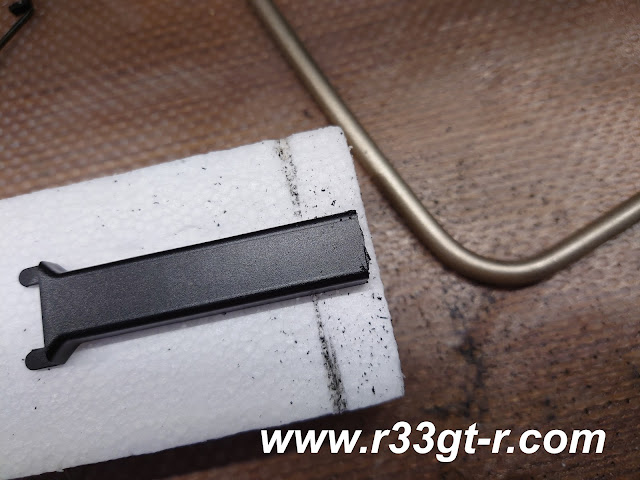
Rough cut but not to worry too much

Sandpaper to the rescue

Looks great, right?!

Love the flush look!

The next step was to remove all the old wiring. This meant I had to pop off the A-pillar cover again, and start snipping away at my white zip ties. Yes, I tend to use white zip ties to make it easy to spot what is NOT part of the OEM wire harness.

And then I followed the old wiring and disconnected everything - GPS antenna, power leads, and rear camera lead.  I initially thought I would use the existing power leads (which used those piggyback fuse holder things) but since the new mirror did not come with fuses in its harness, I decided I could find another circuit in the car to tap into without having to tap into the fuse box.

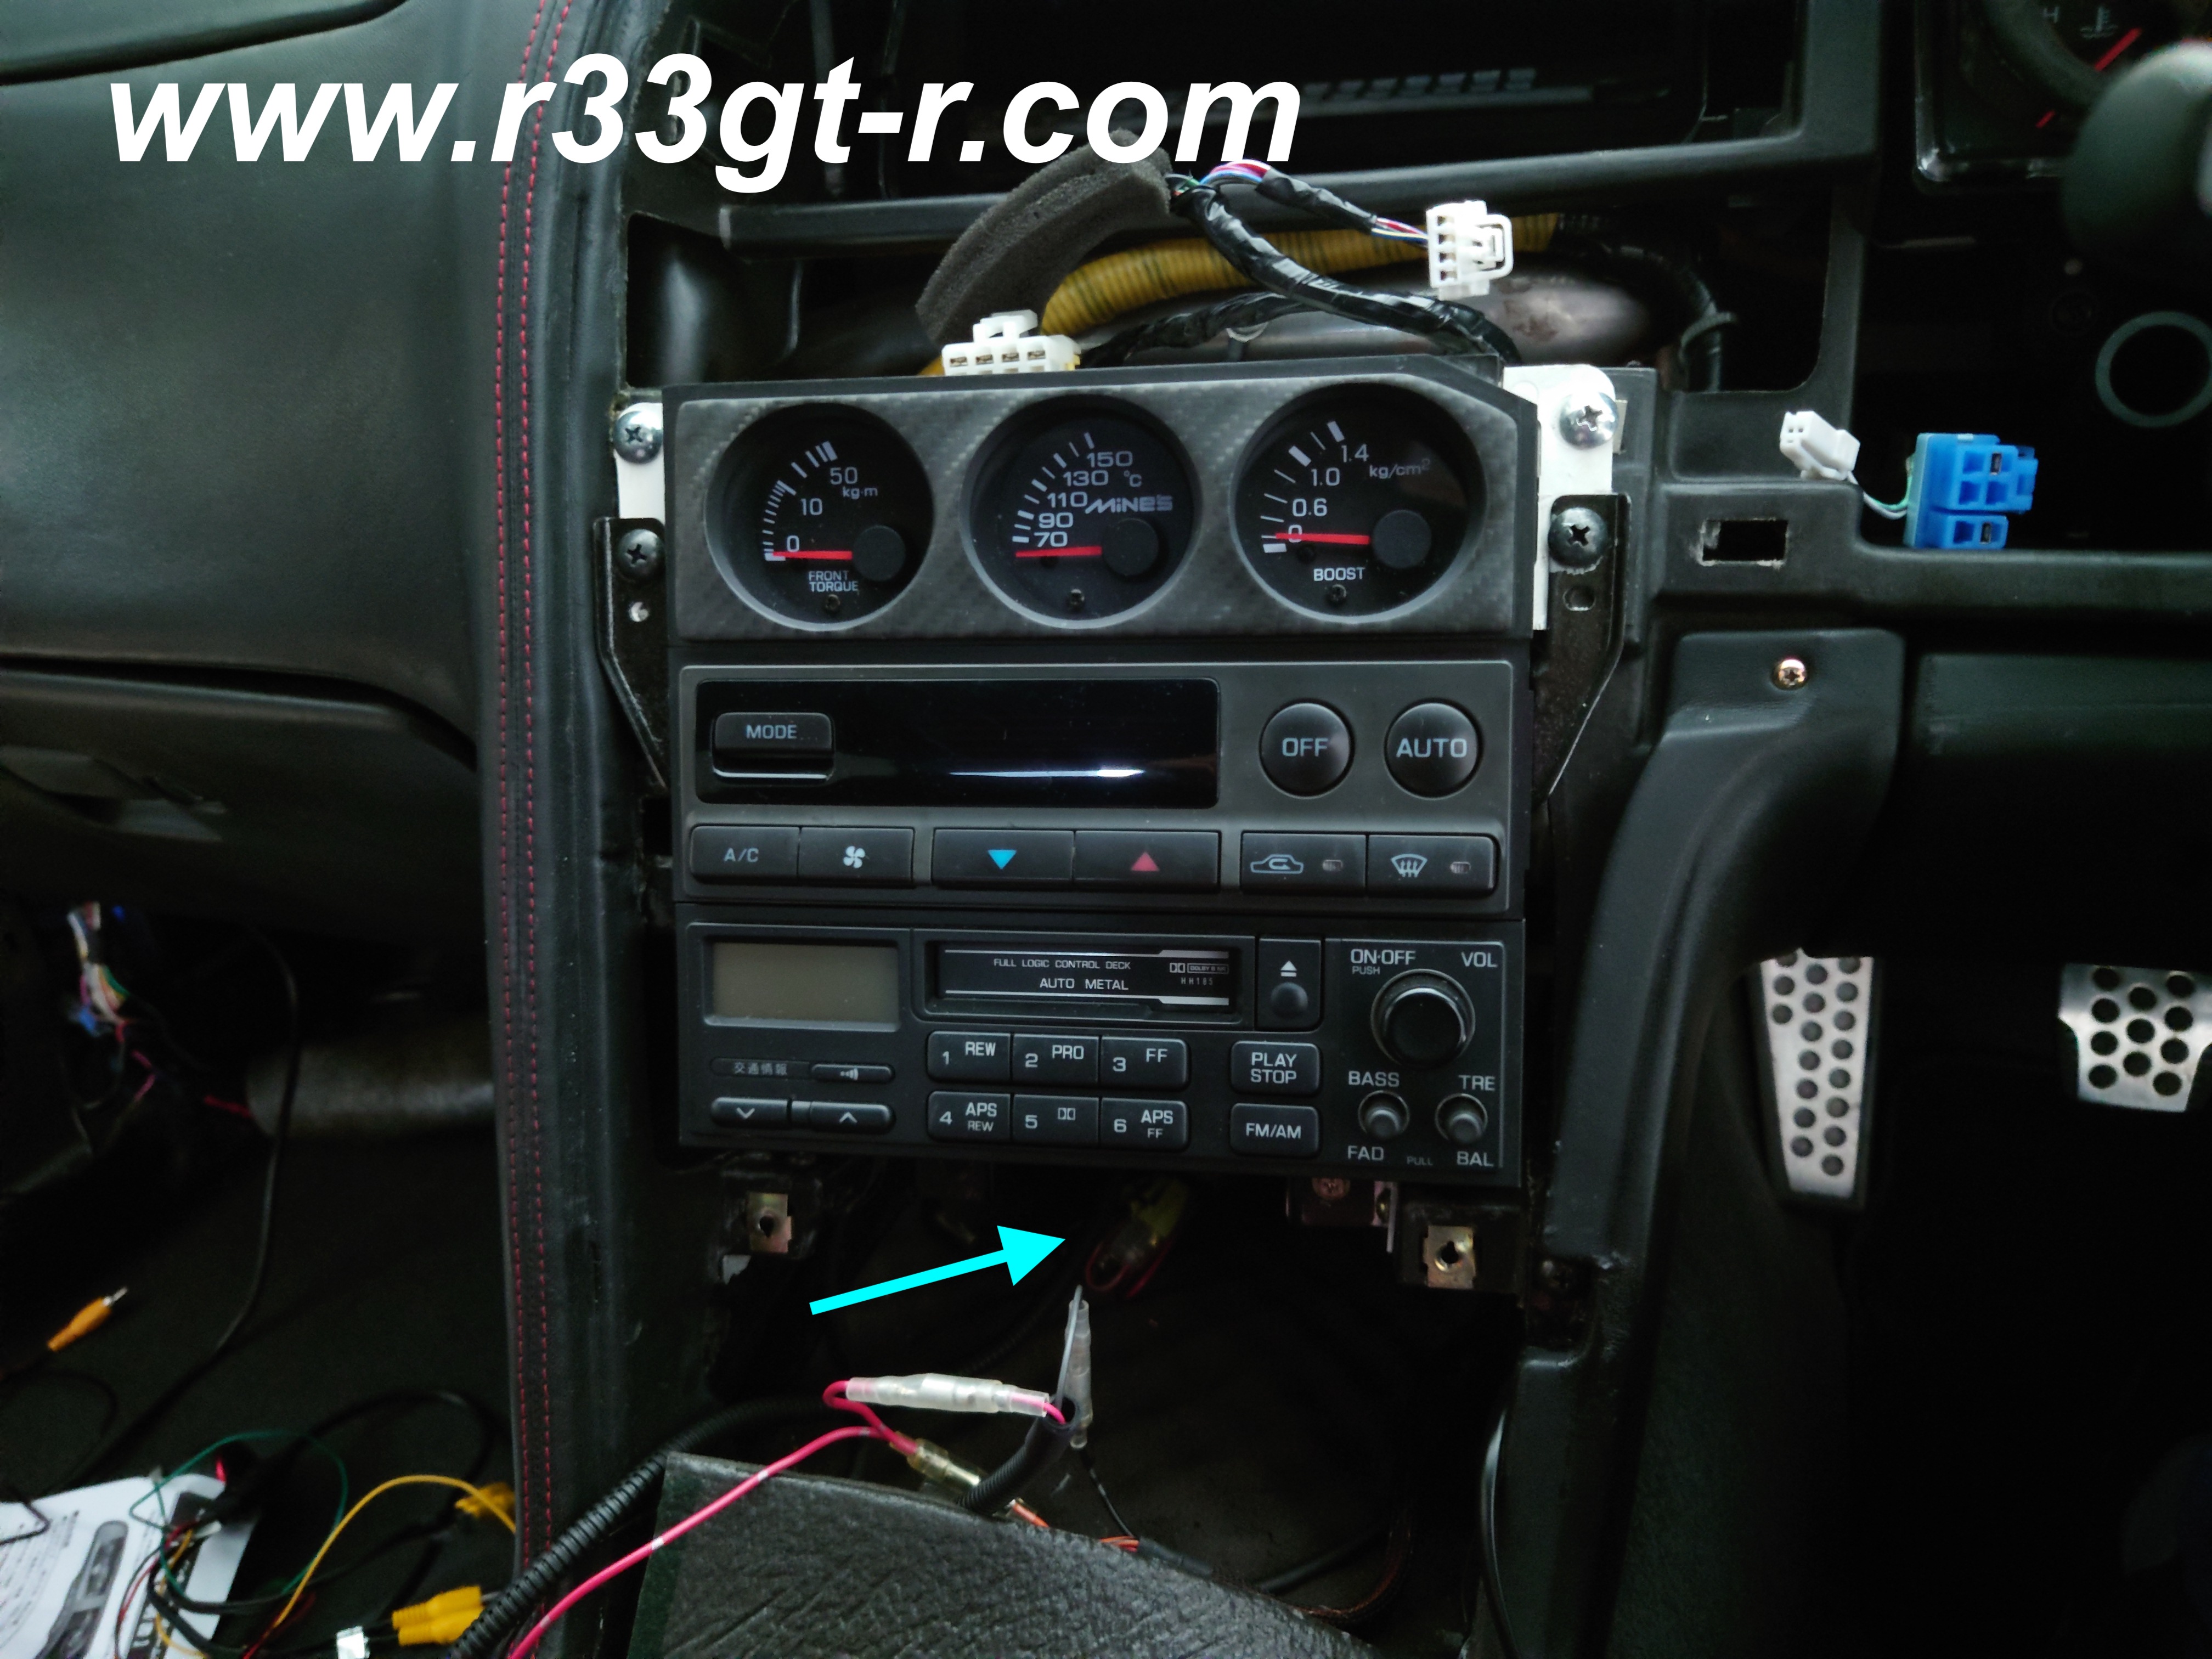
Luckily, I did not have to look too far.  Remember how Nismo Omori Factory had done their best to fix the damage done by Worx Auto Alarm to the wiring of the car? Well to recap, among other things they discovered that the wiring harness that fed into the OEM cigarette lighter was gone, so they had no choice but to reconstruct the best they could.  Part of that, my blue arrow below is pointing to - a bundle of red wiring that now provides power to the ETC reader but also leads to the cigarette lighter. Interestingly, in cutting out what was not needed, they left one male type connector. Lucky me, I simply found the female type connector that matched, crimped it onto the mirror's red power lead and I was in business (and of course after I found a bolt to attach the ground wire too - Sorry forgot to take pictures).


In any case, this meant two fewer wires crossing under the dash above my feet to the fusebox. Win! 

So now I had to install the new rear camera.

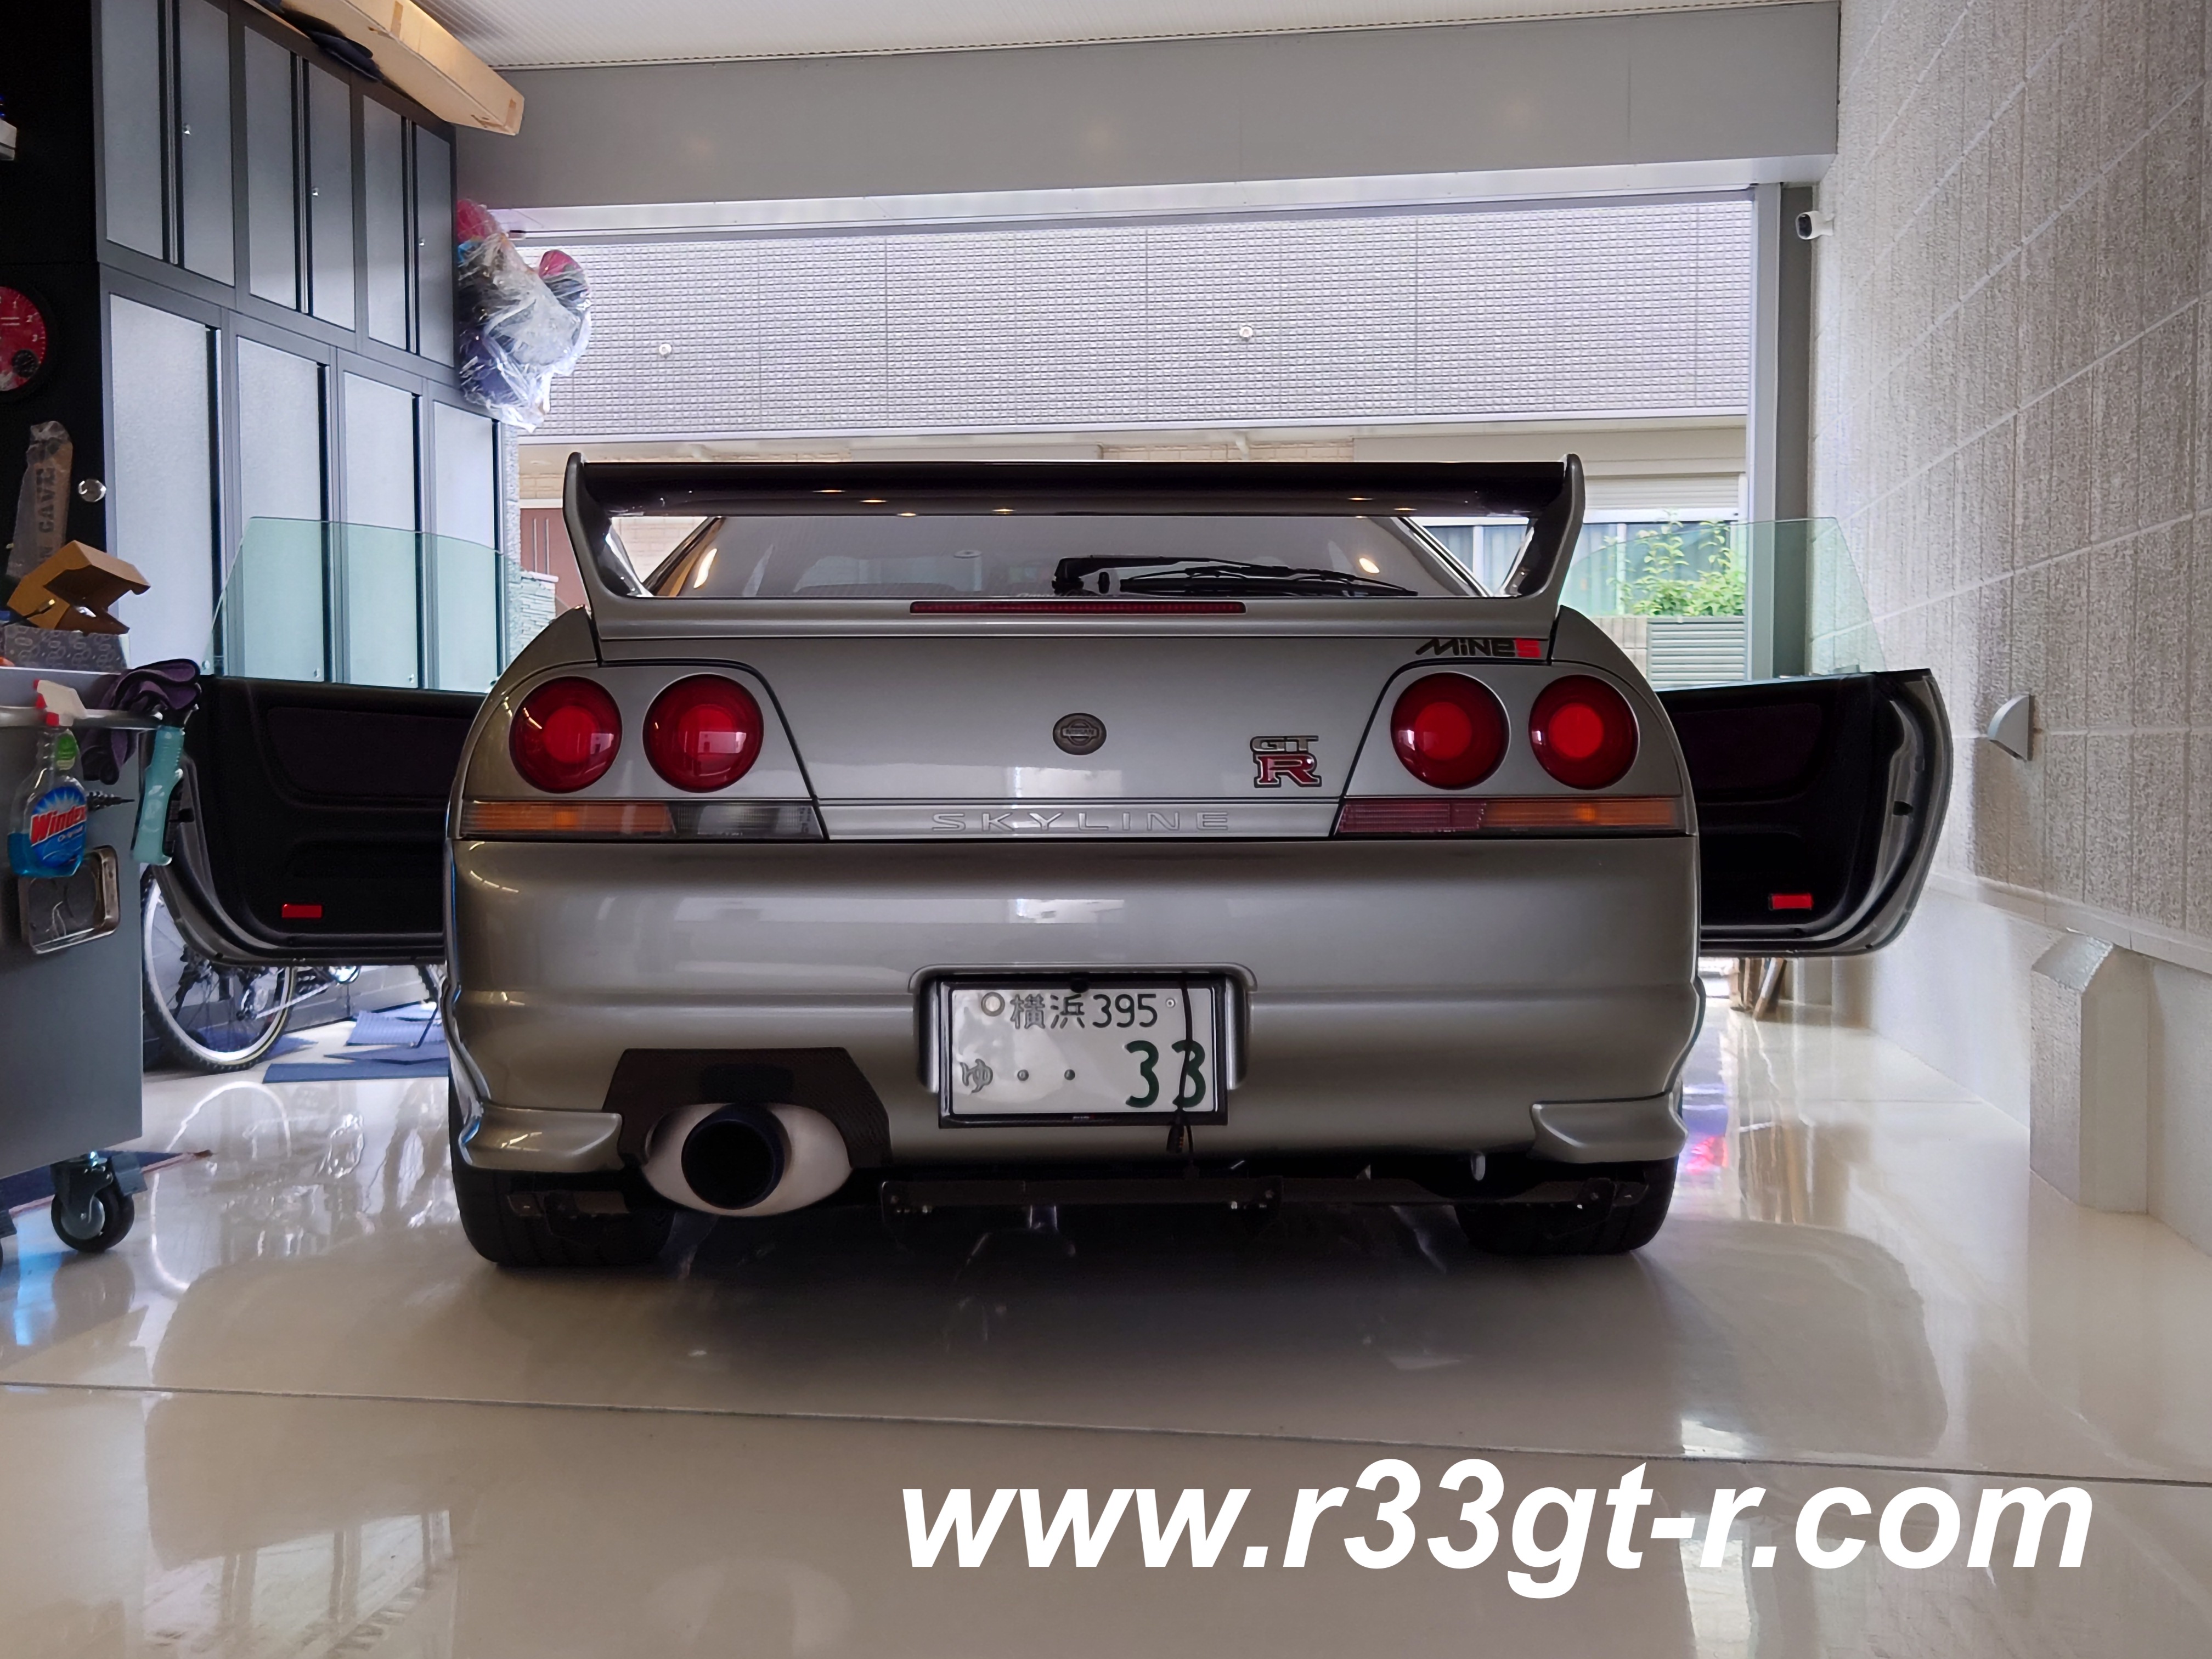
In addition to this camera having an RCA jack video out, it came with this optional plate which bolts to the camera so you can simply hook the entire assembly over the rear license plate. Every camera I've installed for the rear so far has used double stick tape to attach it to a plate above the license plate - meaning that too much vibration would shake the camera loose! Not a cool look to have, driving down the street with the camera dangling or swinging against the license plate...

So to prevent the assembly from sliding around too much on top of the license plate, I DID end up using double stick tape on the surface of the plate that makes contact with the rear of the plate. But at least now gravity is the least of my concerns.
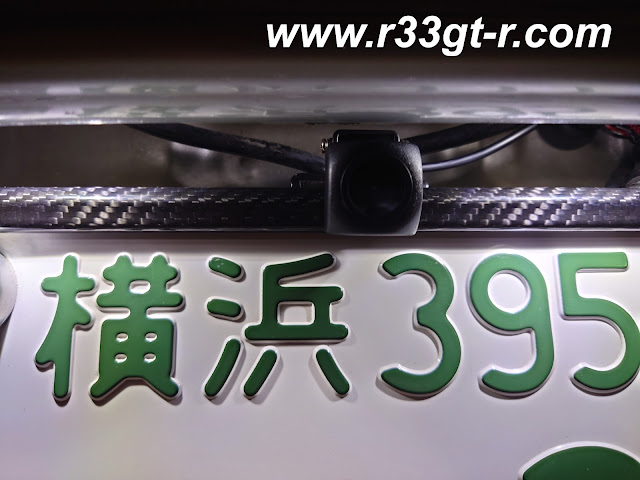
No more worries about tape!

I tried to use the existing wiring from the previous camera install - but then when I had it all hooked up, the camera video imagine failed to appear when I engaged reverse. At first I thought it was the LED bulb - low resistance? - but the problem continued even with a regular incandescent S25 bulb. Using a multimeter, I finally traced the fault to one of those cheap scotch lock type connectors that had come with the previous mirror's kit. So that was the reason for why the camera failed on the previous mirror!  Can you believe that, even though the mirror was well built, a cheap connector was what pushed me over to get rid of it?

Anyway, I figured to prevent this problem in the future, for this kit I was going to do some soldering. Which I did in the trunk, being careful not to burn or melt anything...


And then - voila! Works perfectly!  Engage reverse, and I get this image. 
Surprisingly clear for a small screen!

The camera allows for optional guidelines, bubble view, etc. - just need to think about whether I need those or if the set up as fine as is. 

So of the four possible screens on the mirror, I now had 3 remaining. As noted above, one of the cool things about the previous mirror was that it had Google Maps built in.  However my Sony Xperia phone does a much better job, graphics and speed-wise, with Google Maps.  So I started thinking and...

It turns out the phone can mirror what is on its screen to a monitor via a USB-C to HDMI cable. 
From Amazon - funny the description said it may not work with Sony phones but....


Due to the RCA inputs on the mirror, I simply found an HDMI to RCA converter (pretty cheap - less than 1000 yen on Amazon!)
From Amazon Japan 


So I looped the USB-C cable into my center console, with the HDMI side ending up attached to this converter which I hid under the stereo in the center stack - exactly where the mirror power leads and RCA inputs also fit.

Then, every time I hook up the phone to the USB-C cable, it automatically displays what is on the phone onto the screen.  Obviously since I have to be in camera mode to take that photo, I cannot show you how Google Maps appears on the mirror, but trust me it works!

Look closely, it shows the camera view on my phone tilted 90 degrees on the right.  On Google Maps though if I turn the phone to landscape mode, it works just great.

So... quite a long post.  But remember this is only one thing I worked on.  Stay tuned for Part 2 for what I also got done!
Sunday, July 10, 2022

Very cool find on Yahoo Auctions.

In the past I used to be on Yahoo Auctions almost every night - it was quickly becoming an obsession - I am sure many of you understand why. There are some pretty interesting things out there, but unfortunately lately it seems like things that are actually useful for us 33 owners, like rare parts, new and used, are getting to be slight RIDICULOUS, pricing wise.  So now scouring Yahoo Auctions is more like entertainment for me... I guess I am lucky in that my car is running fine and at the moment there is no particular itch I want to scratch...

But of course once in a while I DO take a look.  And just the other day, I found something very interesting.  

So this was described as a 下敷き - shitajiki - which is essentially a thin piece of plastic everyone in grade school here seems to have -  you lay down the plastic on your desk and under your notes so as to provide a smooth writing surface, in case your public school classroom desk just happens to be scratched up  or pock-marked (and they used to be, 75% percent of the time).  They are also useful for studying while on the bus or train, etc.

So first, I was surprised that such a thing existed for the R33.  Usually the shitajiki are plain white plastic, or otherwise featuring your favorite TV/anime character (Doraemon, Ultraman, etc) or pop idol.  So of course since this seller was offering 10 of them, I figured why not grab something unusual, since no one else seemed to be bidding.

 
Can you imagine sticking this in your bag to provide a writing surface?


What is really cool of course is what is on the back - The History of Skyline!


Don't know about you, but it would be very difficult for me to concentrate and study if I had THIS to distract me at my desk...

So of course these will never be used. But what I am going to do with them, I have no idea... any ideas?

Tuesday, July 5, 2022

What's This Weird Sound??

So check this out:


So what does this sound like? Initially I thought that this was my fuel pump going bad.  And it's hard to say where the sound is coming from in this video, although to me it seemed to be coming from behind the rear seats.  Thus, fuel pump? After all the pump was replaced back in 2007 with the Mine's engine, surely after 15 years it could be failing?

Well, turns out that I was wrong. Because the sound is coming from the Tomei fuel pump regulator.

This thing. I don't have video but once I had someone turn on the ignition with the hood open, it was clear where the noise was coming from.

A bit of research reveals that with this fuel regulator, it tends to lose the pressure in the fuel system that is always there - about 2kg worth - over time. So after a couple of weeks of not using the car, the pump effectively has to prime the fuel system and thus you get that noise.

So the way to fix this problem is to start up the car every week! Give me an excuse to drive the car around and this should no longer be an issue! But has anyone else encountered this problem? Please comment and let me know, including if you have a solution to this! Thanks!!

Friday, June 24, 2022

No More Nismo Parts!

I am done with Nismo! But only because, after my last visit back in May, I am pretty sure there is nothing left offered by Nismo or Omori Factory that I want to get installed on my car. I mean yes there are things I have not yet upgraded but I will likely get such parts from other manufacturers. Stay tuned!

How my car looked BEFORE the work this time

So what did I get done this time?  Well I have always wanted an aftermarket intercooler to replace the stock one.  There is nothing wrong with the stock one - after all it was designed to handle up to 600ps supposedly - but simply because I am trying to restomod my car so it has the most up-to-date technology and parts. Bonus, if a replacement part is stronger or lighter than the OEM part.  More bonus if it looks great too! But there are so many intercoolers offered by the aftermarket - ARC, HKS, Trust, etc. However all of these tend to be offered in a thickness of 100mm, up from the OEM 70mm size (ARC being an exception).

With regards to ARC - they offer two types in the OEM size for the r33 - their M073 (plates 3mm thick for claimed 88% efficiency) and M079 (plates 1.5mm thick for claimed near 100% efficiency). Since I want to stick to well known brands, with Made in Japan quality (and taking advantage of the recent weakness of the yen), I never considered any overseas brands, never mind Chinese brands like Mishimoto (I have trouble with anyone who tries to sound Japanese but are not because it implies they are trying to fool their customers who may assume Japanese level quality). And yes before anyone asks, I would consider the quality of parts coming out of Australia superior as well.  But I digress...

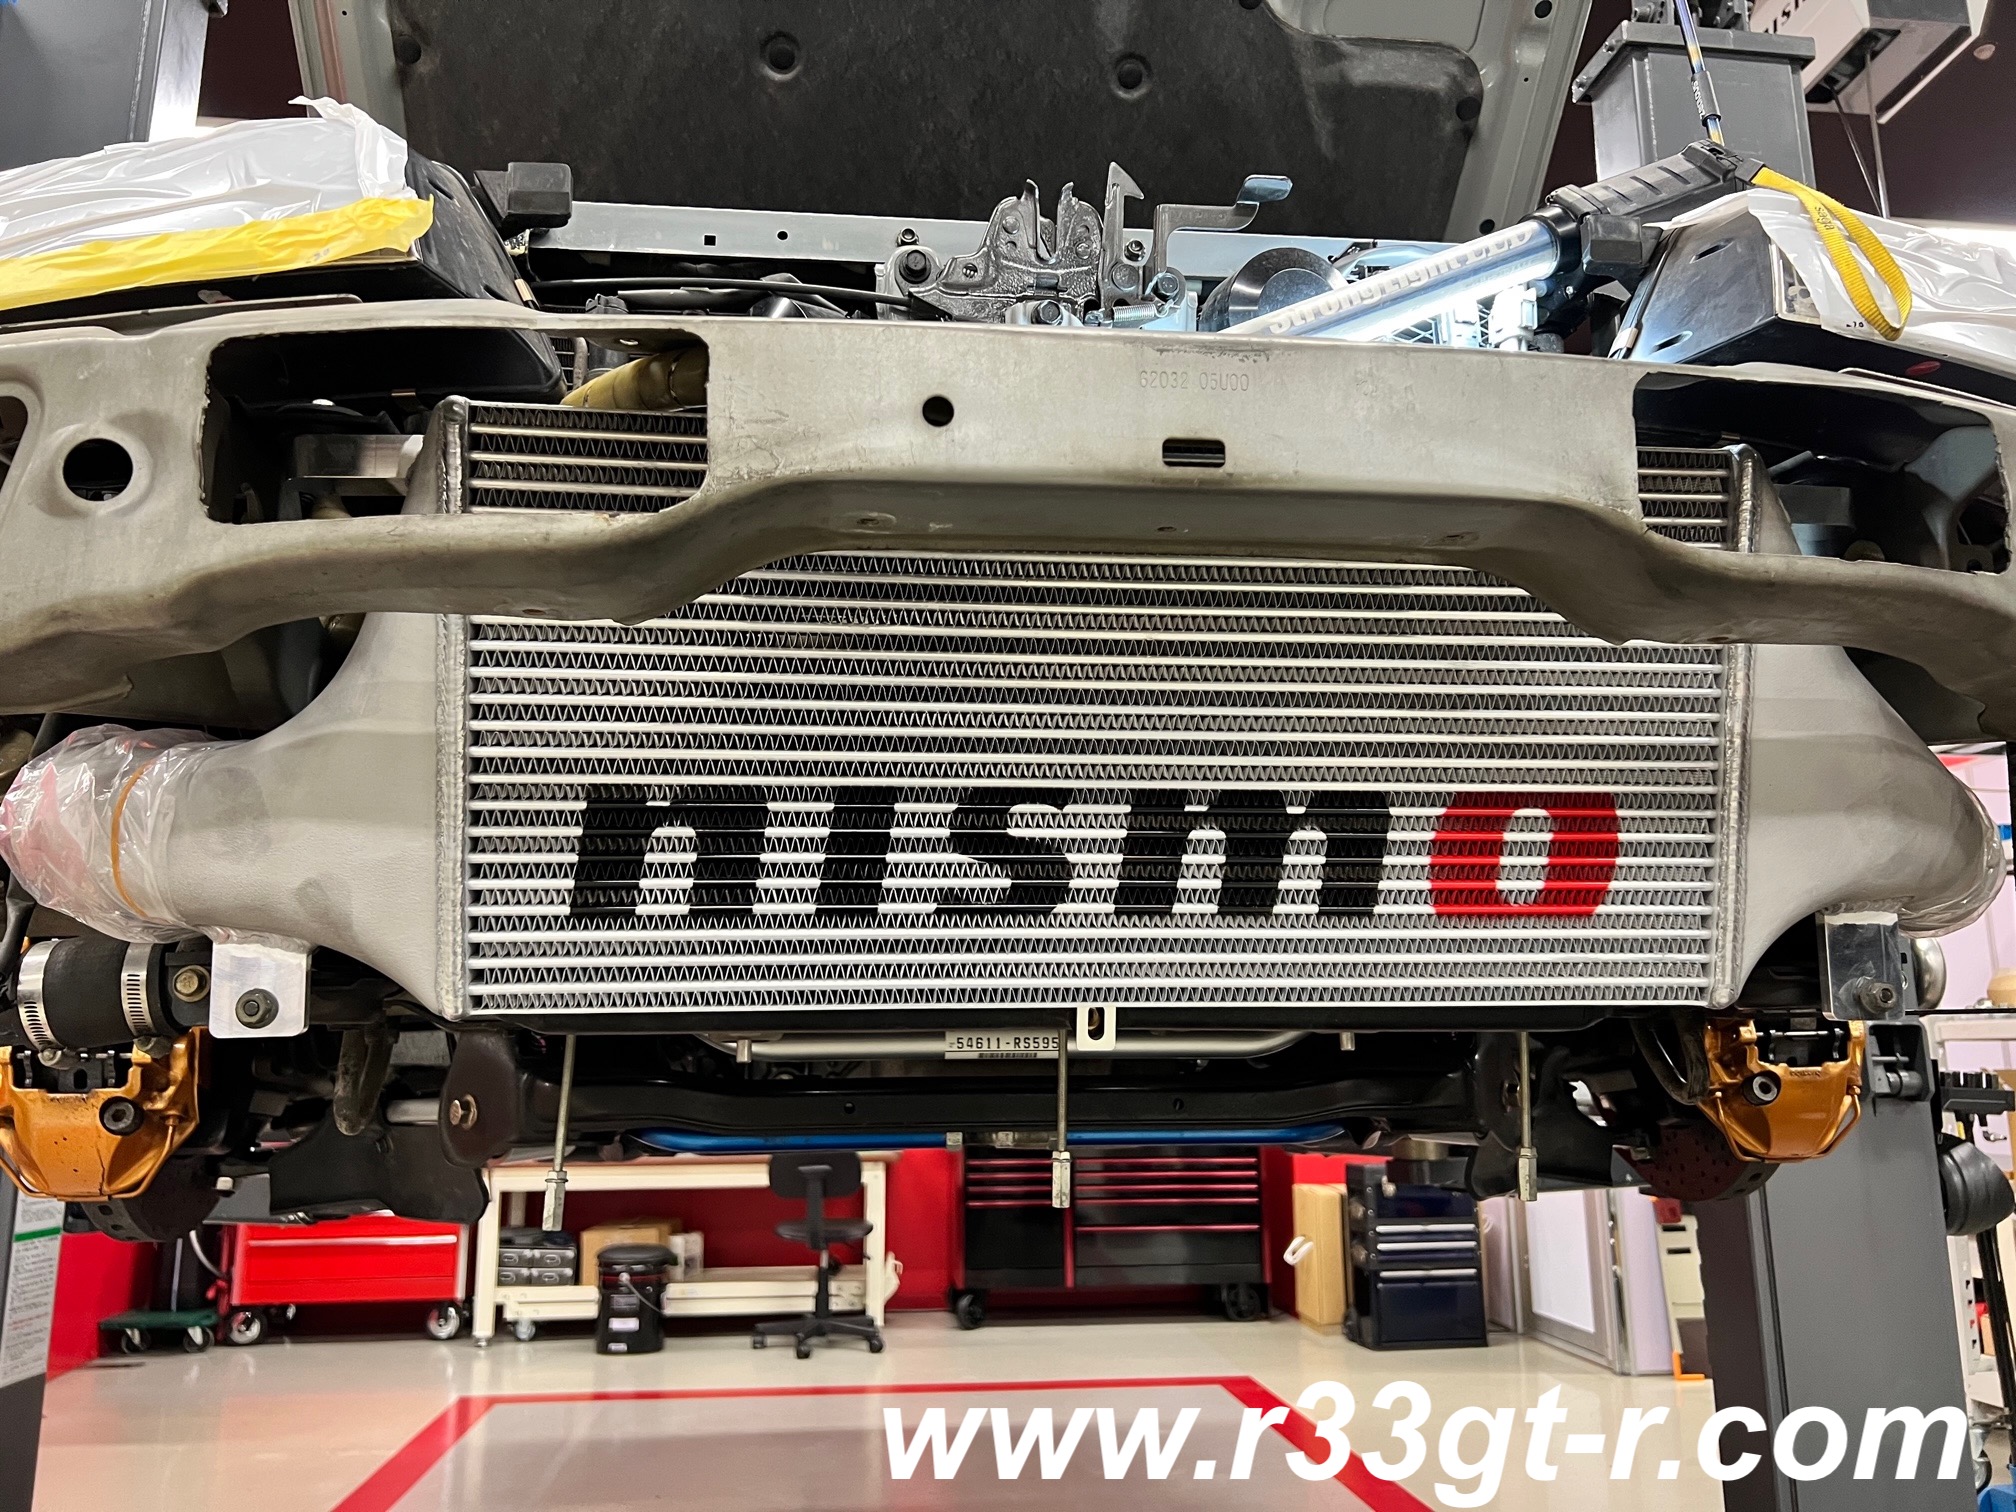
Anyway, Nismo recently released a new intercooler in 75mm thickness to supplement the 100mm thick model they have had available for some time. In addition to increased cooling efficiencies thanks to a more modern design (better flow etc), because it is 75 mm, there is no cutting of the bumper frame and bumper. AND, that also means that the OEM intercooler mesh screen which guards the intercooler from stone chips and other road debris, can be kept on. 

A closer look. Maybe the dark grill/intercooler looks good after all?

So let's take a closer look at this new Nismo part.  You can find it listed in the 2022 Nismo catalog here.

And yes, the welding is sloppy - hence why it's a display model

As you can tell from the catalog specs, the only difference between the 100mm and 75mm thick versions is the thickness. Width and height are the same, along with the internal construction, which is bar and plate.

Oh, and if I am getting this new intercooler, might as well replace the old HKS hard aluminum pipes too, right? The (il)logical and expensive choice naturally is these latest pieces of art offered only by Omori Factory (probably not listed in the usual Nismo catalog).


So yes very pretty, but when you think about it, these pipes are pretty much hidden away, so is it really worth it? I asked about what technical advantages carbon fiber has over aluminum.  I thought that aluminum would act as a heat sink and better allow hot exhaust air to cool off on the way to the intercooler, but it turns out that the opposite is true - carbon fiber does a better job of shielding the air going into and out of the intercooler from the heat generated by the engine and then trapped in the engine bay.

The engine bay BEFORE the install. Arrow points to the HKS silicon joint and the aluminum intercooler piping

So the blue HKS silicon joint is gone, and yes the carbon pipe is visible from the top!

No sloppy welding here! And yes it looks like one day I have to take off the front bumper covers and steam or dry ice clean that bumper frame! 
Have to admit, I was happy to see that the Nismo part sticker is still clean as brand new on the Nismo brace - visible right under the "S" in the printed NISMO.

Here is a close-up of how it looks put together, with the OEM mesh screen.


So those above photos were sent to me during the install.  When I went to pick up the car after the work was completed, I took  second to check out the new corporate signage outside Omori Factory.  This is because earlier this year Nismo (Nissan Motorsports Co. Ltd.) and Autech Japan Inc. merged.  Guess who oversaw that from a legal perspective?

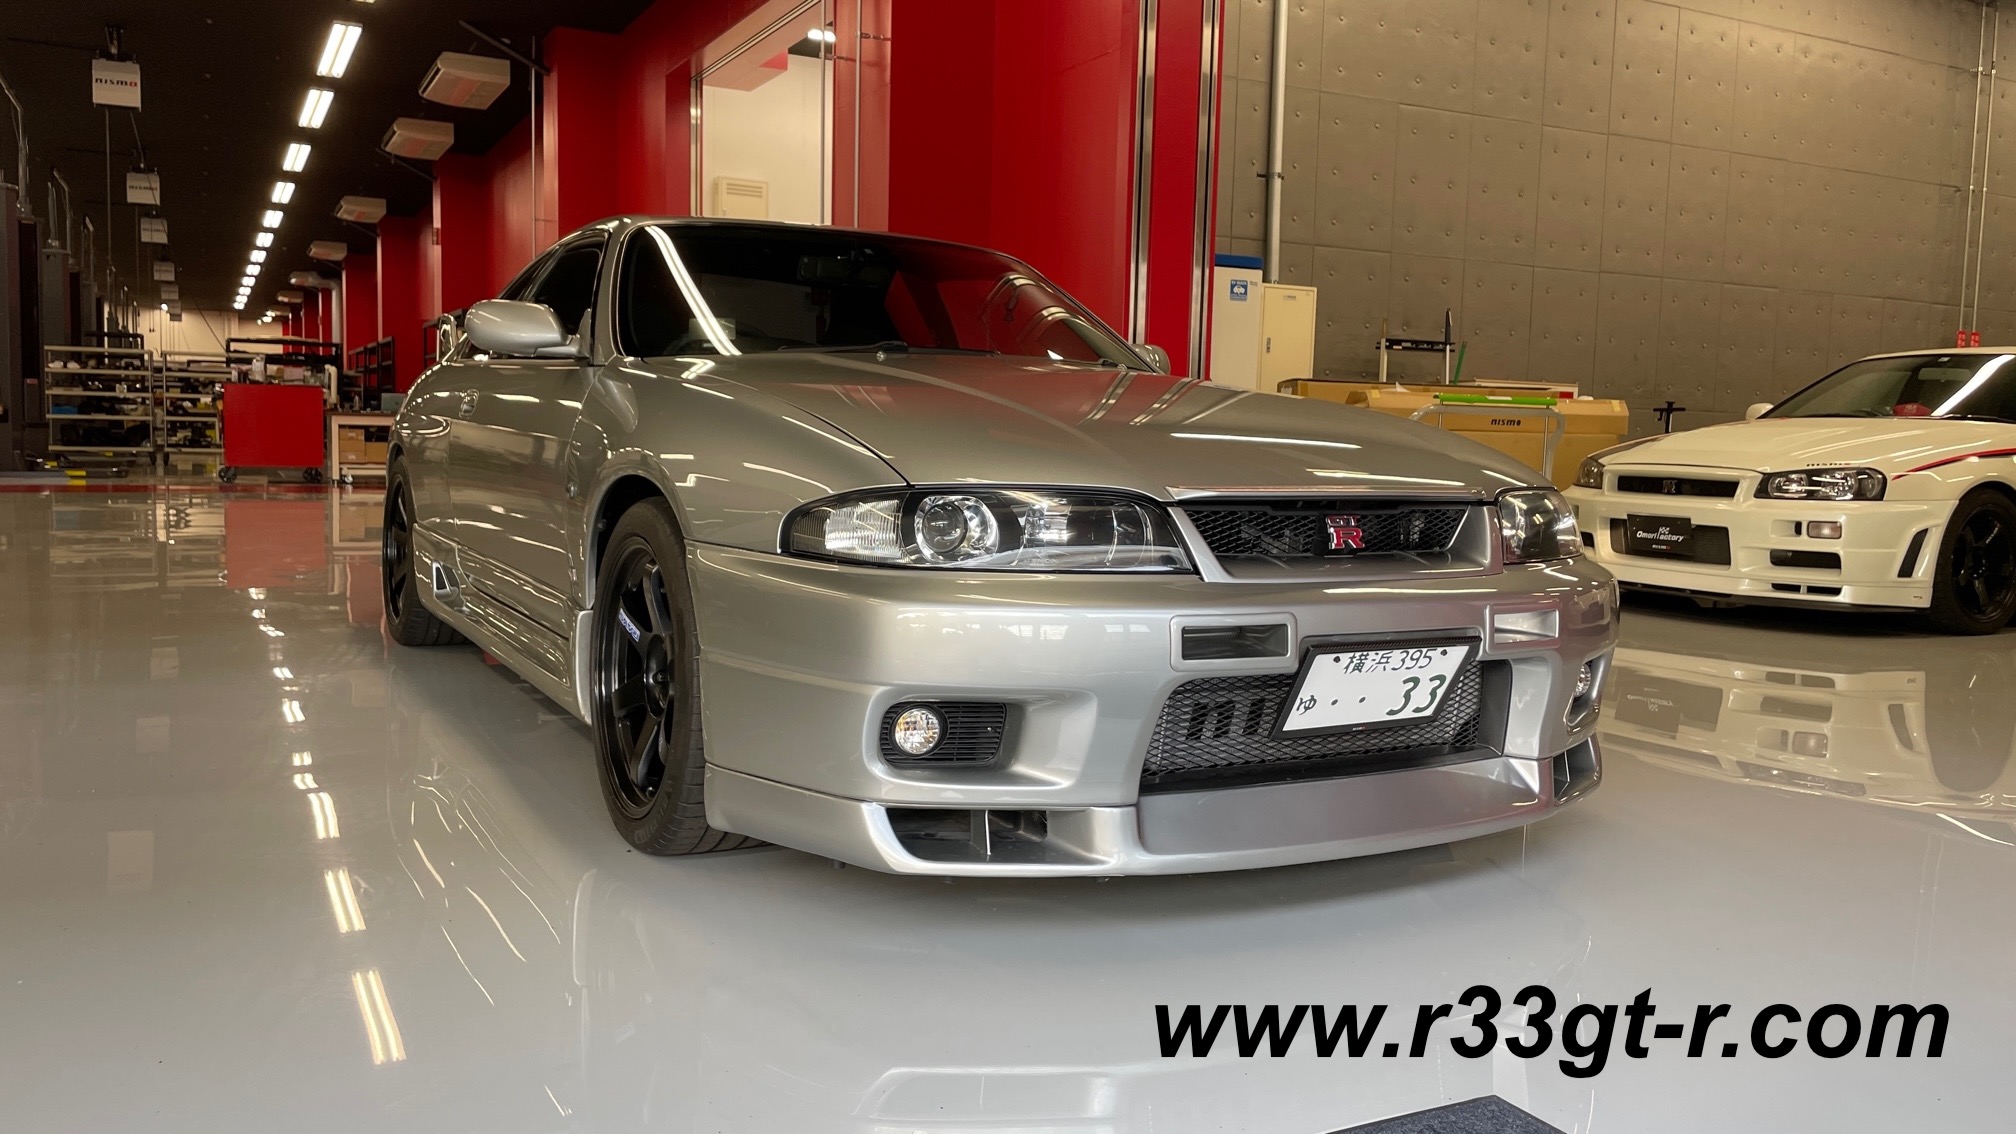
Anyway, the car looked great as usual upon arrival in the garage.

The original OEM intercooler.  Lots of dust and sand fell out while I was examining it.  Sorry Nismo custodians...  

So they haven't thrown it out yet - do you think it can be sold for some more cash? Or should I keep it?

Here are the other parts.  Pretty sure I can sell these HKS intercooler pipes, no problem.

Finally at home.  The white floor makes it easier to make out the new silver colored intercooler and the NISMO logo.

So what's next? Well I think I want to turn my attention on some further interior tweaks. Stay tuned!

Friday, May 27, 2022

Damn it! Now what am I going to do?

So as indicated in this previous post, the rear camera feature on this overly complicated and slow-functioned rear view mirror did not seem to be working properly.

Since I am fairly sure it is not a camera issue - how could that break? I figured maybe it was a connection issue, so of course I opened the trunk and looked around near the rear lights where I had wired it up. And then I guess I pulled a bit too hard on the rear trunk trim in trying to remove it, because....

SNAP!!!

Of course I immediately contacted Ochiai-san at Omori Factory, but he checked and unfortunately this part is no longer in stock and no longer available. Bummer.

So this means I will have to hunt around on Yahoo Auctions to find a used trunk liner piece. Or maybe, I can research how to put the ABS plastic back together enough to recreate the one piece "hinge" feature... Any ideas, anyone???

Monday, May 16, 2022

Now This is Talent!

So via the magic of social media, someone pointed me to a drawing of my car. When I checked it out - I think it was on IG -  I was pleasantly surprised. Inspired by the cover photo to The Return of Project 33 article I published on Speedhunters:


I found this on Instagram - I actually like it just as much, if not more, than Dino's photo:

Obviously, Harley is a pretty talented guy - and when I contacted him, turned out to be a super nice guy too! (and yes, his brother is ok...).  He directed me to his Etsy store - and then a few weeks later:

And the Japanese is almost perfect! WOW!

First order of business, I had to get a proper frame to mount this in. Not just the same size as the drawing, but with a proper mat too.


Looks like it will fit perfectly...

Love it! Signed and dated. Could be worth a lot in the future, maybe??

That is spot on!

And yes, he also sent me this as a bonus:

Not sure what I will do with this but will hang on to it! It's signed on the back!

So I'm super happy that my car - or at least a photo of my car - is now generating art! NFT, anyone? But in all seriousness, if any of you see anything like this out there, please let me know! Totally happy to support artists and of course such art gets added to my R33 GT-R collection!

Anyone else out there with this kind of talent? Let me know!!

Friday, May 6, 2022

Fake or Replica? Or Maybe, Just Maybe the Real Thing?

 So as usual I was doing a quick search on Yahoo Auctions the other day. And found (and got) this.


The buy it now price was about the same for a normal R33 GT-R key at 5700 yen, so I was of course suspicious. Very suspicious.  The seller did not say it was real, but he also did not say it was a fake either. Although I think the fact it came in this felt bag is somewhat suspicious too. 

The title of the auction, translated from Japanese was "Nissan  Skyline GT-R R33 BCNR33 400R Limited production model Blank key Nismo old logo." 

Perhaps it is a replica - but if so, I would think that I would have come across others ones out there on Yahoo, because people usually make replicas to make money. The seller has only 40+ reviews (all 100% satisfaction) and he isn't selling anything else at the moment so... has anyone seen anything like this on any auction site?

Given the price, I thought it could just be a cheap fake as well. But the look, feel and weight of the key feels very real. Maybe it is a bit shinier than it should be, given that a real one would be about 25 years old.  

And again, if a fake why sell for less than 6000 yen, then, given that real ones are currently going for 600,000 yen? 

Any key experts out there? How much would it cost to make something like this, if you wanted to replicate the real thing?

For comparison with the genuine item - here is a photo I pulled off of Yahoo Auctions for a 400R that is suggested to be genuine (seller does not say "genuine" or "real" in the description).

From https://page.auctions.yahoo.co.jp/jp/auction/r351596032

The seller of this particular one is asking 600,000 yen! Says he got it from a relative who owned a 400R, but stops short of actually claiming it to be the real thing. Condition of his sale is No Claim, No Return. He also warns that there are fake keys on Yahoo Auction, the way to tell is that the tip that gets inserted is "rough" and so to be careful.

So... what do you guys think? Personally, genuine or not I would never spend 600,000 yen on a key, unless it came with the car. I am secretly hoping my seller was clueless and just trying to offload something he had got from someone, but even if it is a fake/replica I think it is very well done (looks like one of the legs of the R is thinner than the 600,000 yen one?) so I think I will take it to Nismo Omori next time I am there and see what they think.