So even though this blog is about my R33 GT-R, for me ownership of this car means I have a responsibility to make sure this car looks good all the time. That means keeping it clean, and that means that when I'm not driving it or making mods to it, I want to do what I can to keep it clean.
Up until now, most of my detailing work has been the result of trial and error, and by no means is the result perfect, but I recently decided that as I am lucky enough to have a decent sized garage, why not create an environment that would allow me to go full blow OCD when polishing my car?
You may have seen glimpses of my garage in this blog, or on Speedhunters here in detailing Dino's yellow 911 and here doing some interior work on the same car, but I always felt like while a good working space what we could do was limited by the amount of light - sunlight for paintwork and interior lighting for everything else.
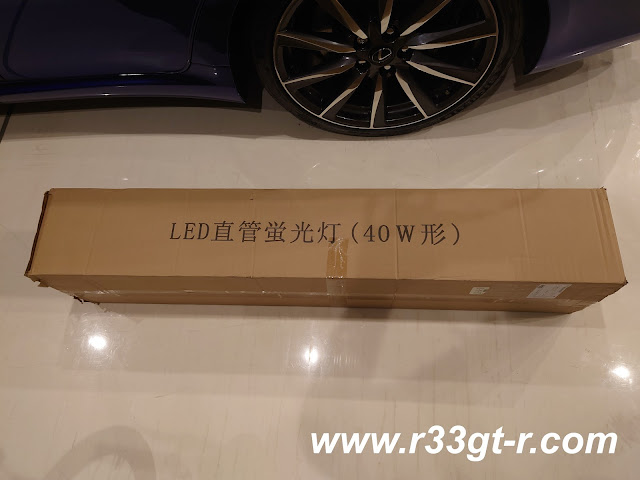
So after doing some research, I found a set of 20 LED lamps with a claimed output of 2300 lumens each with 5000K coloring.
 |
| Yep, made in China but the price was right. Quality not bad actually! |
 |
| I think there is more cardboard here than the LEDs themselves |
 |
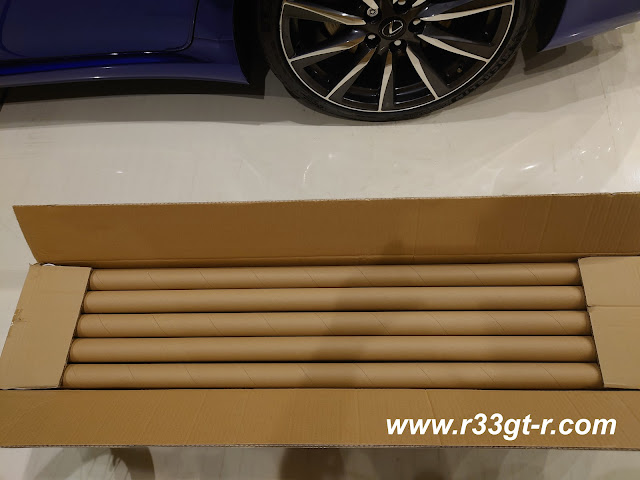
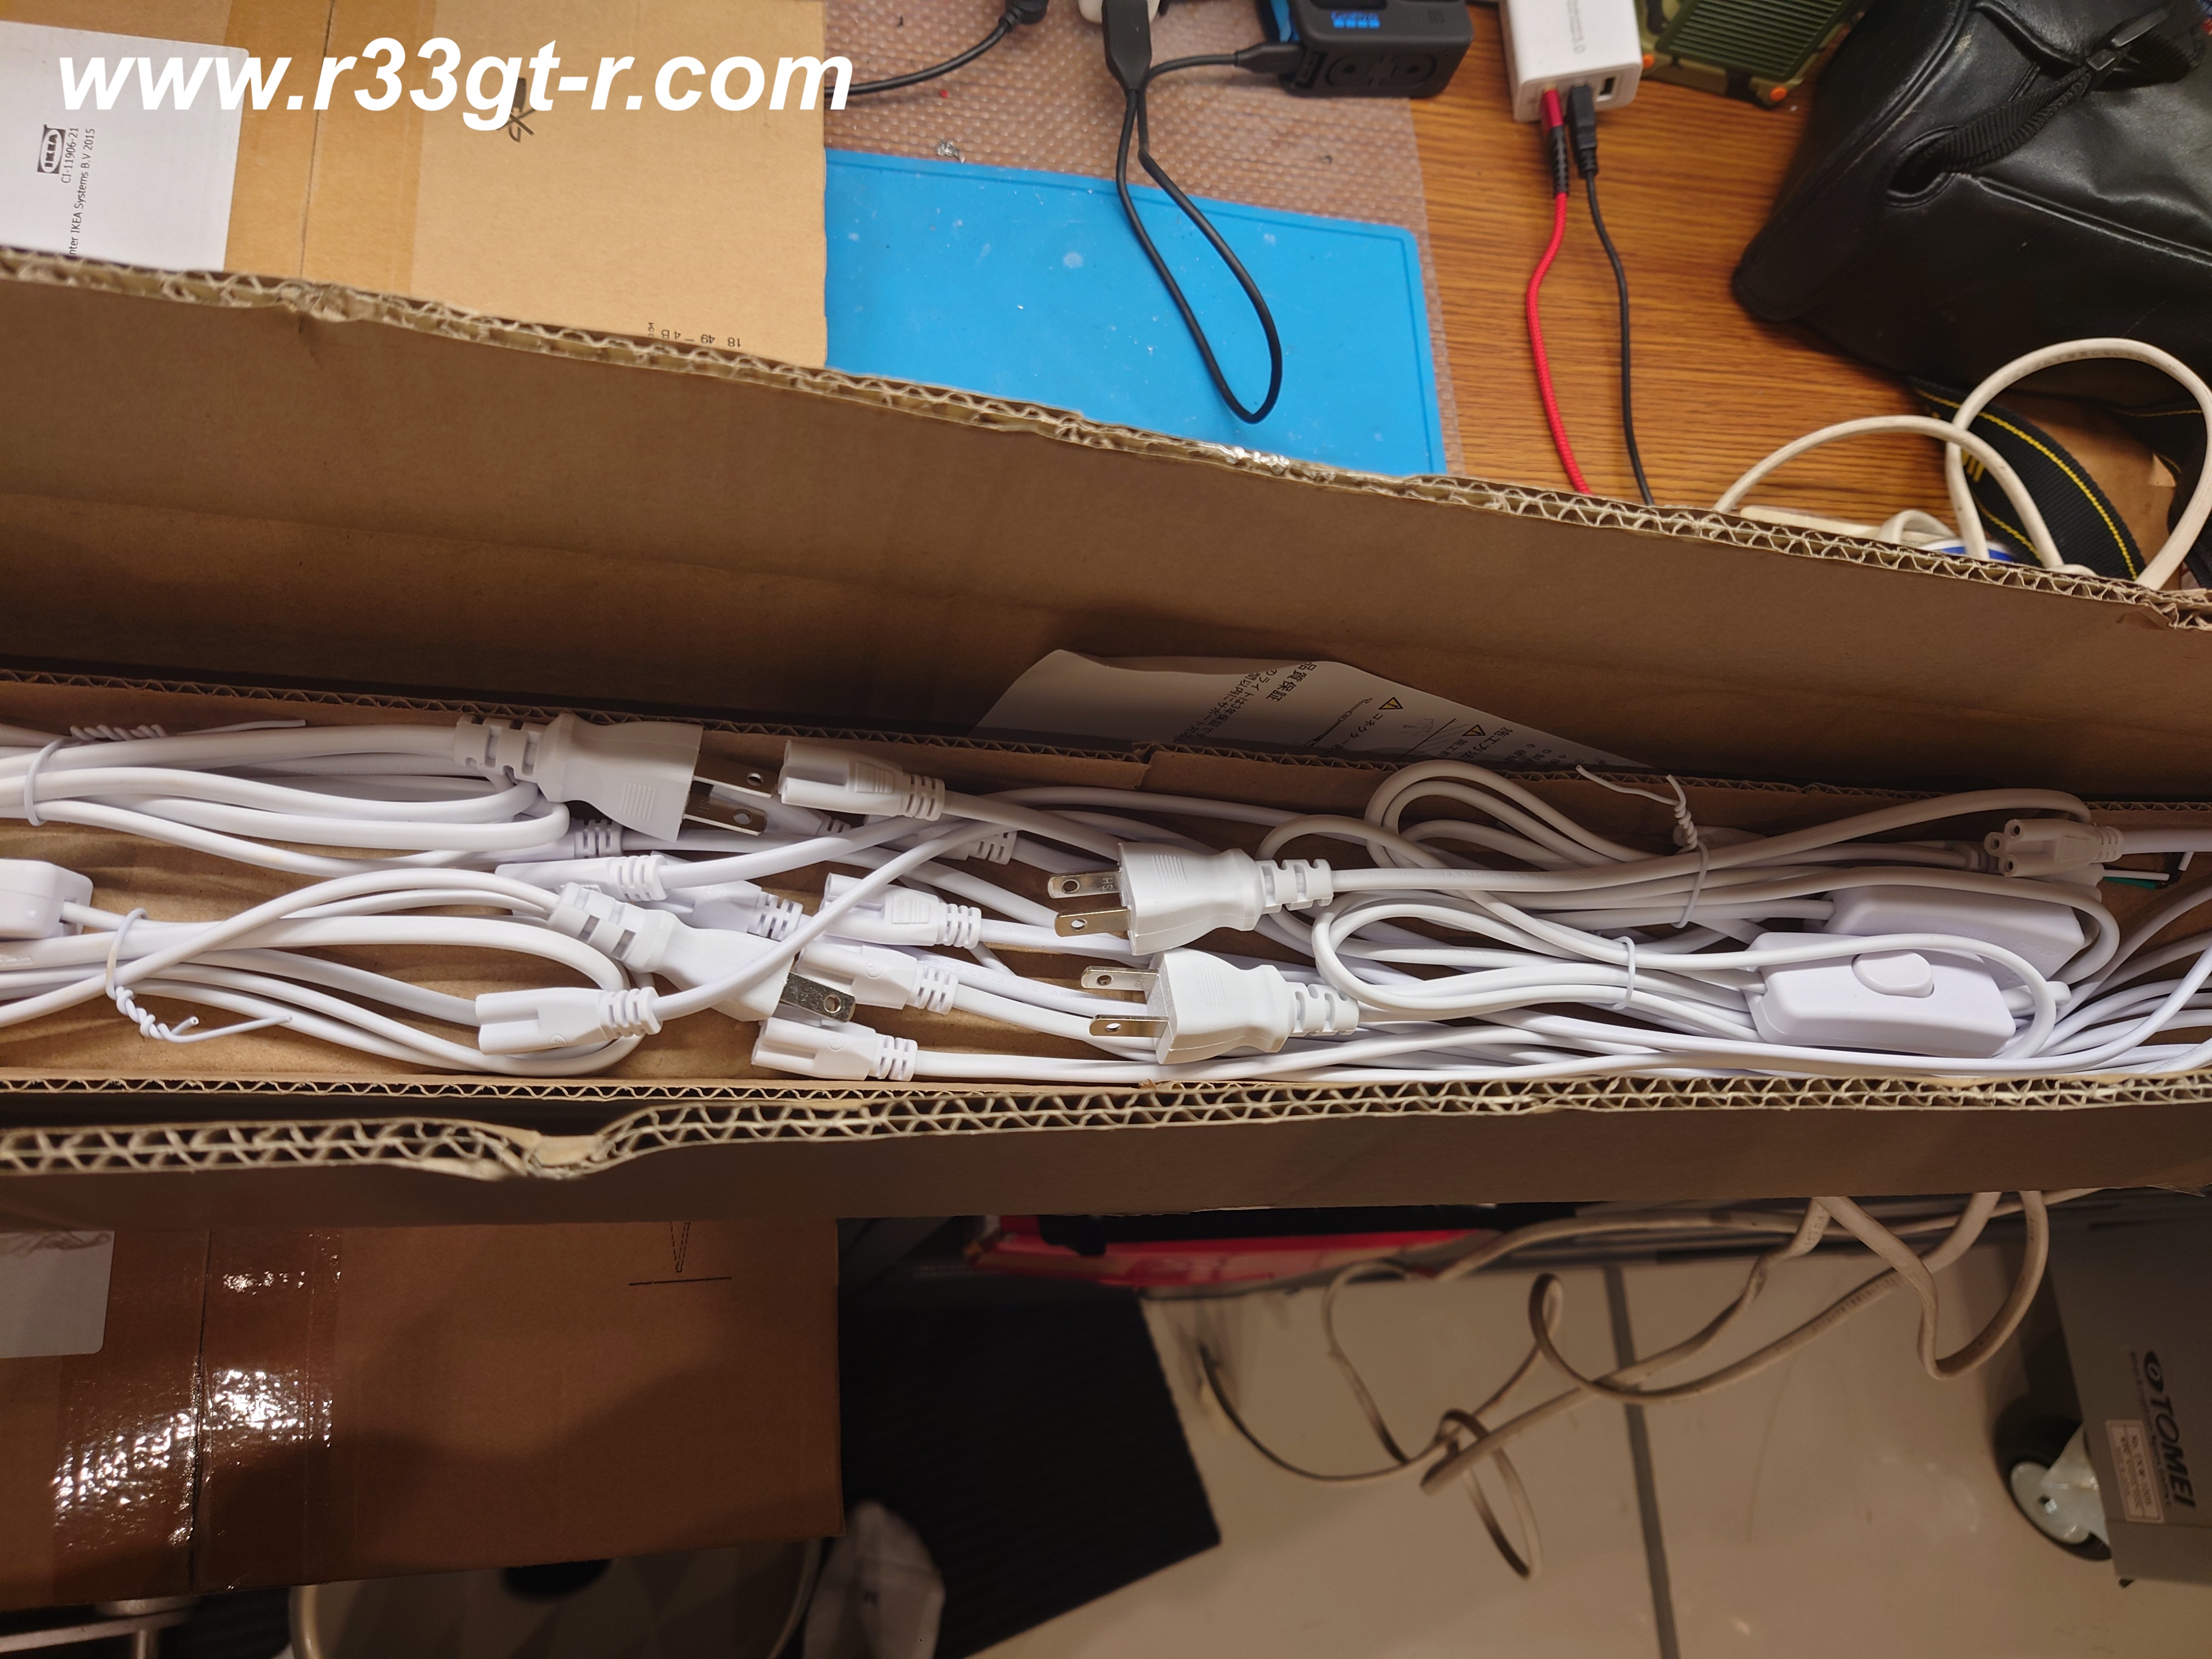
| And yeah came with a whole bunch of connectors and clips |
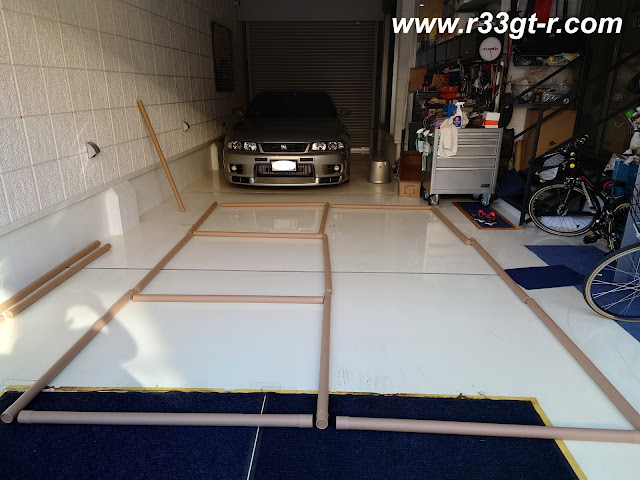
Of course having ordered 20, the first thing I did was to try to figure out the best lay out for the garage. I did this by laying out all the cardboard tubes the LEDs came in on the garage floor to visualize spacing, as well as how to hook up the wiring between each LED lamp (they are modular so voltage goes in one side and out the other, into the next one, etc.)
 |
| The GT-R was freshly back from the R's Meeting |
 |
| Did a quick detail, and made sure the LEDs worked properly. Yes! |
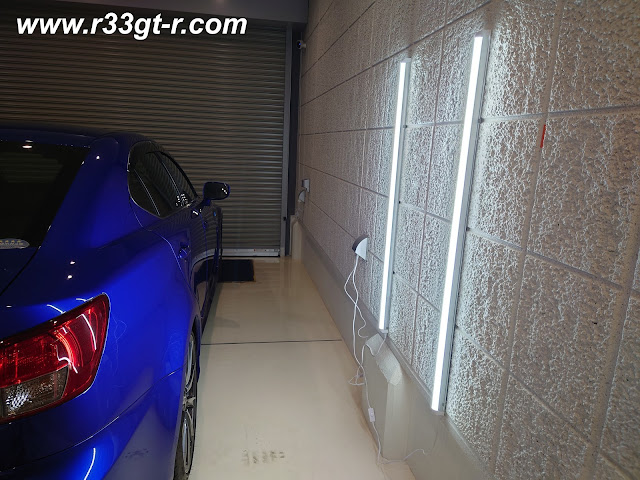
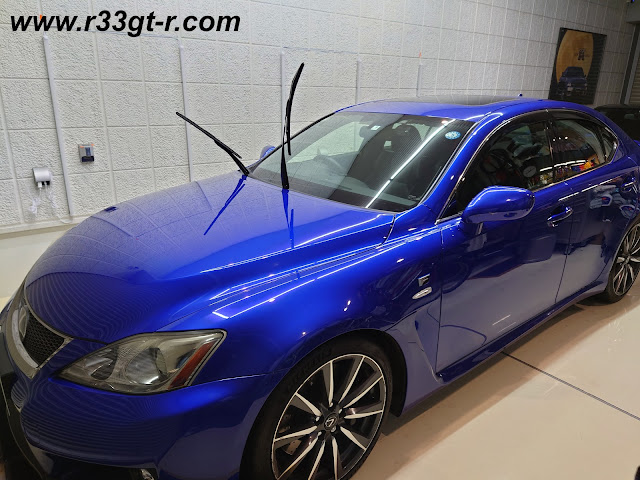
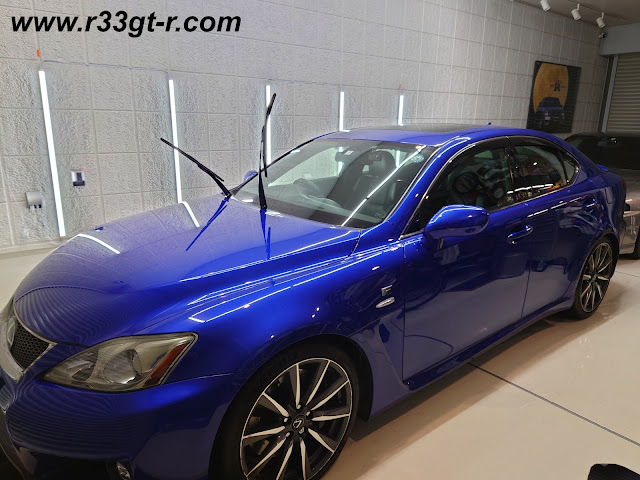
But before installing on the ceiling, I took the easy way out, and installed 5 units alongside the far wall next to the Lexus.
 |
| All lights in the garage off, trying these 2 LED lights. |
Installation was easy, so I went ahead and wired in 5 of them along this wall, using the mortar space between two tiles as my guide. I initially thought about horizontal placement but then realized it might be better to have the vertical length in order to see into the paint well, from all angles. So I went ahead and ordered several 1 meter long extension cords to run between each light.
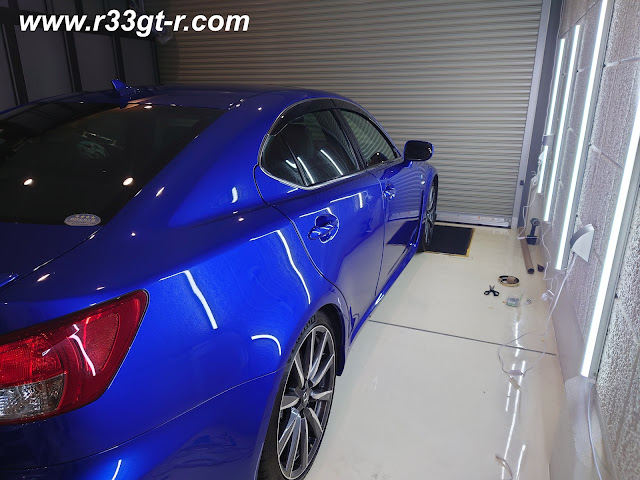 |
The blue paint looks fantastic!!
|
 |
| Photo glare! Sorrry about that... but you can see how bright the LEDs are and the extension cords I have running between at least one pair (which I cleaned up later) |
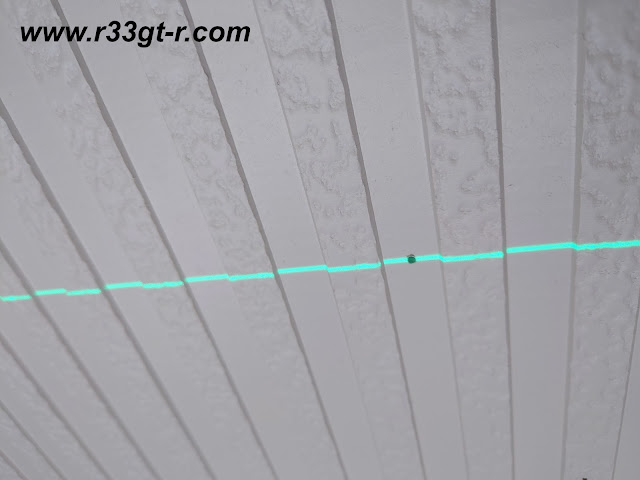
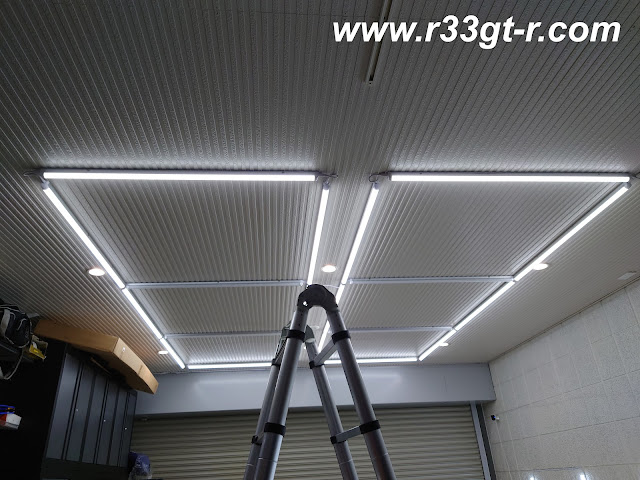
So while this looks provides plenty of light, I had 15 more LED lamp units to install on the ceiling. I then realized that I would need some help in order to ensure that I drilled the holes for the clips in a straight line. So went ahead and got this laser level:
Which let me generate some cool green lasers on the ceiling:
 |
| (After I drilled the hole) |
Once I had one north-south and one east-west installed, then it was relatively easy to keep things straight.
 |
| Just the standard garage lamps |
 |
| Overhead standard lamps and side LEDs |
 |
| Standard overhead plus overhead LEDs! |
 |
| All Lights On! (except of course the spotlights over the GT-R) |
But remember, even though I was making good progress I still have 5 more LED lamp units left. So I proceeded to install this set up:
Which made things MUCH brighter, but I felt like I could do better. More LEDs in the center, plus create another equal rectangle on the left side. Which means 5 more LED units....
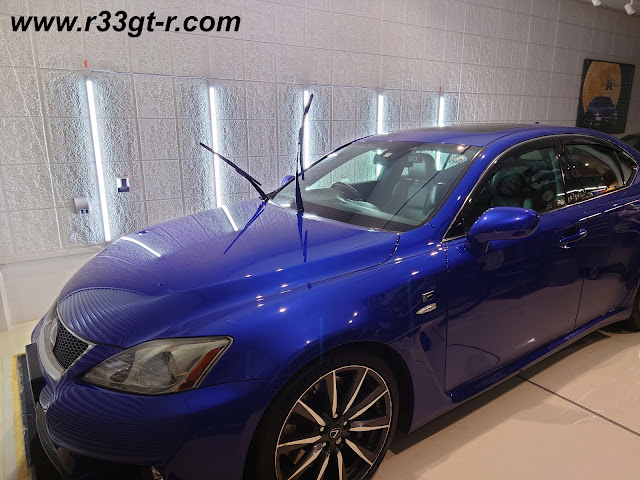
And so I decided that I would move the five 5000K LED lamp units that I had on the garage wall, and replace with five more newly purchased LED lamps - but this time with 6500K color, which is slightly more bluish than the 5000K - by having two different colors, the thinking is that this will give me better ability to spot fine scratches on lighter colored cars like the GT-R, at least from the side.
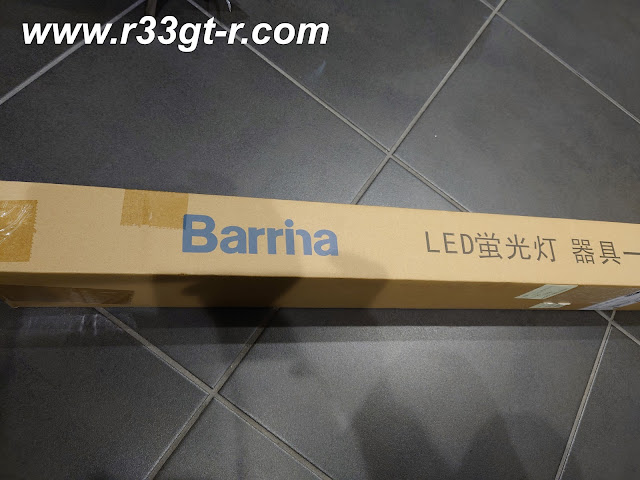 |
| This is a well known brand, I've seen YouTubers install these. |
 |
| Nicely packaged, yes. |
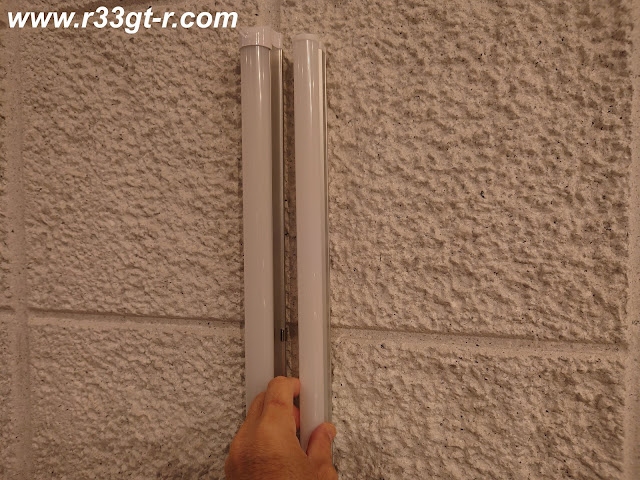 |
| But despite using the same couplers and cables, the form factor is thinner (Barrina on right) |
Can you spot the difference in color?
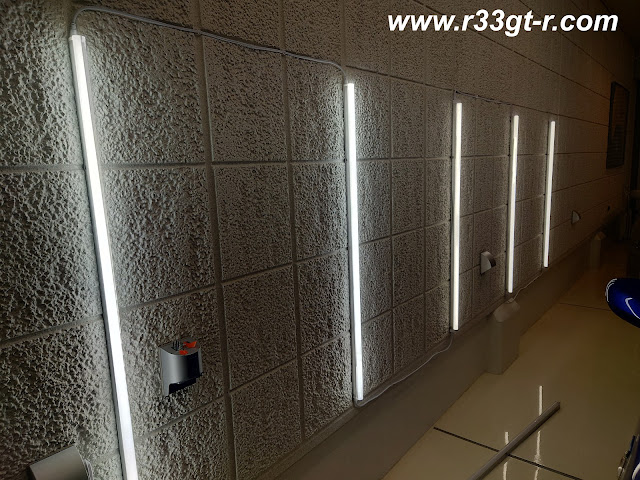 |
| Two on the left are 6500K, three on right are 5000K |
And as for the ceiling, I was able to quickly do this with the 5 I took from the wall:
 |
| But sharp eyed readers will notice a few things |
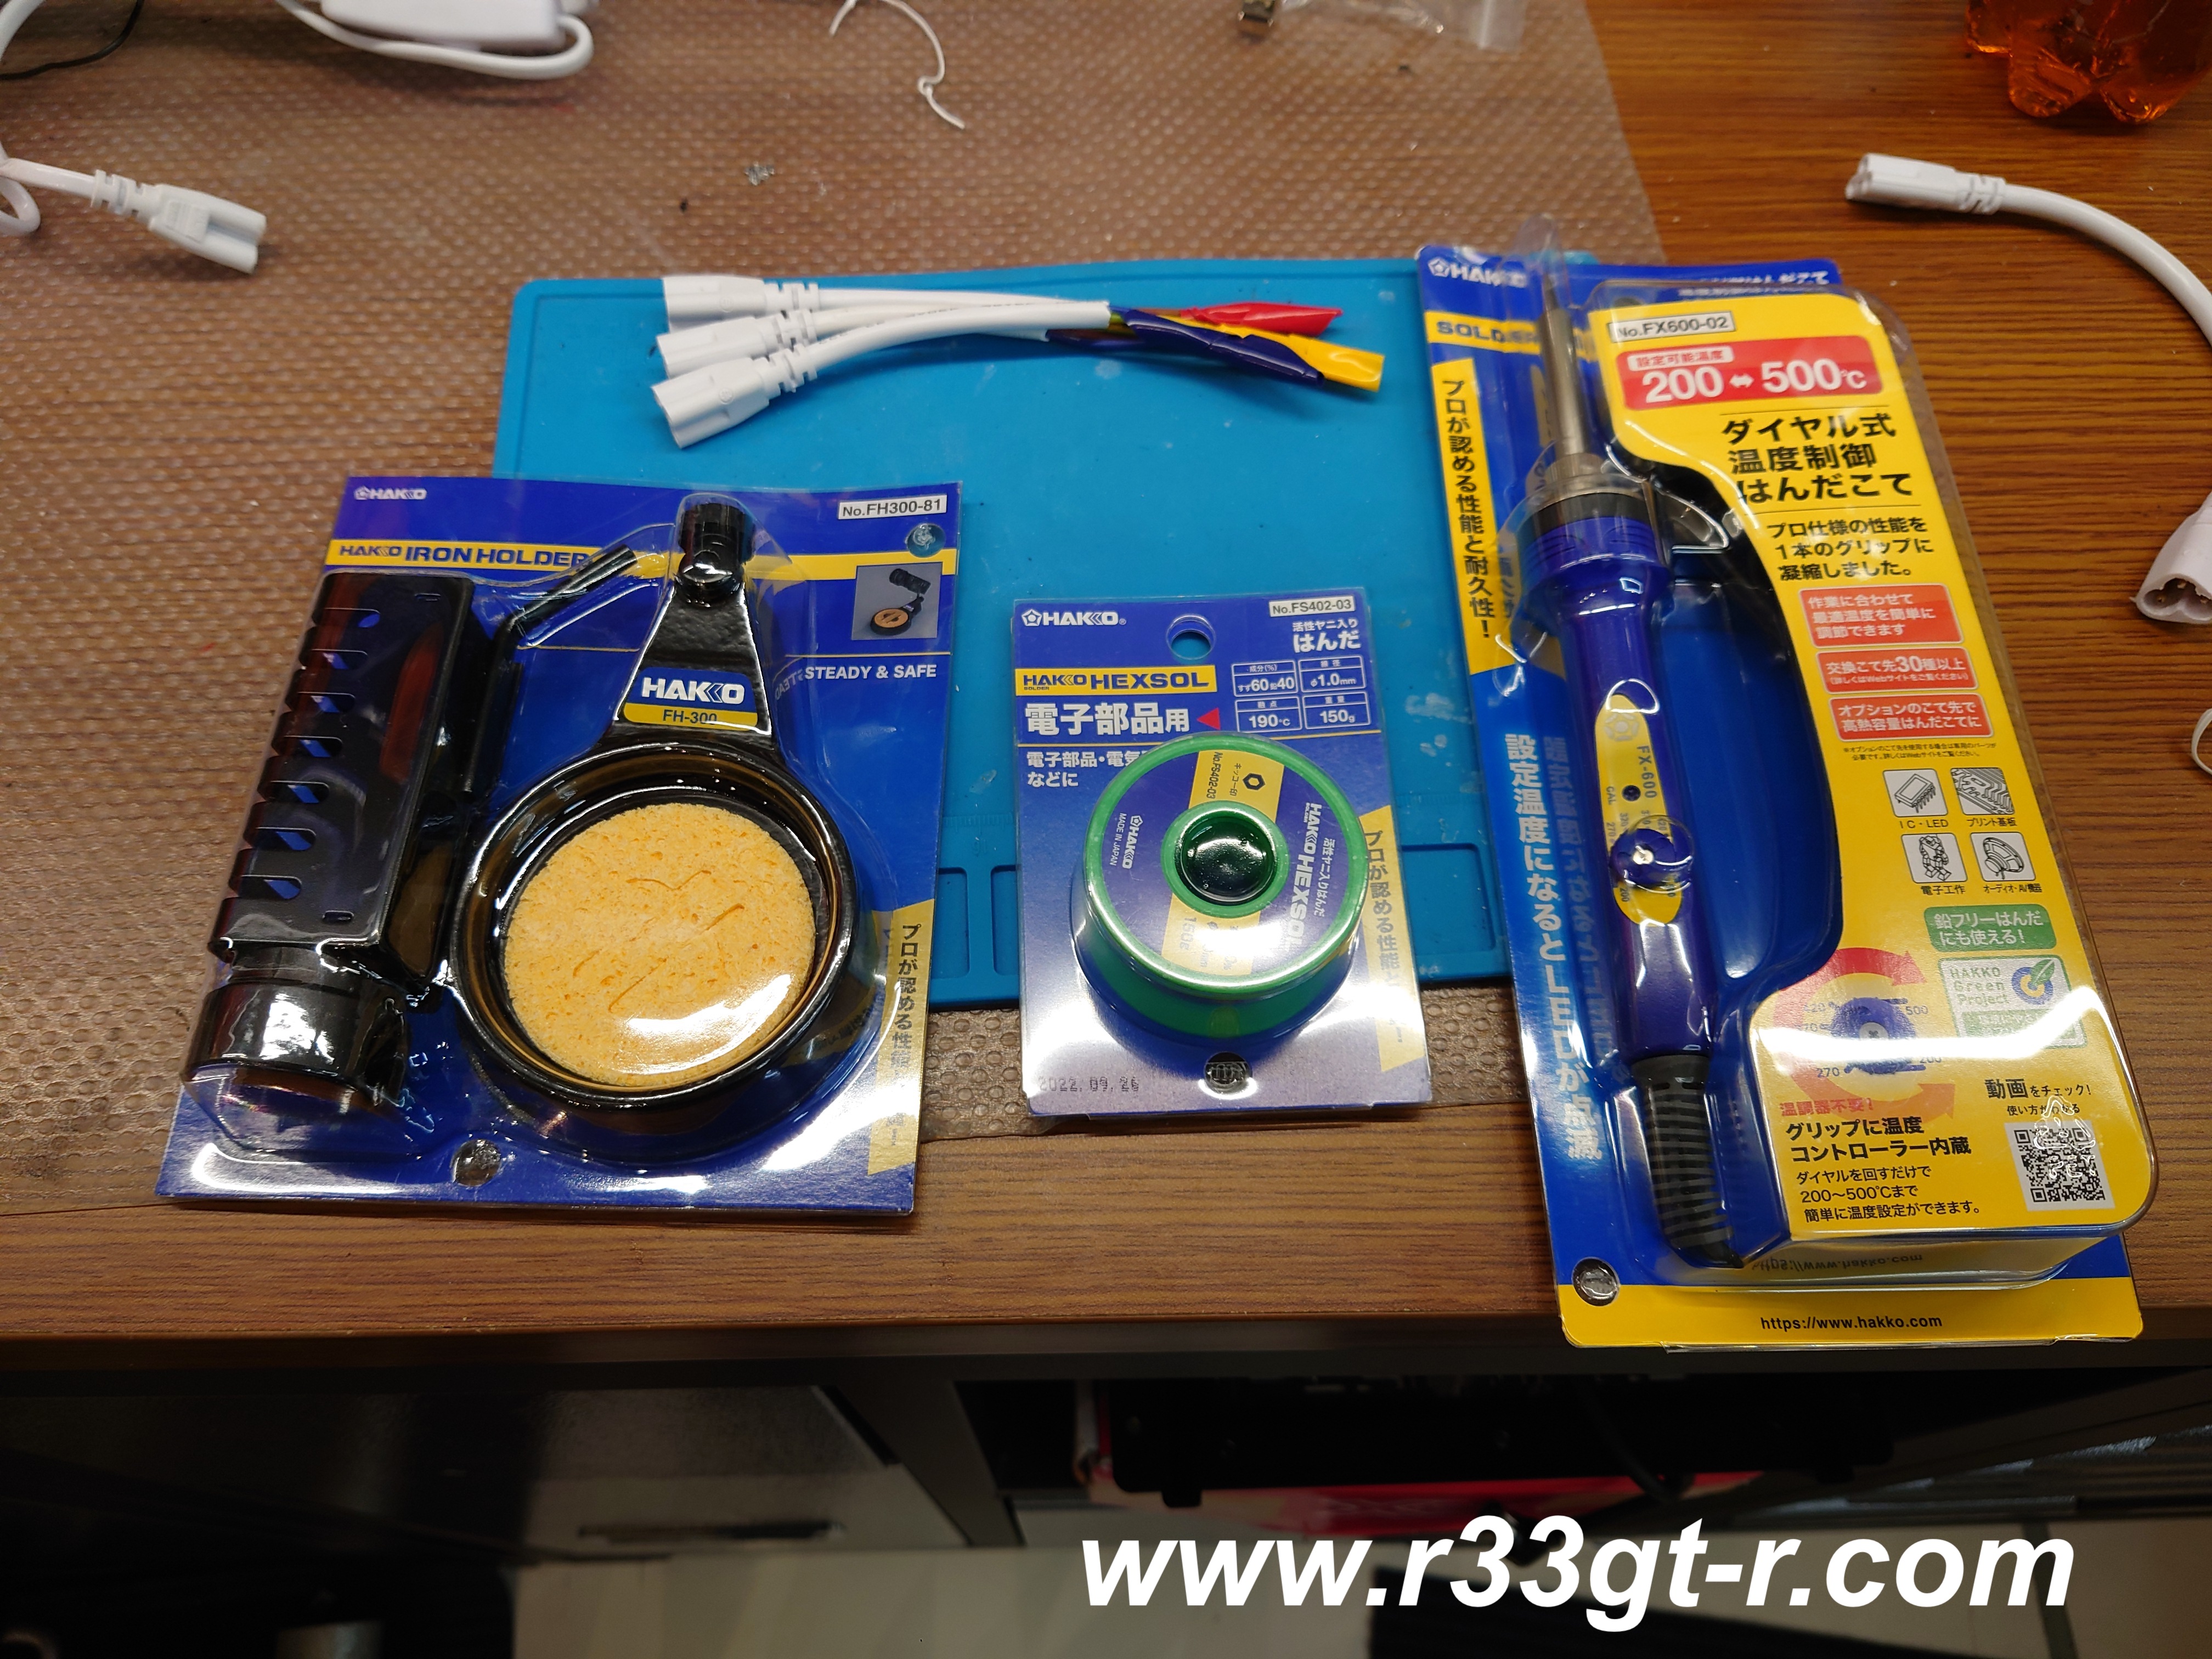
Given the very tight squeeze of the center lamps, I had to get clever, so broke out my new soldering iron and accessories.
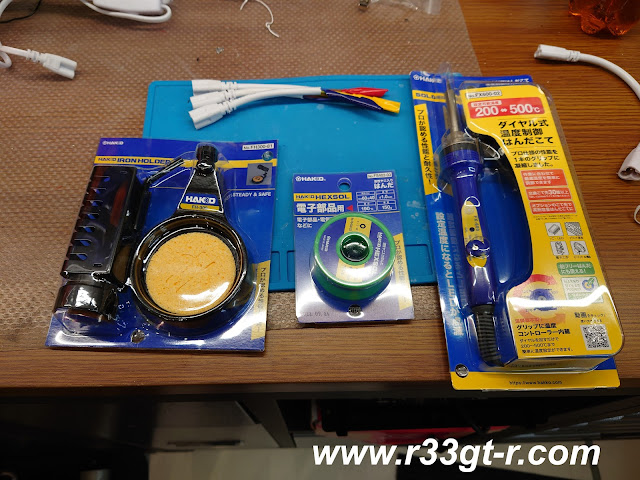 |
| Adjustable soldering iron from Hakko - Japan's leading manufacturer of soldering irons! |
It was then that I realized I had run out of cable to power up the center bulbs, so even though I fashioned some out shortened connectors with flat cables (so as to be able to fit between the ceiling and lamps, instead of bending the cables at impossible angles over such lamps), I had to order some more connectors and cords to properly hook up the center lamps (the manufacturer recommends a maximum of 8 lamps on one circuit, so I have each of the large rectangles - at 6 lamps each - on a circuit, and will have the center 4 on their own dedicated circuit).
 |
| gotta say, even at this stage looks awesome! |
A few days later:
 |
| 3 circuits - left, right, and center lamps plus of course the separate circuit for the wall mounted lamps |
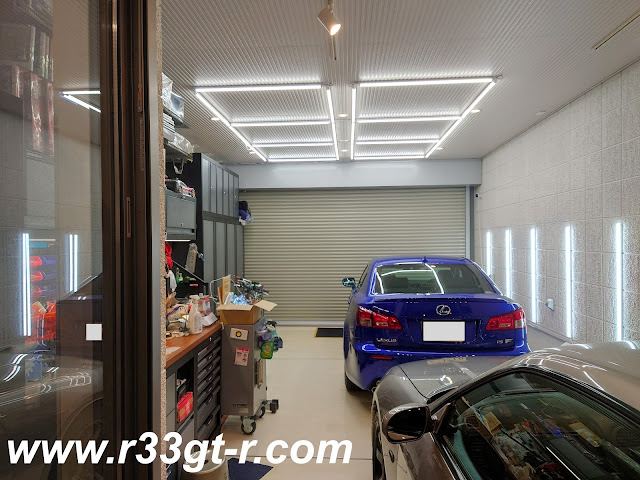
So let's just say that I am SUPER excited by how bright the garage is now. And with all this light, the next step is to invest in some really good stuff in terms of car detailing. I have a Porter Cable orbital buffer, and just got some more new pads, but now the research shall begin on polishes and sealants. Something for me to do over the winter...


1 comment:
Man, I could use this now that I'm about to do a valve cover gasket replacement on my daily driver.
Post a Comment