So in addition to the mirror replacement, I decided to focus on some on aesthetic issues - both very minor and easy to do but the execution would take some time, so I was waiting for a day off like last Monday. Actually, the nature of these tasks meant that I started and ended the day on one of these tasks, with the mirror project done in between!
What task is this? Well if you have a Series 3 (kohki) version R33 GT-R you know how the dashboard surround - yes the black plastic with that slightly rough feeling - scratches very easily and it also picks up dirt easily too! And given that, despite what you might believe otherwise, I actually do drive my car around a bit...
So once again, I took off the panels, starting with the driver's side door window switch assembly, the ashtray, the shift surround, and the main surround.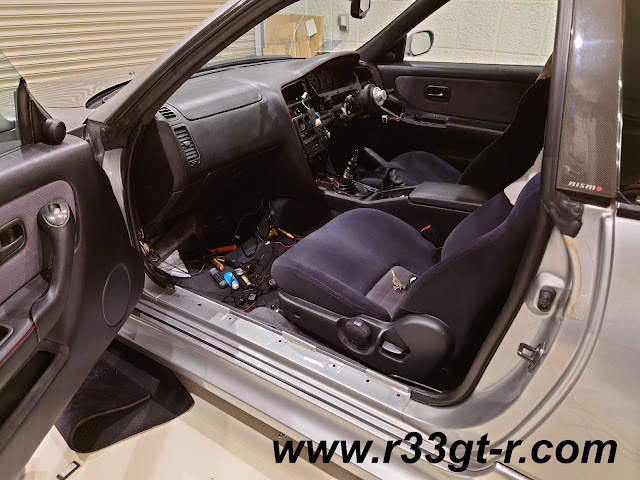
Then cleared some space on my workbench to take a look at what I needed to do.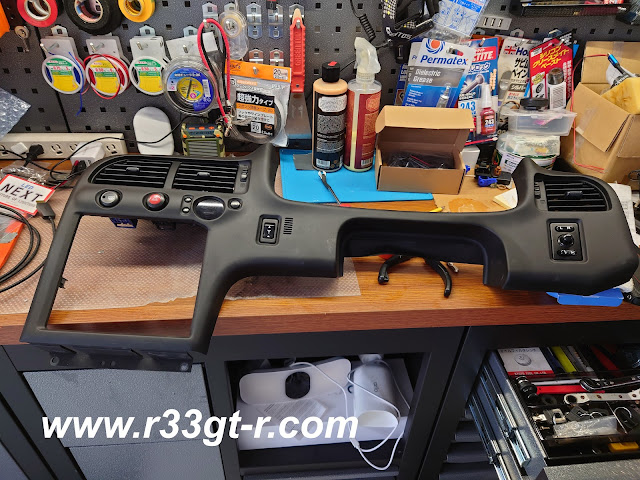
So here is one issue:
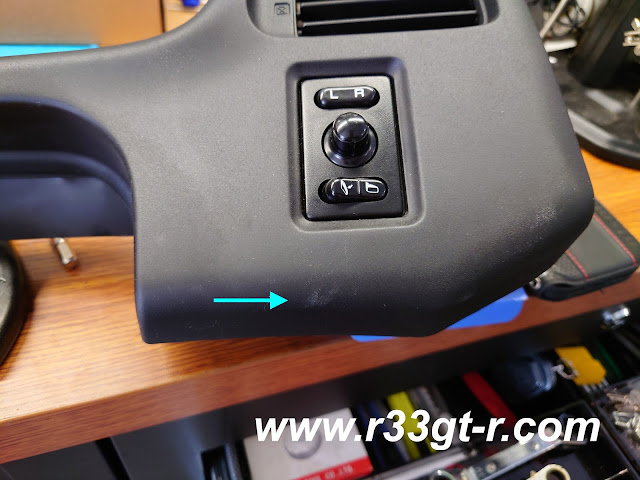 |
| Look closely - there are also markings on the right corner too |
Some other, more obvious examples.
And yes, cleaning with isopropyl alcohol (IPA) did not work. Nor did other mild solutions.
So, the solution is to paint! I have to use a special technique, which I describe below, but in preparation for paint that meant I had to remove all the switches, etc.
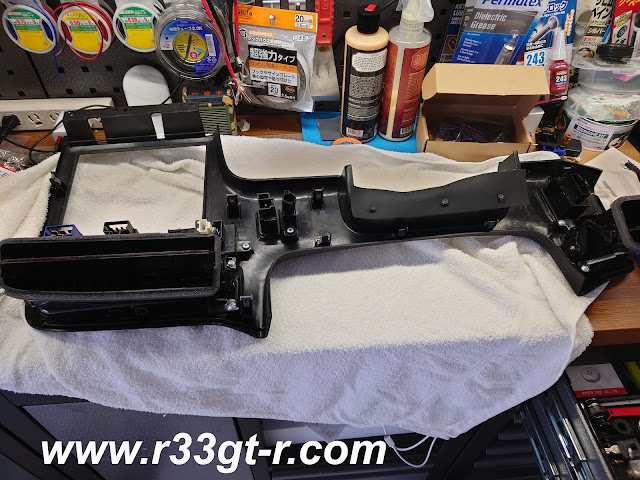 |
| Using a towel to make sure not to further scratch |
It also means removing the leather shift boot from the shifter surround.
Which then gave me an excuse to properly clean, condition and protect the leather.
Which was badly needed. Bonus, I did not need to worry about any excess ending up on the black surround plastic, where it tends to smear. So, I could apply extra conditioner and let the leather all soak it up without worry!
Once all the switches were removed, and I taped up the cigarette lighter surround (I tried to remove but gave up) I did an IPA wipedown of all the parts using a clean, brand new microfiber cloth.
And then took a deep breath and...
So the technique I use is to use flat black spray paint, but I purposely hold the can further away from a normal painting stance. That allows the paint particles to dry slightly in mid-spray, which results in semi-dry particles landing on the surface. If you recall the plastic itself started out with a slight rough, sandpaper feeling surface, so several passes of this painting technique were required to build up the particles on the surface. So yes this took several hours, but again during this time I worked on replacing the mirror as I described in my previous post.
While I had the surrounds off, I tackled another issue that had been slightly bothering me. Can you tell?
So it may be my imagination, or else I have issues, but it seemed to me that the light bulbs used in the center HVAC unit did not seem to be as bright as the LEDs I used in the 3 gauge cluster - or for that matter, even the OEM cassette deck!
Suspecting it was time for the OEM bulbs to go, I found a seller on Yahoo Auctions who sent me this - they look like the COB type LEDs which I like, so promising!
After removing the HVAC unit from the center stack, I saw that the front face was held into place with clip like fingers - so I carefully squeezed and leveraged around until I got the face off!
I even taped up the front to make sure that in my efforts I did not accidentally cause any scratches.
And managed to get the face plate off in one piece! Except...I quickly realized I had made a mistake.
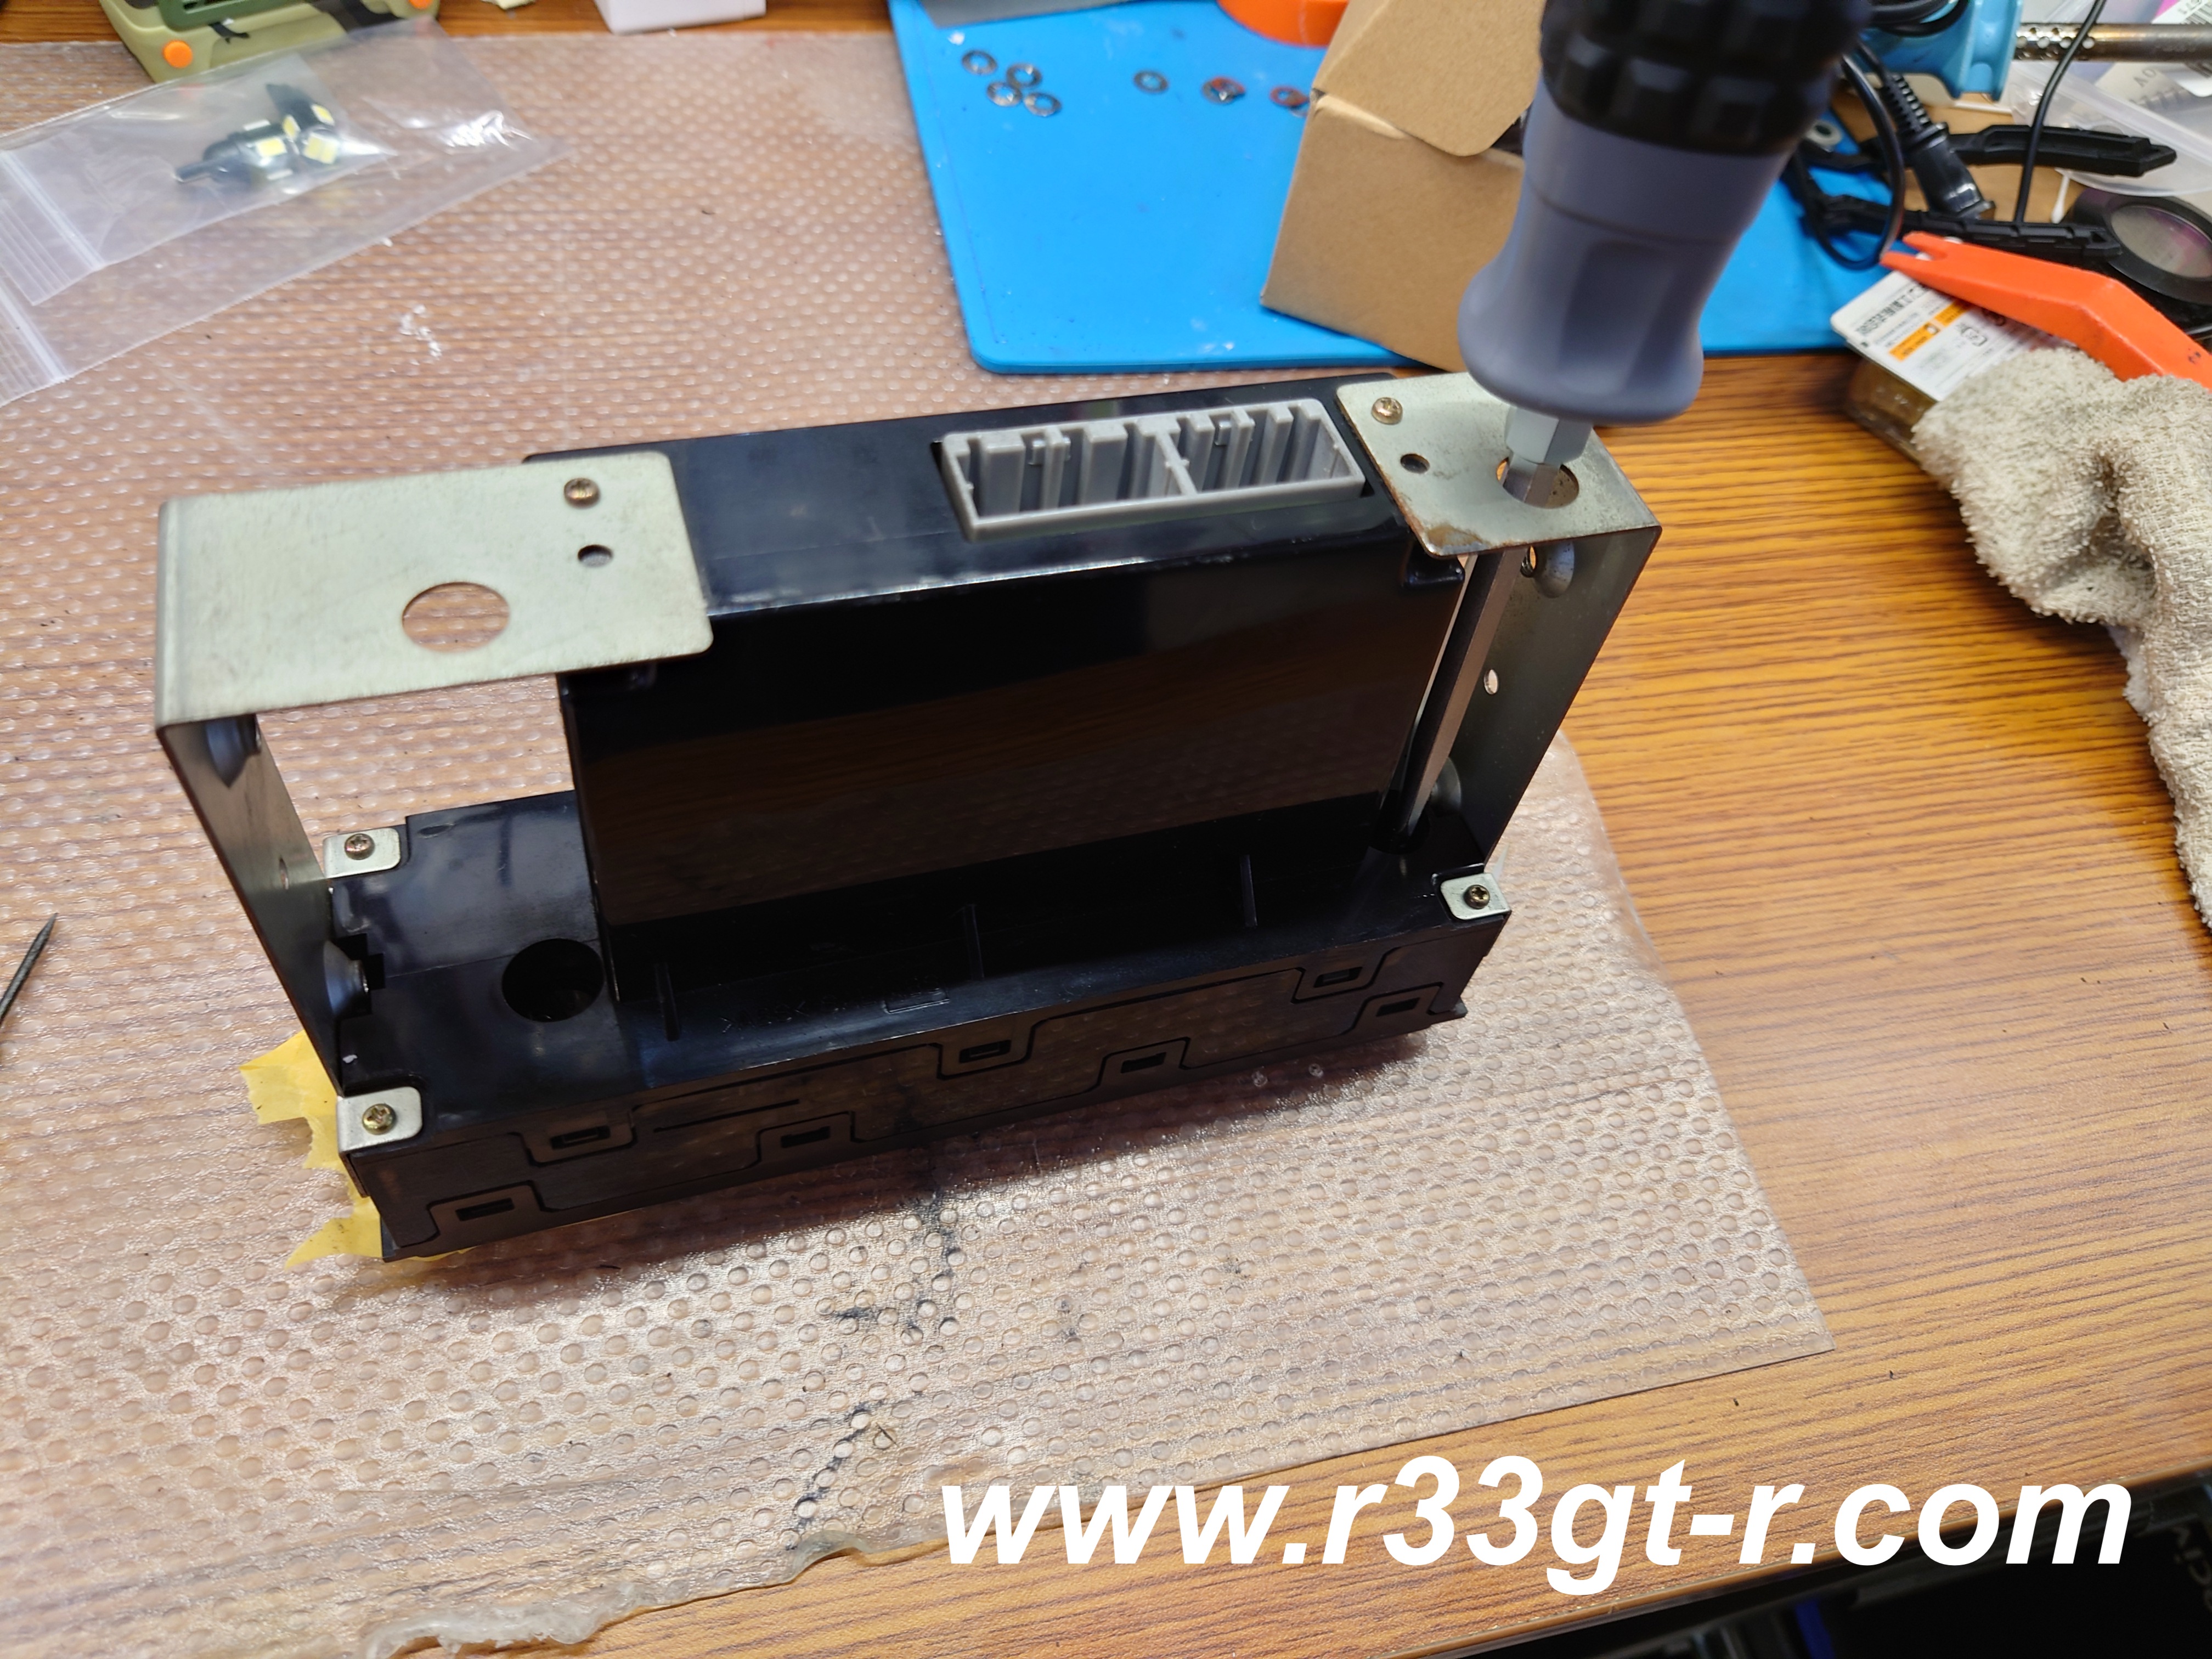
As removal of the face plate did not give me any access to the light bulbs. Oops! Instead, I found two holes on the backside of the unit which allow replacement of the bulbs without ANY disassembly of the unit itself.
So I used a screwdriver to remove them and
Found that the bulbs WERE LEDs. I can't remember when I did the install, maybe it was something that Worx did?
In any case, it was easy to replace these with the new LEDs. Looks way brighter and cleaner, right?
Meanwhile several coats of flat black spray paint had dried and after confirming the pieces looked great, I started to reassemble. Note that I forgot to take a photo before I reattached the switches to the main surround, I was getting pretty tired at this point.
Before reassembling the driver's door switch surround, however, I noticed something.
Yeah, a lot of dust and dirt! Me being me, I had to clean this up before reassembly. So, with some IPA and some pointed cotton swabs designed for this kind of thing:
 |
| Oh my, oh my... |
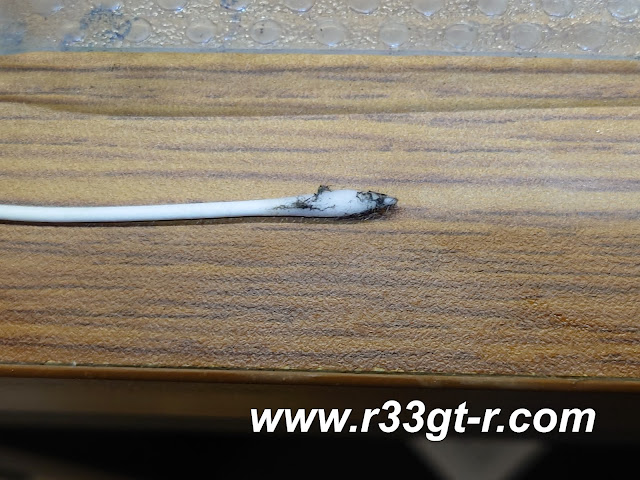 |
| And this is the THIRD one I used... |
Anyway, the switches were finally clean enough to satisfy me, so:
I reassembled the switch into the surround, very carefully to avoid any last minute scratching.
I mean that looks BRAND NEW! (actually as I am writing this I just realized I DO have a brand new part that I bought many years ago just in case... should have done a comparo photo). I guess I could have simply replaced with the brand new part, but given that the center surrounds are no longer available, I reasoned that painting all of these pieces simultaneously with the same paint using the same method would result in a more uniform result. Which it did!
So what's next? I actually had a couple more mods which I was planning to do, but simply ran out of time this time. So something to look forward to. The next post however I think I will show you a few interesting tools I found that made my life SO MUCH EASIER doing both of these projects - tools can make a huge difference, as you will see. Thanks for reading!


7 comments:
Looks great! Awesome job~
Thank you Matt! Hope all is well!!!
Hello
Great work!
as usual !
But one Question:what is the Size of the LED? T4,2 or T4,7?
Any suggestions on cleaning methods for the series 3 dashboards?
Kai I think they are T4.7.
To clean any dashboard - I would use water with a mild all purpose cleaner like Simple Green - apply with a sponge and wipe clean with a clean cloth. Do your steering wheel and you will be shocked at how dirty. Obviously with my all leather dash I now use a leather cleaner, but before I stuck with Simple Green, it works!
Looks super Aki, great result. Have the same dash in my S2 R33 GTST, its clean with no marks but would like to paint it but wonder what the sun reflection would be like when driving
Not sure how to answer - I used flat black paint which matches the OEM, so it does not seem to reflect much, if at all! Good luck.
Aki
Post a Comment