Sunday, October 23, 2022

Real Life TOMICA Transporter?

So I goofed.  I forgot to have my GT-R undergo the annual "shaken" process back in June.  Normally, I would simply drive my car to the nearest dealership and have them take care of the shaken required various checks, tax payments, etc. but given my position at work, I decided that from a compliance perspective, it simply was not appropriate for me to engage in non-legal behavior. Especially involving a Nissan vehicle.

As a result, I called around and found an alternative way to get my car to a dealer - by special transport of course.  In the past the transporters I have used were gigantic but uncovered.  Perhaps this is special compared to transport services outside of Japan, but in Japan these flatbed types are often used for cars with low ground clearance - hence you see a lot of sports cars and expensive vehicles being transported this way. Sucks when it rains though, like this incident four years ago.

From an older post - http://www.r33gt-r.com/2018/09/electrical-gremlinargh.html

So I was pleasantly surprised to discover upon meeting up with the driver at the prearranged spot in my neighborhood, that this transport looked a bit different.

Note the interior lights as well as the open right side. Interesting!

And yes it started raining on this day too...

So having the driver pull the car onto the loader was one thing but... does it bother you that the red third brake light looks more red than the afterburners? Or is this a function of the camera? Remind me to check next time...

Anyway when I asked the driver about the transporter style, he told me that normally this transporter was used to haul race cars and special cars such as development mules, prototypes, and demo cars.  Hence the covered construction.  Yes, I got lucky!

So I then stepped back and let him do his thing:


Note the use of flat wooden boards prior to the ramps

Fits perfectly

So check out this video clip. Love the engine rev!

Then it was a matter of getting everything tied down securely. I guess compared to race cars and secret prototypes my car isn't a big deal.


Once secured, the entire platform moved up onto the bed of the truck.


Yeah, hard to see so I took this video of the hoist up and then the sides getting locked up.


So what do you guys think? Gigantic TOMICA, right? On the other hand I don't expect to always get this kind of treatment, but wow this was special. 

Friday, October 14, 2022

Woah! Another Fan Sent Present... Wow, Simply WOW!

 So I am trying to figure out if it's an early Christmas present or a late birthday present, but the other day this arrived and I was very pleasantly surprised!


Obviously, even without trying to decipher the parts number, I see that it's a gold emblem.  But more exciting was not only the old, yellowed label, but the old Nissan logo as well. This is a period correct, genuine piece!


Yep, one of the few OEM or dealer options that I have not collected over the years (and yes, I do not have the rear gold emblem either).  Never thought to get one actually, since my car is silver and I was never convinced that a gold badge would look good on the car.

Here are the instructions:

And of course I had to fit it to see how it looked. Well, I TRIED to fit it because...


Not sure if this is unique to Series 3/kohki grills, or the front grill badge I just happened to have, but you can see that the lower two "pins" are secured with these metal caps.

On the other hand, the gold badge has these clip-like fingers:


Which suggests that this is not a simple swap. I will have to research this... in any case, I couldn't resist seeing how the gold MIGHT look on my car so:


So what do you guys think? Go for the gold or stick with the silver version? Either way I am good, and to those who are about to ask, no I will not be re-gifting or selling this, as it deserves a place of honor in my collection!

Thursday, October 6, 2022

Go with 90s era Chrome or Stick with OEM Plastic?


From: https://minkara.carview.co.jp/userid/306146/car/200234/1339412/parts.aspx

So this is something I have always wondered about, but I did not take any action to get the part until it was too late... 

For many years, I spotted the OEM optional chrome R33 door handles on Yahoo Auctions.  And then, suddenly last few years, they seemed to disappear. So I had given up on this mod as recently as 2018, when I was putting my interior back together after the FUBAR that happened at Worx.  But recently I found someone who had figured out that the same part was offered for certain Infiniti models and thus still available. 

So, I took a chance and got a pair.


This was an easy enough install. Remove the door cards, remove the plastic cup behind the handles, unbolt the handles from the mount and carefully remove the two hooked hard wires that operate the door mechanisms.


The red LED, by the way, is linked to the center dome light fade out mechanism and something I installed back in 2012! Check out the write up here. One day I will get it working properly again - it requires hole drilling into the door handle cups, but I had sent those to Marc at Xclusiv Carbon to carbonize, in the process the holes got covered up and I never bothered to redrill them out.

from: http://www.r33gt-r.com/2018/09/still-working-on-interior.html

Anyway, once I had temporarily reinstalled the door card, it looked like this

Kinda busy, huh

I then changed out the carbon cup to a standard black plastic cup, just to see the difference. From a distance, you can see the difference compared to the OEM black plastic handle too, against the black plastic cup in the background.


Finally, I decided to go back to the standard black plastic for both the cup and the handle.


But I left the passenger side with the OEM handle, but carbon cup and window switch - just to give me something to reference against and to think about.

So currently my car has carbon on the left side and none on the right. But don't forget, these cars CAME with fake carbon imprints on the main and sub gauge clusters, which I of course replaced out with real carbon (initially gloss, but then I went to matte). At the time I thought that it would make sense to have more real carbon in a matte finish replacing just plain black plastic, but now I am honestly tempted to go back to all black plastic.  Is less more in this case? What do you guys think?

Monday, September 26, 2022

Yeah, I Could Not Resist the Cupholder Mod

Curious about how I stumbled on this mod? See this post.

Inspired by Murray, and very much against my own strict rule of no food or drink in the car, I went ahead and decided to see how this mod would work for me. (Note - so now water only ok...maybe...?)

Yahoo Auction to the rescue. The seller sent me the GTST center console, all nicely wrapped up. Note that this part is apparently no longer offered new - plus I knew that some work would be required to make it fit properly and thus being an experiment, I preferred working with a used piece anyway.


But talk about DISGUSTING...(shocking for Japan!)

So after thoroughly cleaning AND disinfecting the relevant part, I tried to see if it would fit as is:
Green arrows show where, despite firm pushing and pressure, the piece did not fit snugly

But unfortunately, given the extra thickness of the drop in location due to the awesome leather work by my friend Cesar about 5 years ago (already!), some judicious sanding down was required.

But getting it to fit properly was only one concern - is it me or do you see wear and tear and small scratches?

No? Well here is a close-up. Note the circular patterns from obvious use.

Oh and here is a scratch I found on the side as well. Wonder how this happened?

For you guys who need to look for this piece for your own mod - here is the part number, although you may just want to pick up the entire center console - just remember that this cupholder part will NOT work unless you have swapped out the OEM G-sensor for the new, flatter digital ones available from Do-Luck and other tuners:
Green arrows points to the part number WITH the hole for the GT-R logo

The scratch remover ended up removing more dirt than scratches:

So after another attempt to lessen the scratches, I decided that the quickest and easiest way to lessen the presence of the wear and tear and scratches was to use up the remaining matte black paint I had that I had used on the dashboard surround refresh I did a few months ago.

Before painting

So it looks somewhat thickly laid on here but just the lighting.

As you can see I still kept the fake leather grooves:

Here is a comparison of how it looks the next day after drying, along with the other versions I currently have - wrapped in Alcantara or matte carbon-ized (both from the leather interior project)

I thought I was finished - looks pretty good close-up, right? - but then noticed this. Wear and tear on my car's original GT-R logo.

I tried to use a permanent ink marker to try to touch up the left side of the logo piece

But in the end it was easier to just replace it with new.
New vs. Old. Part number included just in case

So not as perfect as I want - the paint job could have been better, actually - but now the coloring matches the shift surround and the main cluster surround. Plus the new GT-R logo is nice. Details, man!
All done! Still not perfect but good enough fit and finish for now

But the REAL issue is - since no one uses coins anymore at toll gates - it's all electronic now - do you think I should modify those coin holders to the left of the GT-R badge? If so what kind of switches should go there - putting aside the inevitable ejection seat jokes - what do modern cars have in the center console? I need some inspiration! Thanks for reading everyone, looking forward to the feedback.

Sunday, September 11, 2022

LED Scuff Plate - Quick Repair Turnaround!


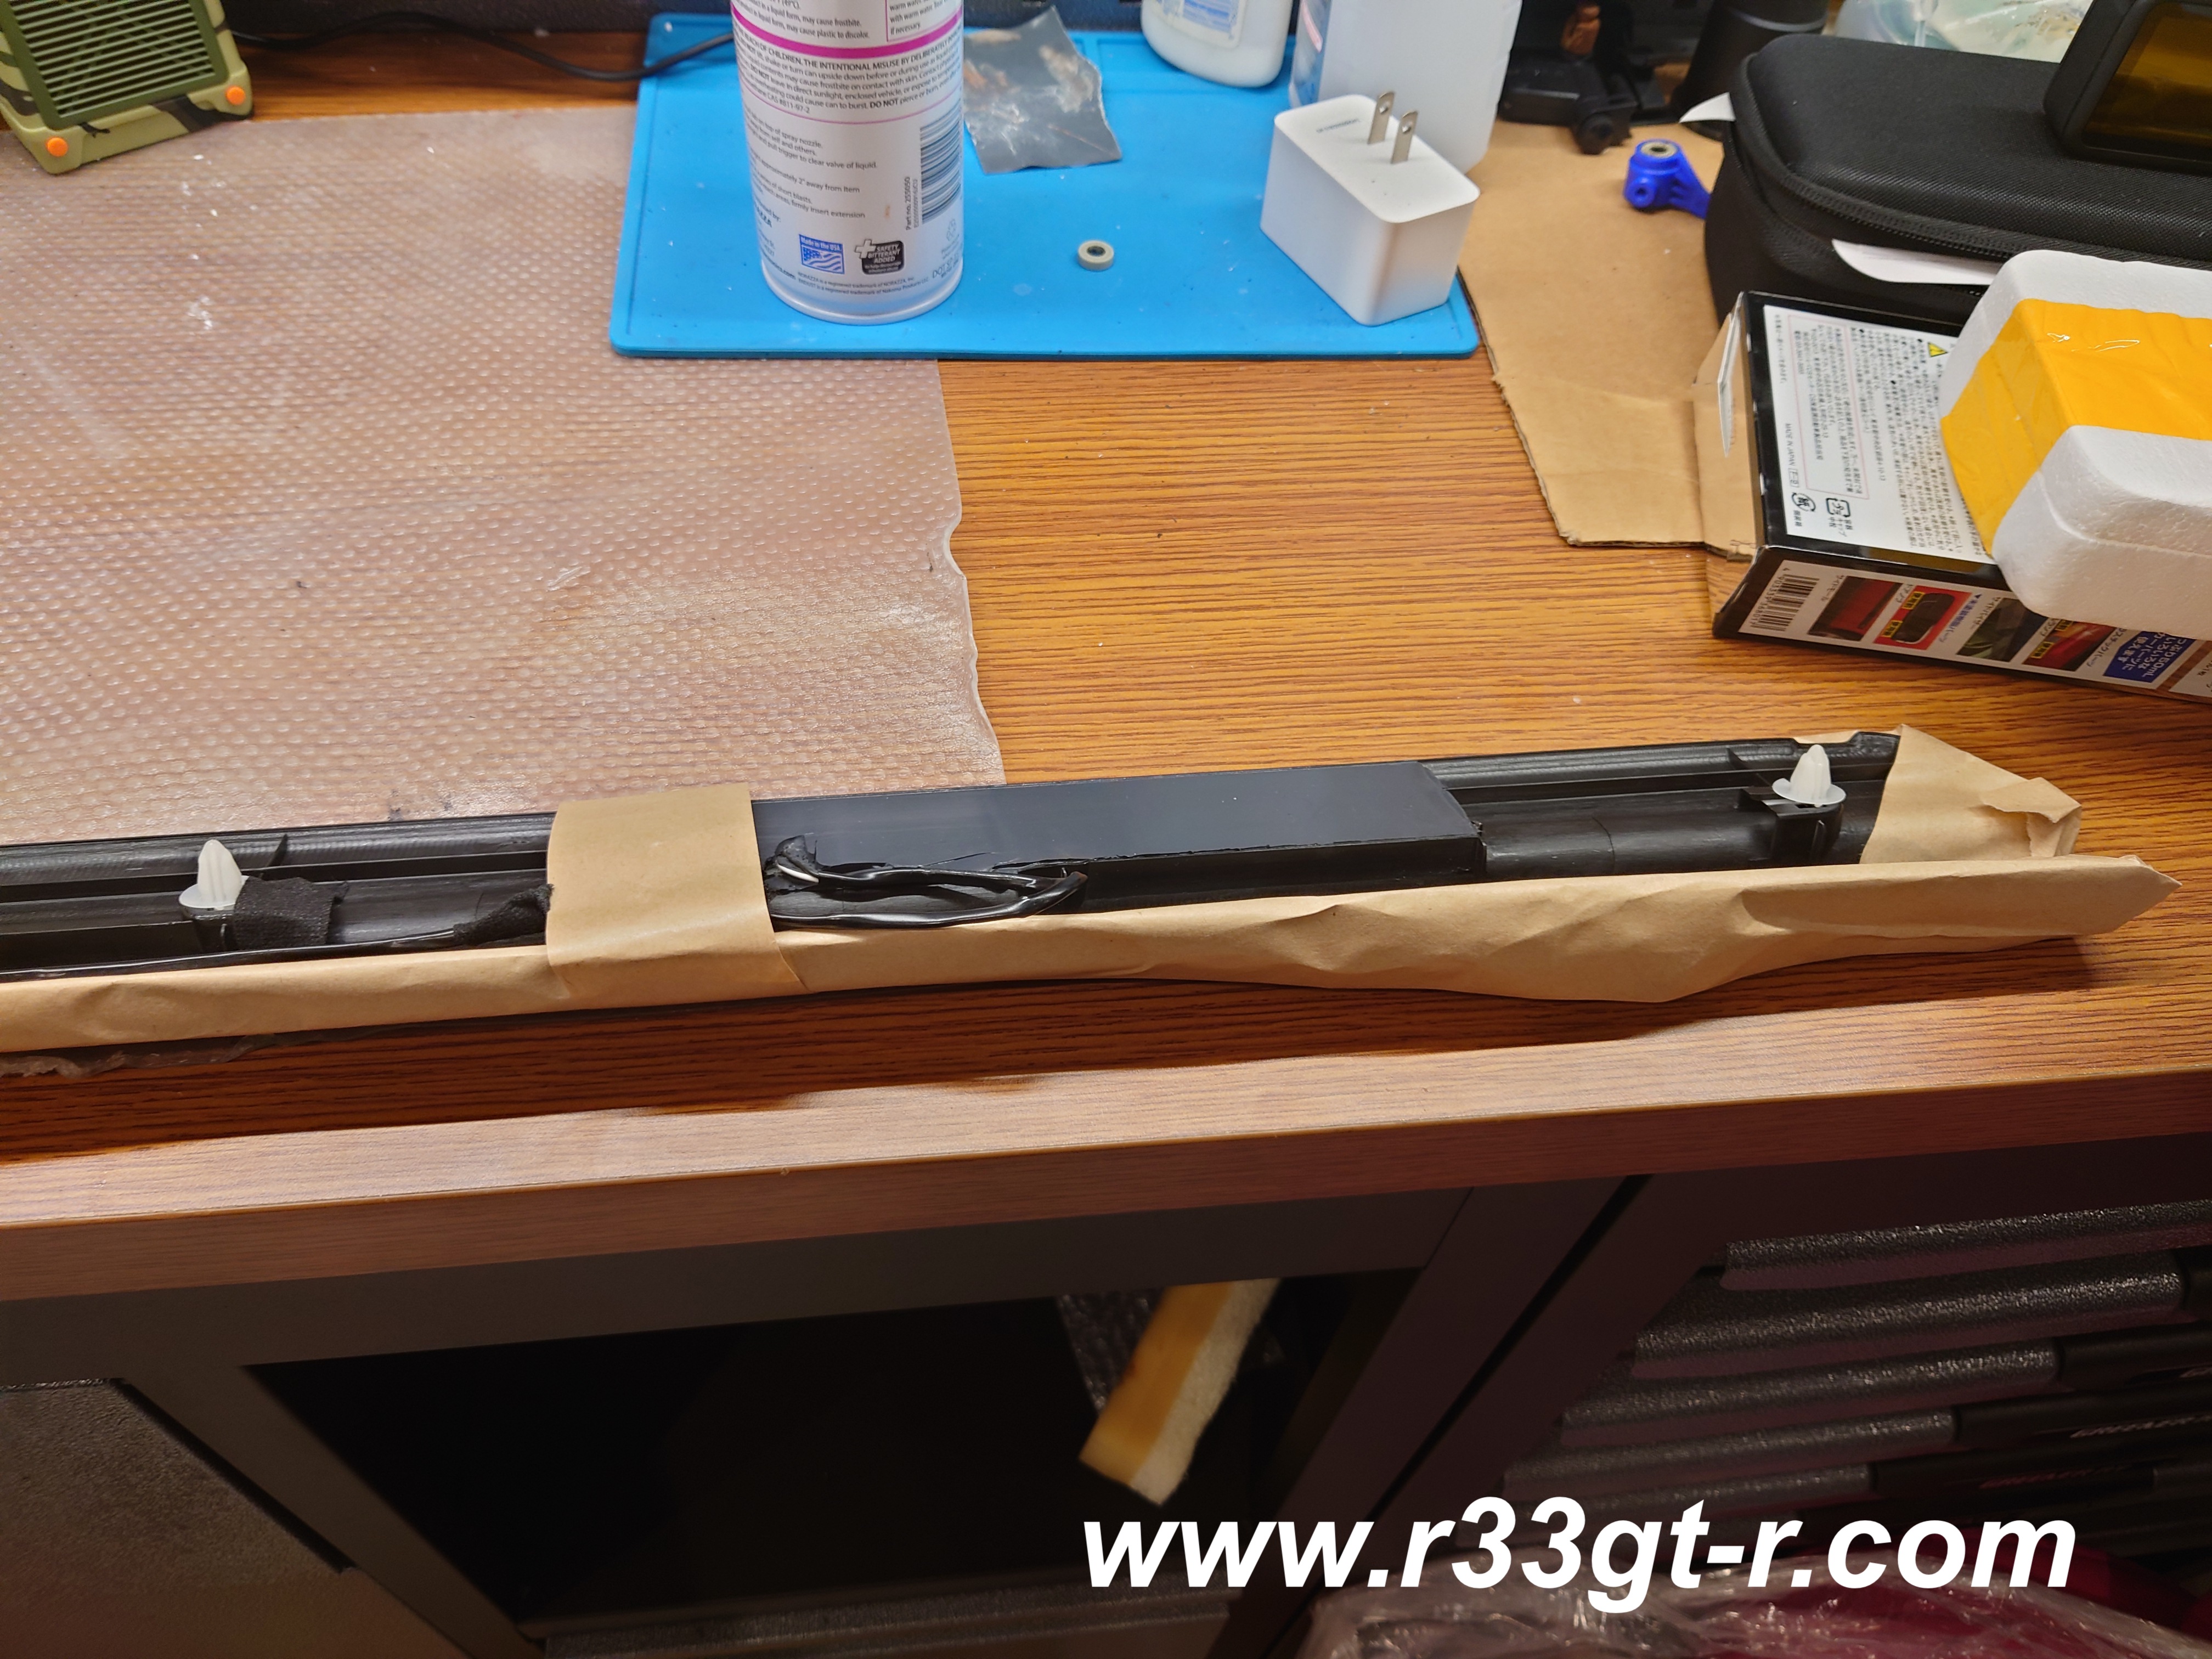
So during my Marine Day interior upgrades, I realized as I was finishing up that something was not working.

The left side red LED scuff plate I got many years ago from G-Corporation was no longer lighting up!  So of course I was hoping for a loose wire somewhere...


As you can see in the photo, I dug into the rubber sealant portion to see if I could figure out what was broken. No luck. Nothing loose or broken that I could find. This meant I would have to contact G- Corporation, and see if they were willing to do a repair.

The day after I contacted them, they immediately responded and told me they could do so - all I had to do was to send the broken part in, they would give me an estimate, and if I agreed to the repair cost, they would quickly fix it and send it back once I wired them the money.

That seems like a normal response, but I sometimes forget that such customer service, while normal in Japan may not be elsewhere.  So I decided to wait right before my recent trip to Okinawa, whereupon I removed the door scuff plate and then got it wrapped up the best I could.


Lots of paper and tape - and I had some plastic wrap in there too, to prevent scratches on the visible surface:

I got it all wrapped up as such. Forgot to take photos, but then I found a large longish box into which it fit. I then went to the local 7-11 convenience store - in Japan most if not all "combinis" serve as a pick-up point for at least one of the courier companies - nice as I don't have to worry about visiting during banker hours like the post office!

So my car now looked like this:

Hopefully, the turnaround would be quick so no one would have ride in my car like this. And indeed it was - I was gone for 2 weeks but with work, the beach, a car show (maybe a future post?) and meeting up with Murray keeping me preoccupied, when I flew home I found this waiting for me.


Super well wrapped, not surprisingly:

Looks brand new, which is awesome. 

Now of course the chance of receiving something that was NOT properly fixed is close to nil, but old American habits die hard, I guess.
Had to test it before installing - works perfectly!

But, not all was perfect! You see, on the body side there was this connector... and what I had sent to G-Corporation had the matching female side. What they sent me was new and they had not included the old female connector. What to do?

I COULD splice it all in... but there is a certain elegance about being able to disconnect electrical parts... having to cut wires again if I ever had to remove the scuff plate again seems so barbarian.

Thus the hunt was on for a solution.  I finally went to Amazon and found an electrical coupler kit, prepared to cut off the existing male connector and graft on two new matching connectors.


Lucky for me, it turns out that the SM-2A coupler matched the existing coupler!  

This meant I only had to work on one side.  Trying to be neat, I cut off the excess wiring that came with the rebuilt scuff plate, to a manageable length.


Success! (although those tiny metal pins I had to connect to the wires... my aging eyes!)

And yes it works! So now one less thing to worry about. 

Now, I am ready for a photo shoot, or taking a passenger for a ride. Will that be happening? Stay tuned... and thanks to G-Corporation for the quick turnaround!!!