Showing posts with label Steering. Show all posts

Wednesday, January 5, 2022

Starting the New Year Right! New and Newer Nismo Logos

Happy New Year, everyone! Let's hope this is a better year for all of us.

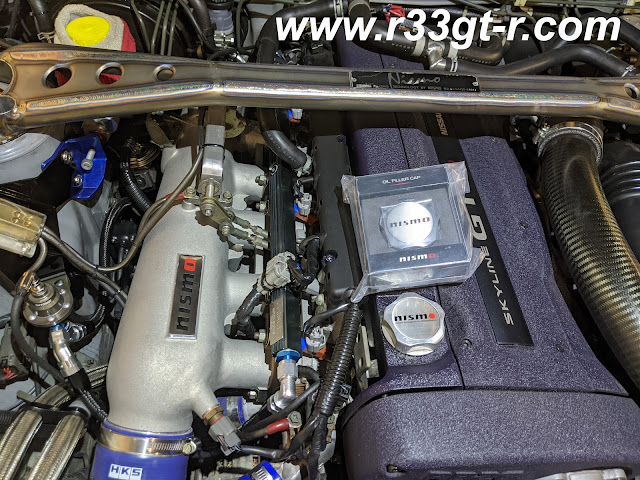
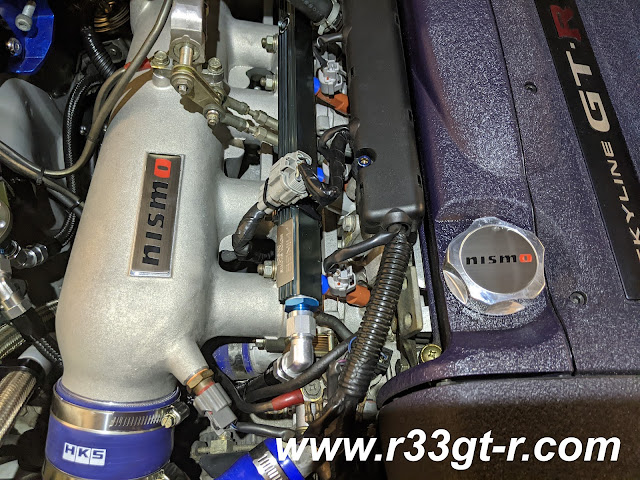
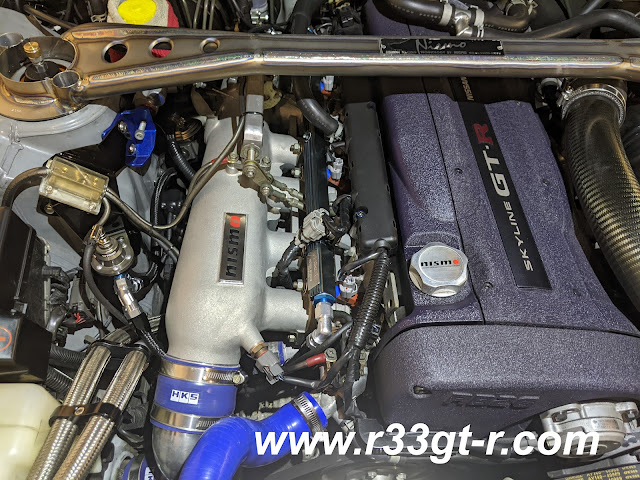
In a previous post where I reported on what Mine's had installed in addition to their new exhaust, my friend Matt commented that the "O" on my Nismo oil cap did not match the "O" on the newly installed Nismo plenum. 

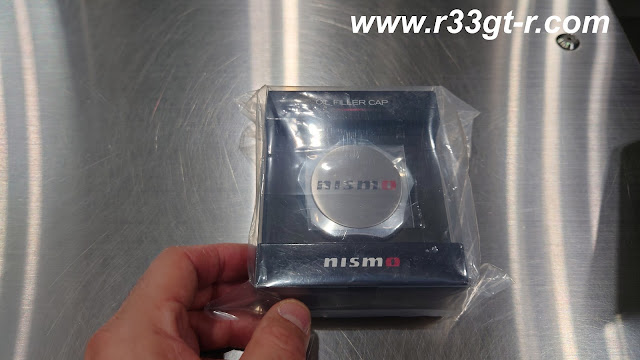
Apparently, Nismo has another oil cap  - the ratcheting one - which has the newer matching "O".  When I asked at Nismo Omori Factory, Ochiai-san immediately told me that the current oil cap they had in stock does indeed match - so I went ahead and got it on the spot during my last visit!


Of course did not do anything until today, but it was really bothering me, so I braved the cold and...

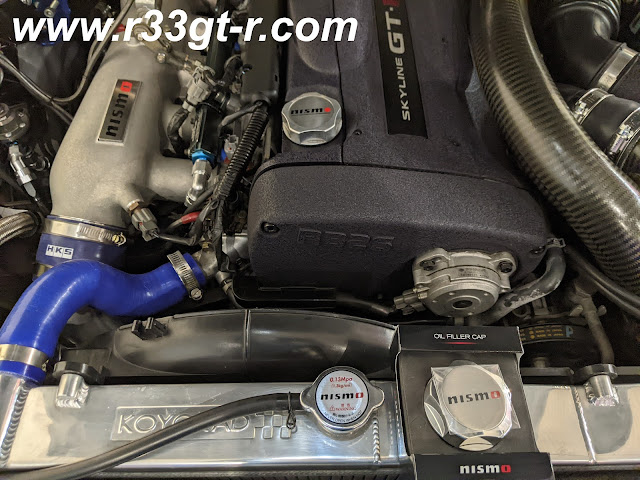
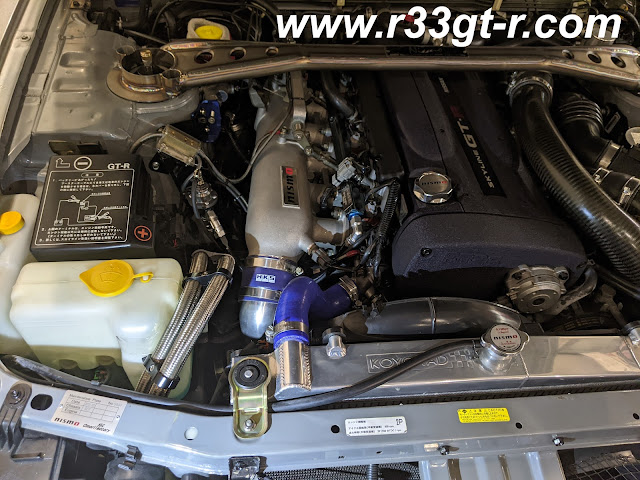
As you can see even the Nismo radiator cap has the newer logo.

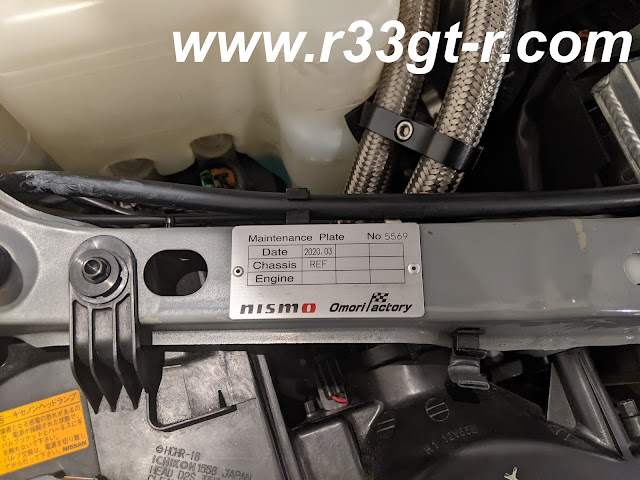
Of course the Nismo Omori Factory build plate has the newer logo too

Install is easy of course. Those of you who have this know that you screw in the billet part, then the Nismo logo plate is actually a metal sticker - this guarantees you get it on straight!

So here are all of them. Note the tower bar has the old style Nismo logo...hence I call the Nismo logo with the solid red "o" the "new" logo and the regular script red "o" the "newer" logo.

Finally - no more cognitive dissonance. I want to make sure there is NO mismatch! Call it attention to detail, or OCD, but hey little things matter, especially when it is easy to make the comparison on the logos.

Speaking of which - There was one more item I picked up as well at Omori Factory.


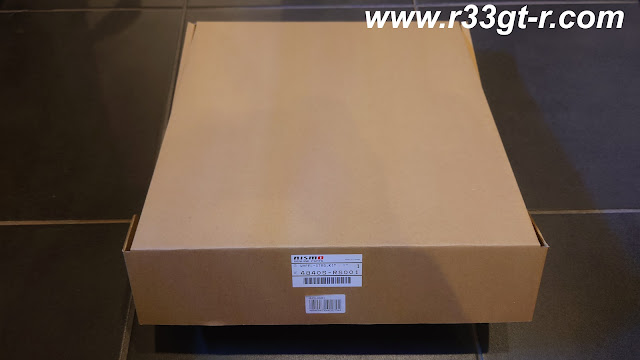
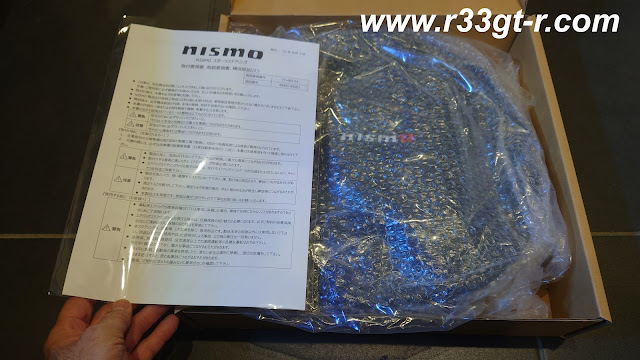
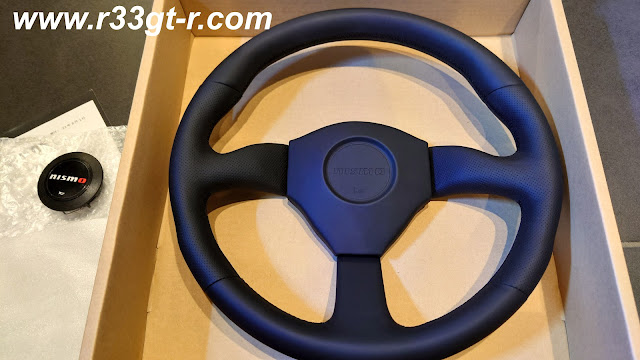
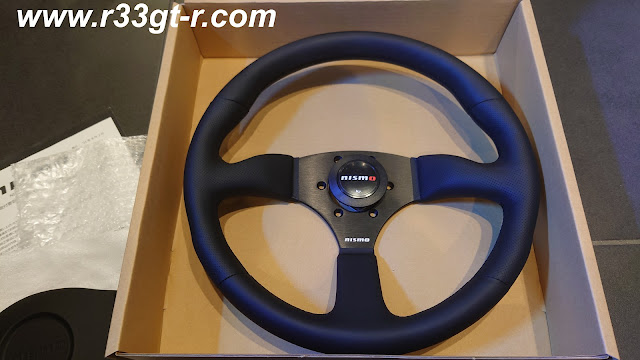
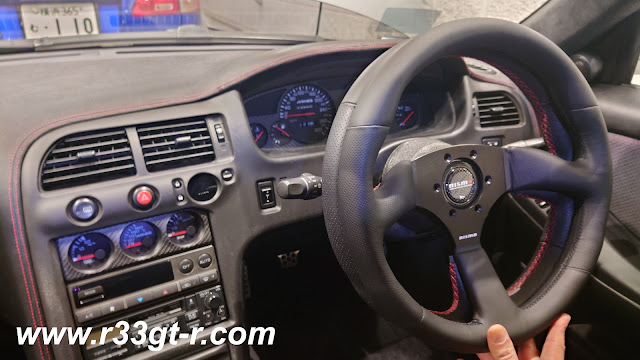
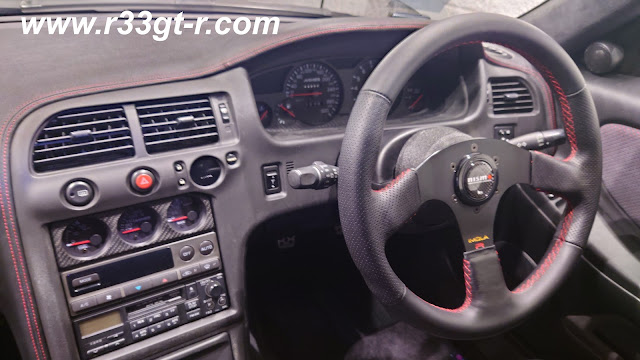
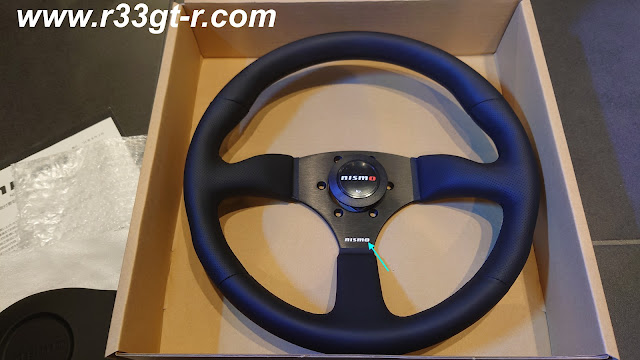
Behold Nismo's newest steering wheel.  Another limited edition production, this one sold out as soon as Nismo announced it was for sale, and the inevitably I started seeing people trying to resell at inflated prices.   


I still think that center cap looks goofy. Ochiai-san told me most of his customers who have chosen to install this, do not bother with the center cap.
Sorry - that center cap is just plain ugly...

Yes, I like this look much better:


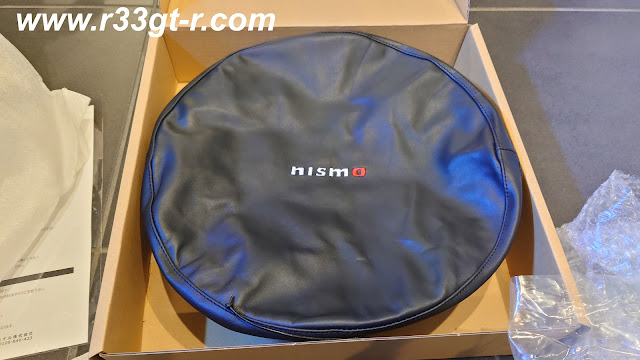
Still I do not understand why this comes with its own protective carrying case?
Maybe get one of those detachable bosses?

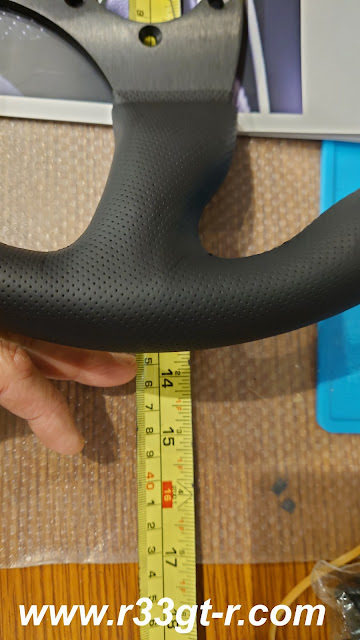
As you can see, the diameter is 350mm, so the same as my Ital Volanti

Lining it up against to compare:

Or do I keep it as is?

Now, at this time I am not sure if I will install this steering wheel, if I am honest. Why? Because while I very much like the look - as you can see here it has a deeper dish than my current Ital Volanti steering wheel - there are two small things that bother me.

First, the stitching is black, not red. When the BCNR33 was announced, one of the details that separated the GT-R from the non GT-R models was that the steering wheel had red stitching.  Thus for me, a GT-R should always have red stitching on the steering wheel. 

Second - the horn button has the most recent Nismo logo, with the hollow "O" but why is the lettering below it, just plain? Was it not possible to make the "O" here red, as well? 

WHY?

On the red stitching issue, I suppose I could always have Robson redo the wheel with red stitching, but that seems like such a waste.  On the logo, not sure I can do - maybe use some red enamel paint and a small paintbrush and VERY carefully paint it?

Or, I could simply put the wheel up for sale?

So what do you all think? Am I being too particular on this steering wheel?  Word from Nismo is that they DO plan on a second run next year, but cannot guarantee that it will happen or that the specifications will be the same.  Maybe I should just hold onto this wheel and see what happens...

Friday, March 26, 2021

Good Bye! It Was Fun While It Lasted...

So not to worry, this is not about my car... but about a part that I had on my car.  And frankly this part was something I actually enjoyed having and which I think is engineered very well... the only problem is it runs afoul of Japan's shaken (biannual compulsory inspection) rules.

I am talking about the Do-Luck Roll Center Adjusters.  I did a post on this before, where I was one of the first customers to install this.


In fact it was an easy install, but it turns out their one piece design is what would cause a car to fail the shaken inspection. As a result, each time I took the car in, I would have to pay for someone to remove them and then do a 4 wheel alignment, and then reinstall once the car passed shaken.

To review - most roll center adjusters work by restoring the angle of the lower arm in lowered cars.  This one however ALSO, and simultaneously, also restores the angle of the tie rods by replacing the tie rod portion on the wheel hub by its elongated design. This means steering feel is also restored to OEM lightness, making for a car that feels OEM in steering resistance but while lowered.

However, the reason it fails on the shaken side, is because this one piece design leaves the tie rod connector on the wheel side, disconnected from the tie rod:


So I found a small box, and packed both pieces away to be sent EMS.


Off to a good friend and thus a good home in a country where those shaken rules don't apply! Mr. V, enjoy and let me know how they work out for you.

Saturday, March 14, 2020

NISMO Omori Factory Chassis Refresh

So as we saw in my last post, I took the opportunity while my car was at NISMO Omori Factory to have them remove all the worn out, rusted and otherwise ugly suspension links and related parts off my car and replace with new.  Of particular interest to me was the rear suspension member - usually the bushes there harden or deteriorate with age and then the traditional easy solution is to add solid collars between the body and the member - I have not had that done yet so can't opine on whether that is the right solution, but certainly for most owners who don't want to bother removing everything to get to that rear member in order to replace the bushes, the solid mount solution is probably adequate, eliminating any weird flex.

One of my first upgrades to the car, before installing the Mine's engine, was to begin upgrading the suspension and chassis with the full Nismo suspension link set. I remember how the car immediately felt much more controllable and stable when I had the work done back in 2006 and 2007.  That means that for the past 13 years - longer than the time when the car ran on its OEM links and bushes from 1997 to 2006 (9 years) the car has been on the Nismo link set.  I don't know what the common wisdom is for when suspension link rubber bushes need to be replaced, but new ones should definitely give the car a "new car feel." I am looking forward to experiencing the brand new car feel!

Incidentally, I also have a full set of the SuperPro poly bushes, but never got around to installing them. Of course, now that I have a spare (used) set of the Nismo links...

Anyway, let's take a look underneath.
I get excited every time...
Left rear - silver is new, black is repainted
Right rear wheel - check out that beautiful "new" driveshaft!
This may be easier to see the extent of new goodness..
Of course the front is also looking great! Nice and clean...
Left front wheel 
Left front wheel, different angle - looks like I need to steam clean the oil pan!

 So a few things. One, they removed the plastic brake air guides - they were broken as the upper fin parts had snapped off.  These original Nismo ones, no longer available, cost about 19,000 yen per pair but the new dry carbon ones Nismo offers cost about ten times more! Not sure if I want to pay for parts my car probably doesn't need, given the oversize R35 brakes I now have. I guess I COULD go aftermarket here...
But damn they look good
So this adds about 150,000 yen to the price. What fool has these installed? (Thanks to Ale$$andro for the photos) 
Two, you may have noticed Omori Factory removed the Do-Luck floor support bars. The mechanics didn't really care for them not because they don't work, but because they interfere with their car lifts.  I will have to think about how to get them back on.  More importantly, I wonder how the car drives without them on. Maybe not go for them any more but look into spot welding around the door frames...They also removed, I think, the Spoon Rigid Collars (at least in the rear) - these will be an easy fix.

Three, yeah my tires are old. Will have to replace them soon.  And yes they look huge, very meaty. NISMO is pushing me to replace with the Michelin Pilot Sport 4s, but I don't know. Doesn't feel right to put on French tires on a Japanese car...And what is the current best Japanese tire out there?

Four, yes there are still many parts that need to be refreshed. Financially speaking, this is all I could afford at this time. Plus, most parts can be cleaned up or replaced at home, so I intend to do that as much as possible. To me that's part of the fun of ownership.

Fifth, I did mention in a previous post that Omori Factory did a few special extras - that's for the next post!

Saturday, December 29, 2018

Out with the old, in with the NEW (Robson Leather Steering Wheel Re-Do)

One last post to close out 2018, and appropriately by swapping out the old with new. Or at least "re-newed."

Some of you may recall a few years ago when I first switched over from the OEM steering wheel to an aftermarket one, I found a nice and rare but very used Ital Volanti Imola R wheel.

Because it was worn, I decided to get the wheel re-done in a nice black leather, with perforations on the side grip areas, at the world famous Robson Leather in Tokyo.  I was generally happy with the quality of the leather and the new thickness of the wheel, and it matched the OEM interior very well.

However, once I had the interior completely redone by Cesar in high quality leather... well I noticed that the grain of the steering wheel leather now did not match the smooth finish of the rest of the leather interior (the OEM interior finish has this wrinkled simulated "leather" finish). This could not stand, and the cognitive dissonance generated by this mismatch was driving me nuts.
See how the leather appears wrinkly? This was the original grain of the leather I chose for the first re-wrap.
At the time it matched the OEM interior better.
Luckily for me, Robson Leather always has a tent up at the annual NISMO Festival, so I undid a few Allen bolts and took the wheel with me to this year's NISMO Festival on December 2. The plan of course was to save a few yen sending the wheel in, as well as to be able to inspect for myself the quality and grain of the leather that would be used on this redone.

Moments after I walked up to the Robson Leather tent, Robson's president, Masa Nakamura, greeted me like an old friend and listened to my request.  Lucky for me this Nakamura-san is miles removed from a certain other Nakamura....yes I am still pissed off. Anyway, moving on...

The sample of Robson's Nappa leather against my wheel
Masa knew immediately what I wanted, and showed me a sample of their "Nappa leather." Strangely, while the color and the feel was what I wanted, the leather sample itself looked almost like pleather in terms of how it had been tanned and processed, especially on the non-exposed side.  Nevertheless, because the wheel is a high use area, I was satisfied with the almost plastic feel of the leather, because even if it was a lower quality leather than the "Cardinal" automotive grade leather from Wildman & Bugby in the UK that Cesar used for the rest of the interior, durability (which is what I assumed from how this leather felt) would be key here.

So, I requested a re-wrap of my wheel from Robson with the "Nappa leather" option with side perforations, as before. I was thinking about adding a red 1cm wide swatch to the center top of the wheel (as often seen in some recent sports cars), but when the Robson factory called later and told me that they could not guarantee it would be perfectly centered, I cancelled. Having that center stripe not centered would be super annoying for me...

Meanwhile, my car had no steering wheel.  I was told the work on my Ital Volanti would be "finished before the end of the month" - but I had no idea how long that the re-leather work would actually take. So, I found a cheap 6000 yen steering wheel on Amazon Japan, to attach temporarily, just in case I needed to move my car in a hurry.
Superfast shipping! I had in in less than 2 days!
Nice white cardboard box. Wrapped up well for a cheap wheel...
Not bad for 6000 yen, right?
The temp steering wheel arrived very quickly. As you can see, the material is a fake Alcantara and the diameter is smaller than the Ital Volanti, at 320mm. It also has a deep cone of 70mm. So I knew driving with this on would be interesting...and in fact, when I took the car out to get some gas, it felt weird. The wheel is probably too small, as the car felt twitchy, almost like a (very heavy) racing cart.  And the seating position was now weird too...

It doesn't look bad, but not great either and the yellow center strip didn't line up perfectly.
I was glad I didn't insist on this option for my Ital Volanti
Amazingly, fast forward only 2 weeks from the NISMO festival, and I got a package from Robson and inside:


Wow! Looks OEM in quality!
See how nice and smooth the leather is? Granted, this might be more expensive than elsewhere but for the awesome service and the quality I am not going to complain. Also, it's always good to have connections with people like Masa...

Here it is, installed... See how the leather of the wheel matches (at least in look) the leather of the rest of the dashboard and interior (the leather on the doors)?


Ok I realized that wasn't the best photo. How about from this angle?

Yes folks, quite awesome is the result! Thank you Masa and Robson Leather for restoring my faith in the Japanese aftermarket.  In 2019... yes my journey will continue in order to fix the remaining interior issues and the topical rust, but I'm also itching to do some more improvements in the mechanical area...

Anyway, I hope everyone is having a great holiday season, and I wish everyone a Happy New Year! Thank you everyone for reading and enjoying this blog. As always, drop me any questions or comments below.

Monday, August 4, 2014

R33 GT-R Design Trivia (Part 2 - Emblem, Steering Wheel and Gauges)

Continuing on the theme of interesting stuff I found out when researching how the R33 GT-R improved upon the R32 GT-R:

The Emblem:


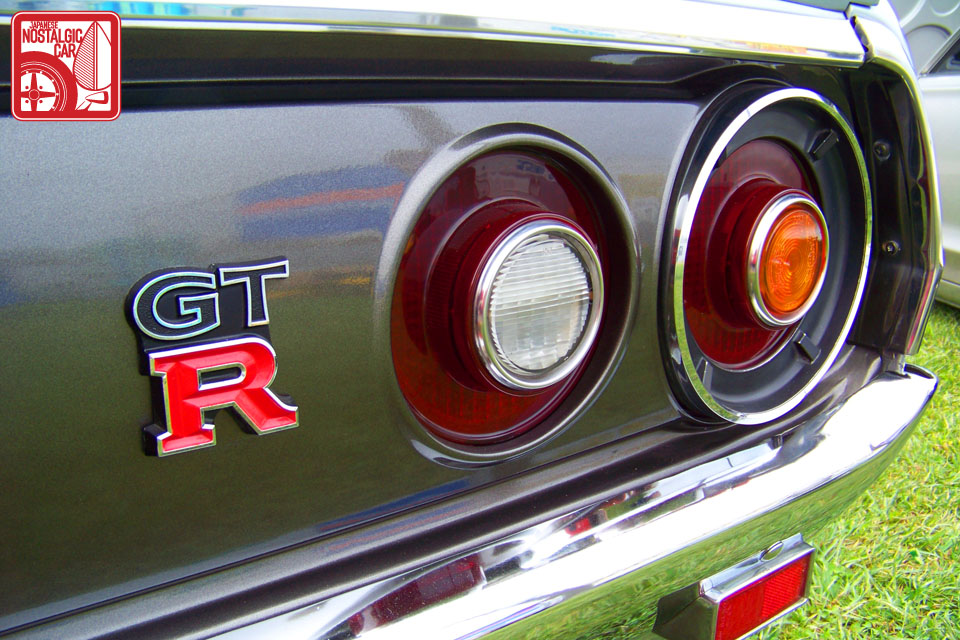
Nissan’s design division has one division that specializes only in emblems. For the RB26 GT-Rs, the GT-R logo used on the Ken Mary GT-R that debuted in Jan 1973 was the inspiration. That is, “GT” on top, a larger “R” on the bottom, and the “R” letter actually being silver outlined with red being painted within the outlines, to give it more presence.

From: http://japanesenostalgiccar.com/2011/09/13/events-2011-japanese-classic-car-show-part-01/
It turns out that at the time of the R32, the general design trend was to minimize badging or make them smaller, in order to give a clean look to the front of the car. Thus, the GT-R, like all R32s, only had the “S” symbol on the front hood, and only had the GT-R badge on the trunk.

However, the R33’s development chief Kozo Watanabe (who would later be in the same role for the BNR34), insisted on having a largish GT-R logo in the front as well, in order to strongly emphasize the car was a GT-R.  This was in order to let cars ahead, when looking in the mirror, see that a GT-R was closing in from behind!
So this is the view in the mirror as a lesser car is about to be passed.
From: http://www.skylinesaustralia.com/forums/topic/237956-in-motion-pics-of-my-r33-gtr/
Nissan's chief designer of the exterior of the GT-R, Hiroshi Nishiizumi, had this to say about the GT-R logo:
“The large GT-R emblem is in the middle of the grill because there is only ‘dead space’  - the hood latch - behind it, so it hides this part which we don’t want to see.  Also, the GT-R lettering is two level, just like the GT-R logo for the Ken /Mary GT-R.”

There is also a “GT-R” that is inscribed only on the left cover to the rear spoiler.  Ever wonder why it’s only on one side?
From: http://www.driftireland.com/forum/showthread.php?36087-Genuine-R33-GTR-Spoiler
This was done so that a driver being PASSED by a GT-R (in the fast lane in right hand drive countries,) would see at eye level, at the moment of being passed, what car had just passed him!

The logo designer was Ms. Junko Ito, who said her marching orders were to come up with an elegant and sporty design, larger than the 32 design on which it was based to reflect the larger mass of the 33, and fit it al into a square, while remaining well balanced.  The "R" was made larger than the "GT", and there was a black background to the letters.  Further the red used was more crimson than the brownish red used in the 32.

The Steering Wheel:

This is one area where I think the R32 is better -  its steering wheel, which was inspired by Porsche and BMW designs.  The objective here was being able to turn the wheel by sliding your fingers. It is simple, clean and functional:
From: http://jp.autoblog.com/2013/03/03/nostalgic-2days-2481km-r32-skyline-gt-r/
We all know that by the time of the R33, airbags were becoming mandatory.  Hence the Series 1 BCNR33 had that monstrosity of a steering wheel taken from the Nissan parts bin.  It did not even have the sporty red stitching found on the more compact steering wheel found on the Series 2 and 3:

Series 1 on left, Series 2 and 3 on right
I guess it could have been worse? The R33 GT-R Prototype's steering wheel:
Actually, this looks better - at least smaller - than the Series 1 one.
All three photos above from: http://www.gtr-world.com/
What is NOT known is that it turns out the second steering wheel (for Series 2 and 3) was actually finished as a product and ready to go by the launch of the R33, but for parts sharing purposes, the decision was made to use the older one that ended up in the Series 1.

So, apologies to Series 1 owners, looks like you guys got stuck with some of the cost cutting going on at the time...

The Gauges:

When designing the R33 GT-R, Nissan designers followed the theme of "road going racer" - so racing drivers as well as Nissan test drivers were asked for the input in designing the interior. One trait as a result was the large number of gauges.

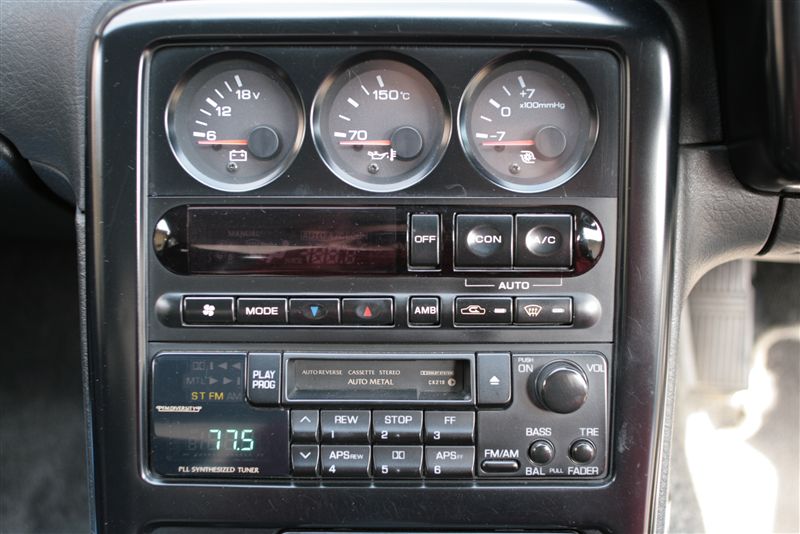
The sub meters were carried over, but improved upon the ones in the R32. On the R32, the gauges were pointed at the driver, but on the R33, in addition to having larger and more readable font, the fascia was cut to allow easy visibility without having to offset the gauges.

OEM R32 GT-R Sub Gauges
From: http://www.gtr-world.com/gt-r/bcnr33/bcnr33-skyline-gtr-4door-autech.html

And all the gauges are all ROUND.  Actually, other parts of the interior are round too, including the clock, harzard, defogger and even the HVAC switches.  This was done on purpose, to create a link to the afterburner tail lamps.  As one designer stated,  "The beautiful circle is the Skyline philosophy."

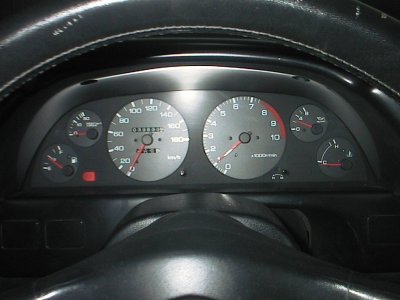
As for the main gauges, one small detail is the use of the imprinted carbon which in addition to the GT-R logo in the tachometer, was designed to separate the R33 GT-R from non GT-R variants.

Speaking of the tachometer - unlike in the R32, where the needles of both the speedometer and the tachometer were sitting, at rest, at the 7pm position (see photo above for the steering wheel) or the non GT-R R33, where the speedometer and tachometer needles both begin in the horizontal position -  Why, in the R33 GT-R why does the speedometer needle point to 9pm but the tachometer needle point straight down? I've always wondered about this.

From: http://www.skyline-forum.de/showthread.php/10001-NISMO-R33-320kmh-11k-TACHO

The problem with gauges with needles in the horizontal position (as was found in non GT-R R33 variants) is that the area where the rev limiter would kicks in (at 8000 rpm) is towards the bottom:
Yes, it has the carbon look, but this is a BCNR33 gauge panel installed in an ECR33.
From: http://minkara.carview.co.jp/en/userid/660687/car/1417373/6174645/parts.aspx
For the R33 GT-R designers, functionality was the most important aspect. But they also wanted an emotional connection with the engine as well: they wanted the driver to get excited watching the needle go up and down along with the engine revs.  In other words, the designers wanted the tachometer to have a natural, wide angle of sweep, so the needle would rise from zero at maximum bottom below and peak near the red zone at the very top.   Also, more practically, when driving at high speed, by having 7000rpm at the top center, it was easy to see at a glance that you were approaching the 8000 rpm red zone.

The designers also did a couple other things to emphasize the importance of the tachometer. First, they eliminated the voltage gauge found in the R32, and replaced it with a warning light, and then moved the torque meter to the 3 sub meters in the center stack area.  By eliminating the number of surrounding gauges from 4 to 3 (leaving only one on the tacho side), this made the tachometer appear larger and easier to see.  Also - it turns out that the color of the font on the gauges is actually not white, but a light grey for better visibility.

Compare:
From: http://www.skyliner32.net/HNR32/img/after.jpg

OR:
From: http://minkara.carview.co.jp/en/userid/1558931/car/1155628/4692855/parts.aspx

Amazing the little details they thought about, eh?

Next: R33 GT-R Design Triva, Part 3: Wheels and Tires.