Monday, June 5, 2023

Nissan Gearhead Lunch, Chance Encounter with Blog Readers, Nissan GT-R/Z Chief Product Specialist Reviews My Car

Hi everyone,

So thanks to all of you who have reached out to check to see if I am still alive. The answer is yes, and yes I still have my R33 GT-R.  But, this year is a particularly busy one at work (involving a huge deal for Nissan), it really reminds me of my days in the law firm where I literally went home only to sleep and shower (having eaten all my meals at the office). It may not be that bad, but without any real updates to my car, tech-wise, or travels in it, I decided there really was no need to do any blog updates.

But now...

This adventure began as an offshoot to one of the many virtual meetings I now have as an in-house lawyer at Nissan - a few of my internal clients who happen to work for Nissan Motorsports and Customizing, Inc. ("NMC") (better known as Nismo and Autech, respectively, before they merged into NMC) decided it would be fun to meet up for lunch on a Sunday and just nerd out over cars.

So I show up to the appointed place and run into this guy:


Backing into a spot with the precision to leave only a few centimeters between the wall and his car

So this yellow R34 GT-R is a VERY interesting car. Not that it changes my opinion on R34 GT-Rs, but it was actually one of the very first R34 GT-Rs ever made - in fact it was built as a press vehicle, meaning that Nissan took pains to make sure it had the stiffest body, best drivetrain, best suspension, etc. taken from all the early cars rolling off the assembly line. (i.e. literally "handbuilt" to have the best components).  Back then, most press vehicles were purposely created this way in order to ensure the motorjournalists got to experience driving the theoretically "best" vehicle... and if you recall what happened with Drift King Tsuchiya, it explains why he was so pissed off at the difference in his own brand new R33 GT-R and the press car R33 GT-R he drove. 

Some of you may have seen this same yellow car in this Best Motoring video, with Gan-san driving and praising:


Somehow, my friend Narita-san (who is actually now the Chief Product Specialist for the GT-R and Z... it is no longer Tamura-san for many reasons) got his hands on this car and made it his own. See photos later.

Anyway, since this blog is about R33s, yes I had also parked underneath the restaurant - and the beautiful 911 is owned by one of the senior guys at Nismo:


Of course, these car nerds were all quick to realize that the brakes on my car were superior to the 911's...
The nerds will spot it, but maybe I need to get my calipers painted Bright Yellow with the Nissan Carbon Ceramic lettering on it, to ensure others spot these rotors too?

Anyway, after a leisurely lunch, we decided to go for a quick drive. Both the Porsche guy and I live close to the restaurant so we decided we needed some expressway driving to properly warm up the cars.

And right as I was about to get on the expressway I saw this!
Hakosuka!!!

Because some us had other afternoon commitments, we kept it relatively close. We were thinking of Daikoku, but decided that was way too hectic. So of course...

... we ended up at Nismo Omori Factory.  Note the Mazda Roadster owned by another in our group, who works for what used to be called Autech.

But I was glad we did end up here, even though all of us are super familiar with this place.  Not only was I able to say hello to my friends Ochiai-san and Takasu-san, I had the pleasure of meeting the young man who approached me and showed me his really well kept Series 1 white R33 GT-R!

You know, I just noticed that jade thing in the background...

Ricky just graduated from the University of Connecticut and is now living in Japan.  I can tell he has lots of school pride...
Yep, beginner driver sticker, a nice touch!

And isn't afraid to show it! And his car has over 180,000 km on the clock, but check out how clean and well maintained it is!

First, the interior - no tears, no dirt, nothing broken, super clean!

Ok so he has some Nismo seat covers - and he told me he was bothered by the red dots in the middle suede portion clashing with the blue headset inserts.  My kind of OCD, nice!!!

But this door - definitely in better condition than my car was in before I sent off the interior to be redone in leather.

Oh but interior is not a big deal, have to check the strut tower area for rust, you say? Look at this! 
And yes, Ricky has now started to slowly collect Nismo items as well, too...

And from the side, the car looks great as well.  In fact, other than some dirt I really couldn't find anything to complain about, and neither could any of the Nismo guys! No rust!!

Anyway, Ricky if you are reading this, please stay in touch and thank you for showing me your awesome car! Good luck with it!!

During all of this, our group ran into some other people from overseas - a father/son duo from California (who collectively between them own a 32, 33, and 34...) as well as a (hopefully) soon to be 34 owner from Switzerland. 

Here's GT-R/Z CPS (Chief Product Specialist) Narita-san being photographed with his car by the guys from the US/Switzerland

Narita-san had been super curious about how the carbon ceramic brakes on my car worked/felt, so we exchanged keys to our cars, if only for a few minutes.

His first words - "What clutch is this? The meet point is so high!" (Nismo...)

Meanwhile I took the opportunity to check out his car while I waited for him to return (I took these photos before he left).
Obviously not Press Car spec...

So I think he was trying to convert this car into a high speed Bonneville Salt Flat Run capable car...

But he told me that the car simply was not as stable at high speed as a 33, so he gave up
He has the Special Order Umbrella option, I see

Still, it has some interesting features so next time we go for a drive I will get more details from him.

So, what did the current Nissan GT-R/Z Chief Product Specialist have to say about my car? First, he was totally impressed with how the car was super nimble - having less unsprung weight means lane changes are super quick and accurate.  Second, he loved the bite of the brakes, absolutely no problem in how they were set up.  Third, he told me the car was sprung perfectly on the Ohlins DFVs. And finally, he was super impressed at the high level of finish of the car, the very low NVH, meaning it really felt like a proper high spec GT car.  He thinks that I may have surpassed my goal of "this is what the 33 would be like if Nissan released it today."

Amazing what the pros pick up in only about 15 minutes of driving.  Anyway, Narita-san came back super excited after driving my car and has already proposed a 0500 group run in the Hakone mountains soon... stay tuned and maybe some of you out there reading this in Japan can join us!

Tuesday, December 20, 2022

Nice End of Year Present! Thank You Very Much!

 So I was pleasantly surprised to receive this today. Fairly light but it WAS from Trust Kikaku...


Wow! Somethiing from HKS! Wait, it says Door Mat?

And it came with instructions! Says that HKS are not responsible for any mods made to this product!

As you can see here, it is much thicker than the cheapo Ikea carpets I have been using. And a non-slip backing too!


Looks fantastic!
And yes, the electric heater is so my legs stay warm while I tinker...

So to my friends who sent this to me - thank you very much! A very nice way to finish off 2022, let us hope that 2023 is a better year, I am sure it will likely be!

Friday, December 16, 2022

Those Parts Numbers REALLY CAN Make a Difference...

So given that the Series 1, Series 2, and Series 3 (Zenki, Chuki and Khoki) R33 GT-Rs are fundamentally the same car, in modifying and keeping this car running, I am usually not a stickler for different part  numbers for the SAME PART - the only difference seemingly being that my car is a Kohki car (with some part numbers containing a 98U00) and not a Zenki or Chuki (with part numbers often containing 24U00). Usually I am happy if I find something in better shape regardless of the year car it came off of. Of course, if it's brand new that is great too...

Sure, some parts like the Kohki Xenon headlights and red accented interior, I get.  Having different parts numbers for those very distinct parts makes sense.  But how about this:

Other than the Mine's speedometer, what's the difference?  Why did I just find and buy the old scratched up gauge cluster on Yahoo Auctions?

Well, the clue is in the numbers:

My gauge cluster on top, the Yahoo Auction special on the bottom.

So yes, my cluster appears to be from a Zenki or Chuki car while the bottom scratched up one is from a Kohki car.  And yet, my car is a Kohki so what's going on?

Well, I didn't realize until this incident that I think when I installed the Mine's speedo, I kept the 24U00 unit it came in (only replacing the V-Spec tachometer for the one that came in my car originally), and so I must have sold off my OEM 98U00 unit.

So why am I making a big deal about this now? Well... as you may know the Kohki cars have a standard rear fog lamp:

Rear red fog lamp on the right side only.

But for the last few weeks, I thought that maybe the fog light or the circuit was broken, because when I turned on the fog lamp, I heard the relay click, but did not see anything on the dash.  And when I checked the owner's manual there was supposed to an indicator lamp that turned on where the green arrow is pointing, below.

Suspecting a burnt out bulb, I removed the gauge cluster to check the bulb. But the bulb looked fine...

And I realized the contacts for that bulb looked clean too.

Ok so what about this removable film? It contains all the graphics for the warning lamps.

After gently removing it to check the back side, I immediately realized that not only did the part number seem to be an earlier part number - 15U000 - but it was clearly lacking any indicator diagram for the rear fog lamp.

Just to make sure, I plugged the gauge cluster back in and turned on the rear fog lamp - and as you can see, the bulb is not the problem.
Bulb lit up here

Lamp off, Bulb off.

So this is when I decided to see if I could find a Kohki gauge cluster and see if my guess, that the Kohki clusters WOULD have the diagram, was right. By total coincidence, that evening I found TWO clusters with the 98U00 number on Yahoo Auctions. So I bought one and a few days later:


So yeah first thing I did was to inspect it, and then compare it to mine.
Surprisingly, the newer 98U02 unit was dirtier! Although the black surround looked cleaner, yes.

But what was weird was the back side.
Top is mine, the backing is blue and looks newer and cleaner. The newer one on bottom looks more green and somehow older even though it has the 98U00 series number

In fact, look at this:
The amount of rust on the screw!

So very weird. The newer 98U00 unit was dirtier but also looked more aged, for some reason.

In any case, I popped it open and:
98U00 number! Fog lamp indicator!

So compared to the part in my cluster with the inscribed 18U00 part number, this shows 98U00. And yes, it has the fog lamp indicator!!

But check this out - even though the outside housing has the 98U02 number, the gauges inside still show 24U00 series part numbers! So is the only difference the warning lamp indicator piece?

And actually, I found ONE MORE interesting difference:]
The ABS indicator is different on the Kohki cars!

So for whatever reason, the ABS warning indicator changed too. Not sure why - anyone know why? Was there some kind of new international standard that got adopted for 1997 onwards?

Anyway, I replaced the 15U00 part on mine with the 98U00 part and then plugged everything back in on my cluster:
Success!

And so now, whenever I drive my car in the rain and decide to prevent myself from getting rear ended by turning on the rear fog lamp, I'll be able to tell if it's on.  As it should be, as the car originally came with this. So a bit of successful restoration, I guess!

I wonder if there is anything else like this, parts number wise... I know from experience that the HVAC control units of Kohki cars had different numbers (and different harnesses in the back), but functionally they look the same...

Anyway, another educational experience for me. Hope it was fun for you too!

Saturday, December 3, 2022

Mods to the Garage - LED Lighting for the Win!

 So even though this blog is about my R33 GT-R, for me ownership of this car means I have a responsibility to make sure this car looks good all the time.  That means keeping it clean, and that means that when I'm not driving it or making mods to it, I want to do what I can to keep it clean.

Up until now, most of my detailing work has been the result of trial and error, and by no means is the result perfect, but I recently decided that as I am lucky enough to have a decent sized garage, why not create an environment that would allow me to go full blow OCD when polishing my car?

You may have seen glimpses of my garage in this blog, or on Speedhunters here in detailing Dino's yellow 911 and here doing some interior work on the same car, but I always felt like while a good working space what we could do was limited by the amount of light - sunlight for paintwork and interior lighting for everything else.

So after doing some research, I found a set of 20 LED lamps with a claimed output of 2300 lumens each with 5000K coloring.

Yep, made in China but the price was right. Quality not bad actually!

I think there is more cardboard here than the LEDs themselves

And yeah came with a whole bunch of connectors and clips

Of course having ordered 20, the first thing I did was to try to figure out the best lay out for the garage. I did this by laying out all the cardboard tubes the LEDs came in on the garage floor to visualize spacing, as well as how to hook up the wiring between each LED lamp (they are modular so voltage goes in one side and out the other, into the next one, etc.)

The GT-R was freshly back from the R's Meeting

Did a quick detail, and made sure the LEDs worked properly. Yes!

But before installing on the ceiling, I took the easy way out, and installed 5 units alongside the far wall next to the Lexus.

All lights in the garage off, trying these 2 LED lights.

Installation was easy, so I went ahead and wired in 5 of them along this wall, using the mortar space between two tiles as my guide. I initially thought about horizontal placement but then realized it might be better to have the vertical length in order to see into the paint well, from all angles. So I went ahead and ordered several 1 meter long extension cords to run between each light.

The blue paint looks fantastic!!

Photo glare! Sorrry about that... but you can see how bright the LEDs are and the extension cords I have running between at least one pair (which I cleaned up later)

So while this looks provides plenty of light, I had 15 more LED lamp units to install on the ceiling.  I then realized that I would need some help in order to ensure that I drilled the holes for the clips in a straight line.  So went ahead and got this laser level:


Which let me generate some cool green lasers on the ceiling:
(After I drilled the hole)


Once I had one north-south and one east-west installed, then it was relatively easy to keep things straight.


Just the standard garage lamps

Overhead standard lamps and side LEDs

Standard overhead plus overhead LEDs!

All Lights On! (except of course the spotlights over the GT-R)

But remember, even though I was making good progress I still have 5 more LED lamp units left. So I proceeded to install this set up:


Which made things MUCH brighter, but I felt like I could do better. More LEDs in the center, plus create another equal rectangle on the left side.  Which means 5 more LED units....

And so I decided that I would move the five 5000K LED lamp units that I had on the garage wall, and replace with five more newly purchased LED lamps - but this time with 6500K color, which is slightly more bluish than the 5000K - by having two different colors, the thinking is that this will give me better ability to spot fine scratches on lighter colored cars like the GT-R, at least from the side.

This is a well known brand, I've seen YouTubers install these.

Nicely packaged, yes.

But despite using the same couplers and cables, the form factor is thinner (Barrina on right) 

Can you spot the difference in color?
Two on the left are 6500K, three on right are 5000K

And as for the ceiling, I was able to quickly do this with the 5 I took from the wall:

But sharp eyed readers will notice a few things

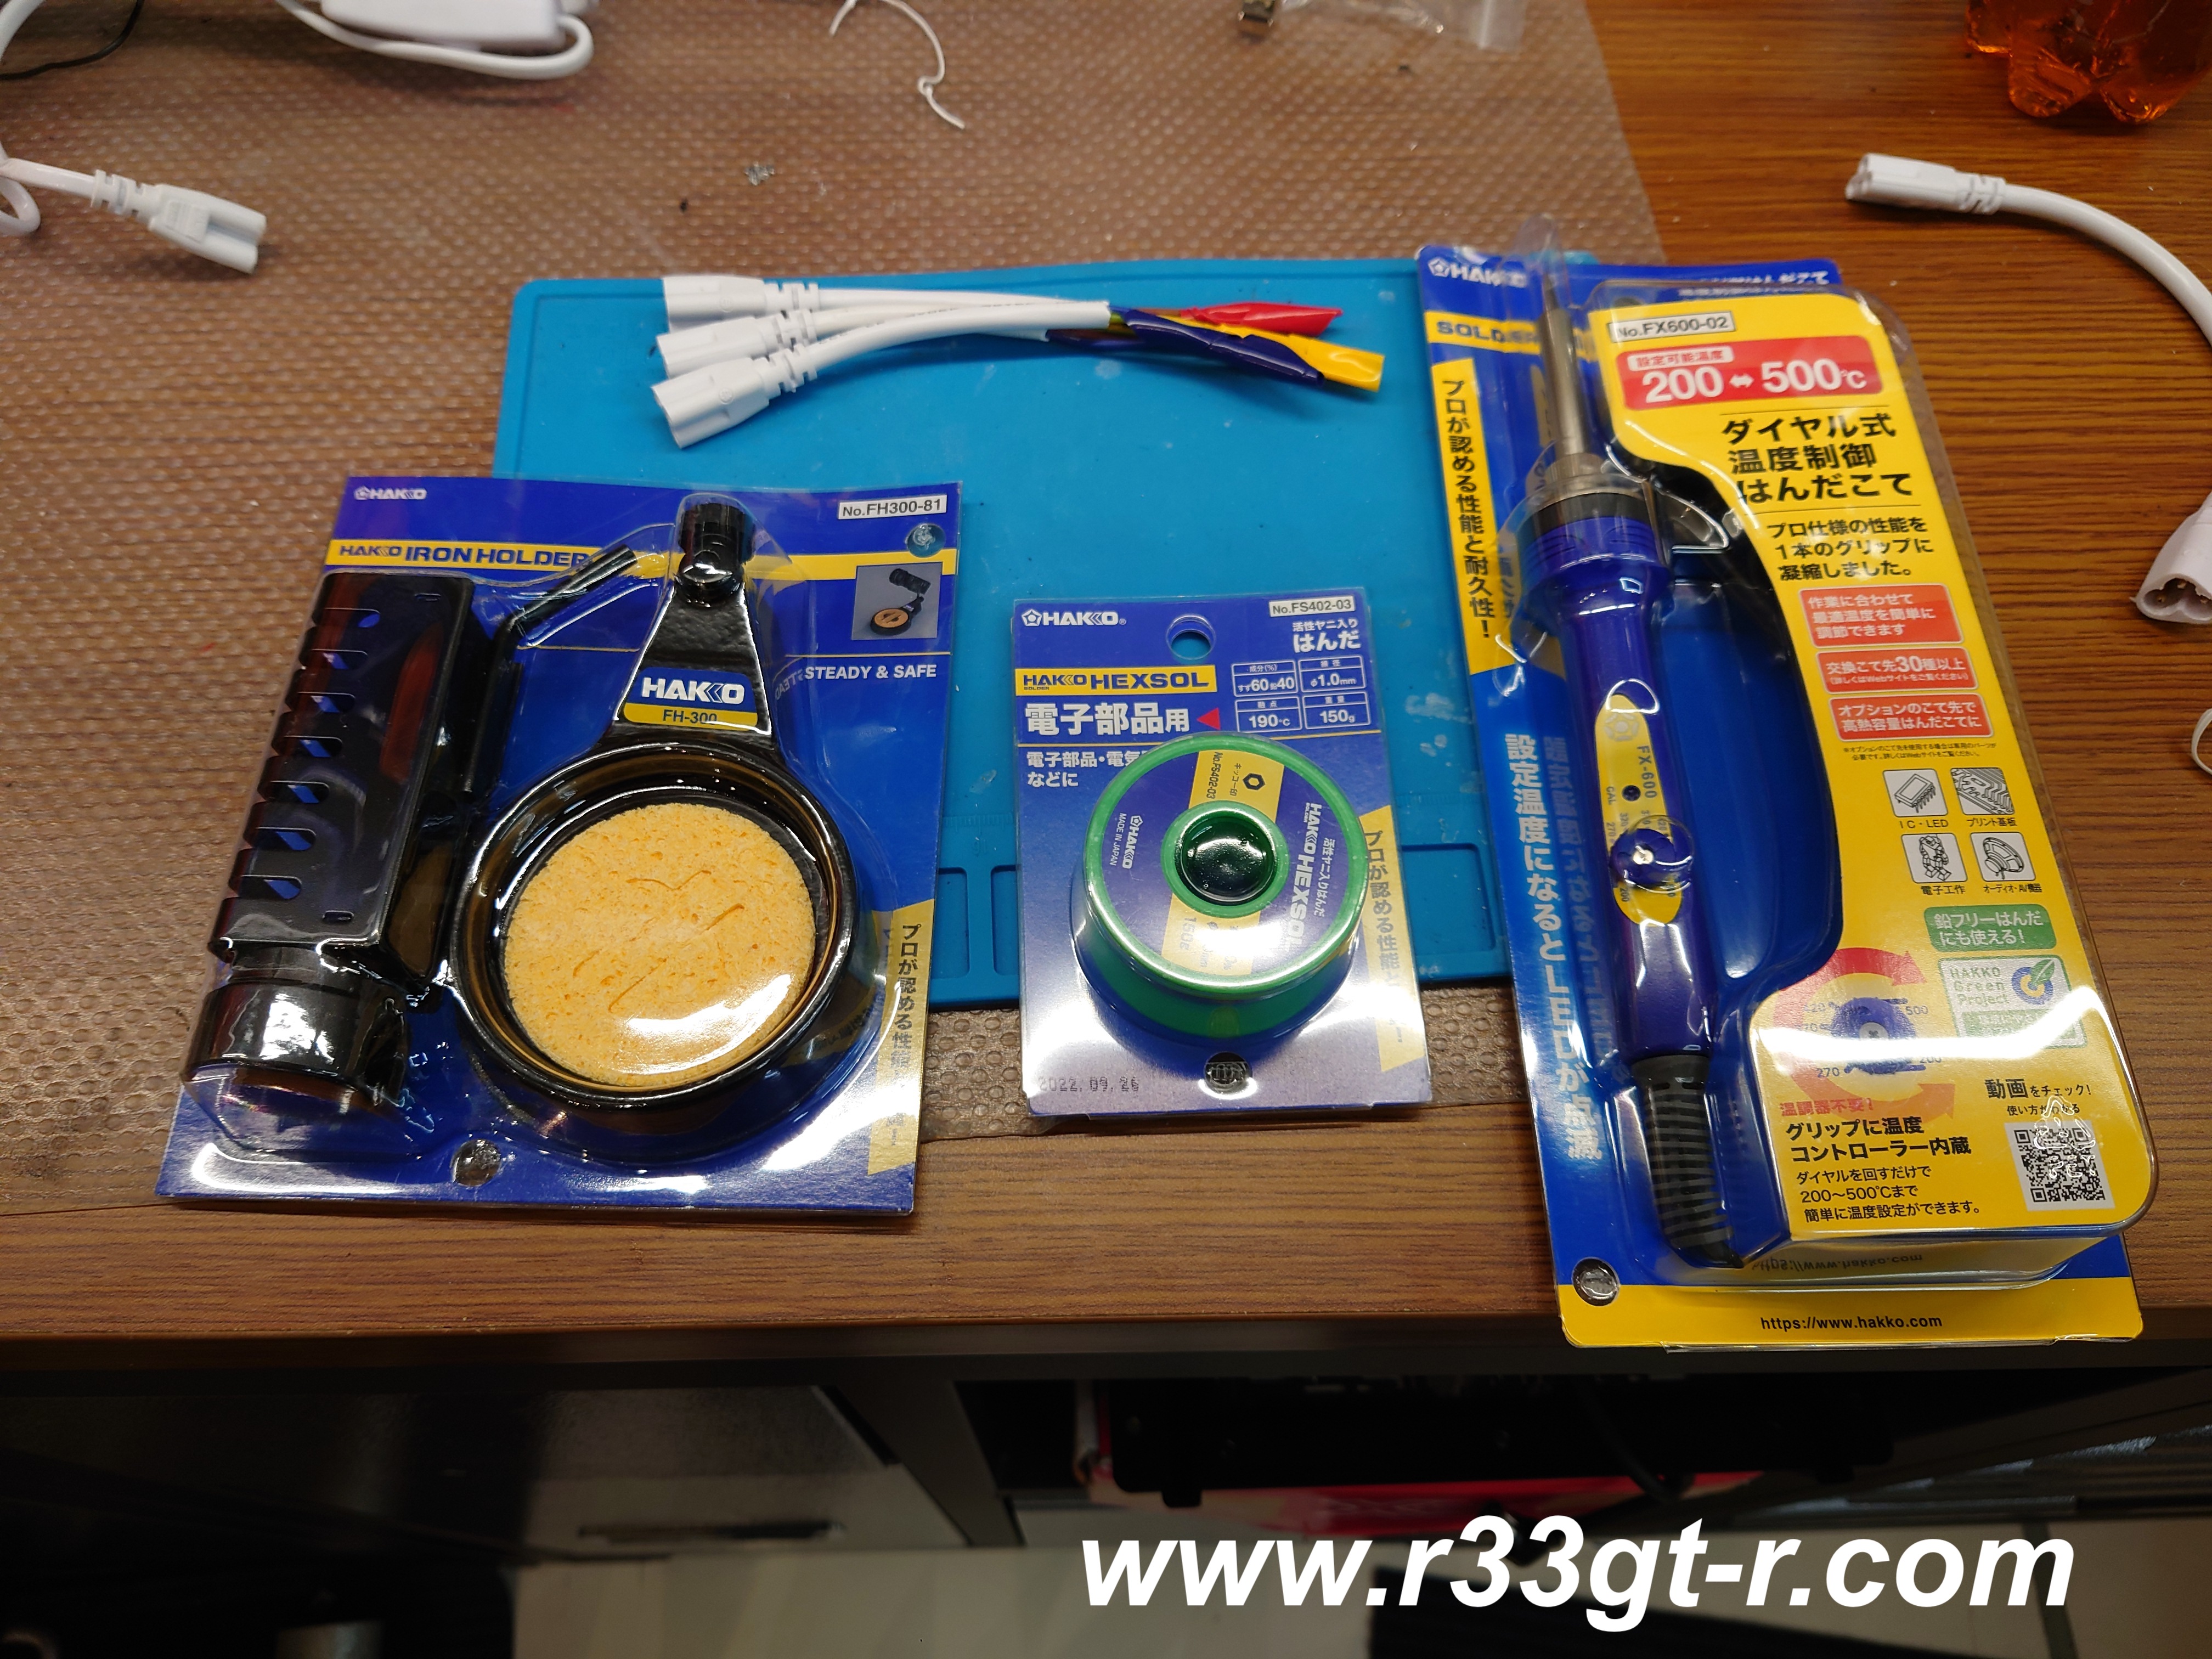
Given the very tight squeeze of the center lamps, I had to get clever, so broke out my new soldering iron and accessories.
Adjustable soldering iron from Hakko - Japan's leading manufacturer of soldering irons!

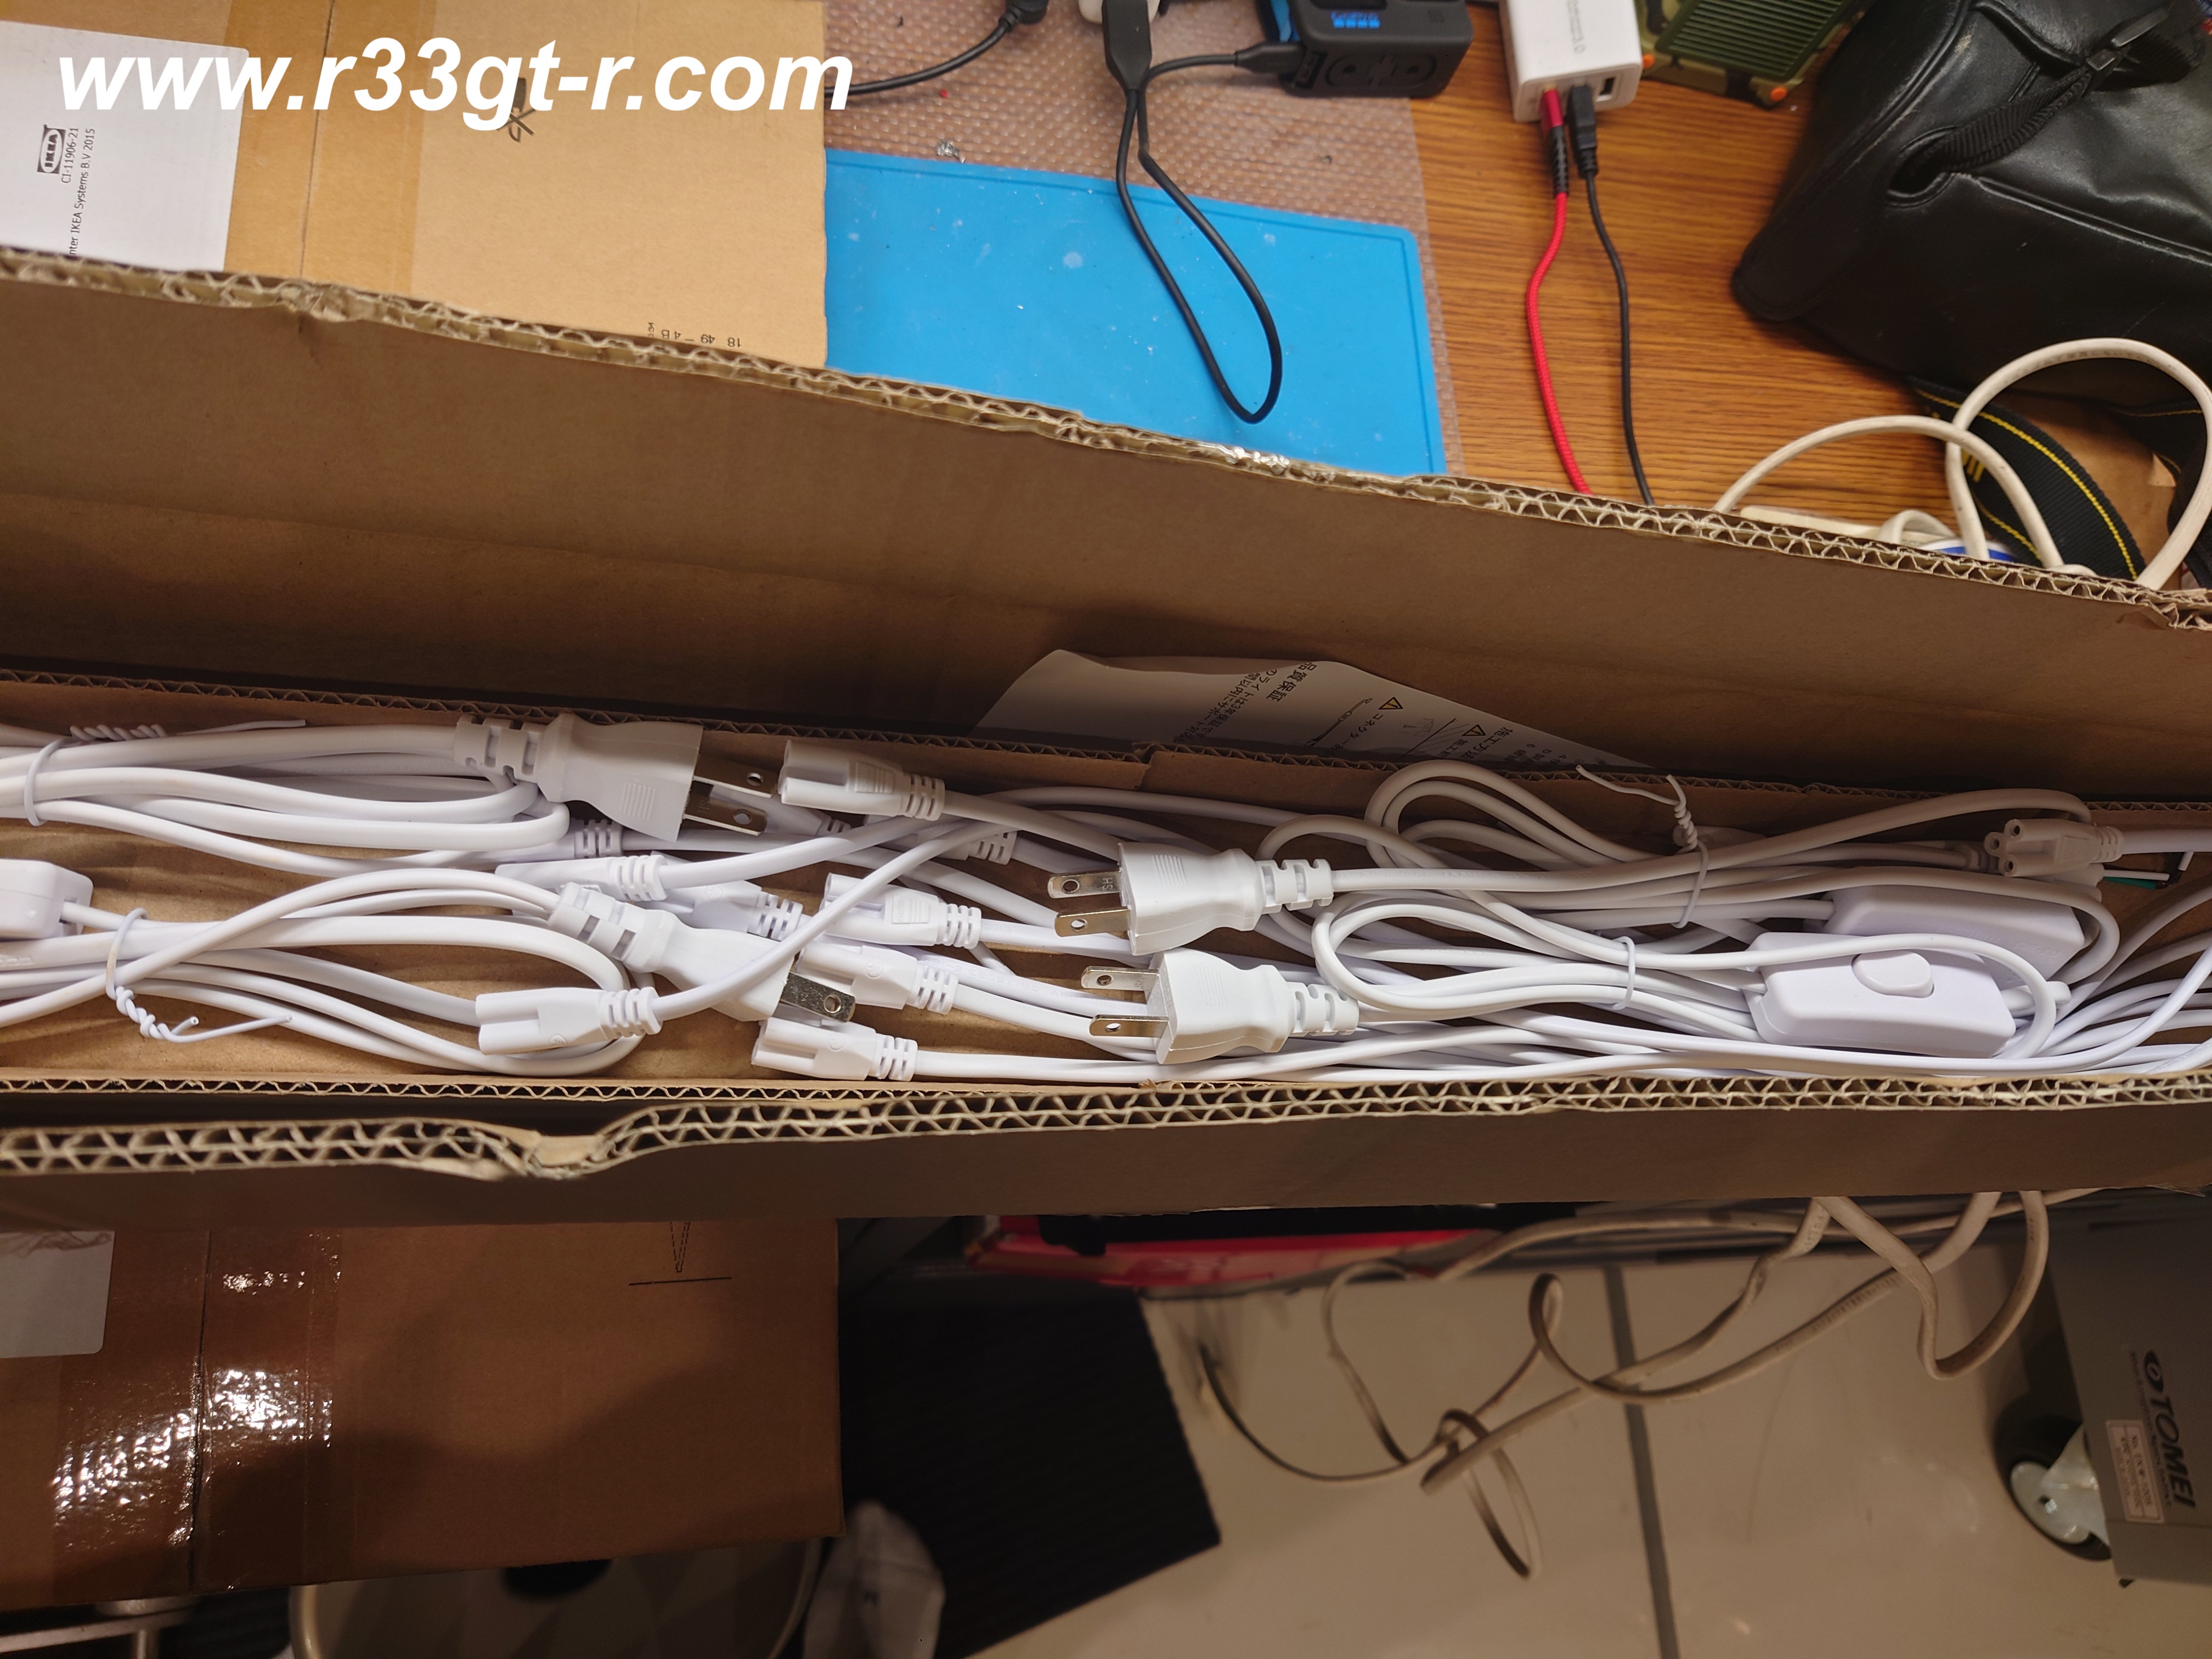
It was then that I realized I had run out of cable to power up the center bulbs, so even though I fashioned some out shortened connectors with flat cables (so as to be able to fit between the ceiling and lamps, instead of bending the cables at impossible angles over such lamps), I had to order some more connectors and cords to properly hook up the center lamps (the manufacturer recommends a maximum of 8 lamps on one circuit, so I have each of the large rectangles - at 6 lamps each - on a circuit, and will have the center 4 on their own dedicated circuit).

gotta say, even at this stage looks awesome!

A few days later:
3 circuits - left, right, and center lamps plus of course the separate circuit for the wall mounted lamps

So let's just say that I am SUPER excited by how bright the garage is now.  And with all this light, the next step is to invest in some really good stuff in terms of car detailing.  I have a Porter Cable orbital buffer, and just got some more new pads, but now the research shall begin on polishes and sealants.  Something for me to do over the winter...